Sort by Category
- September 2025
- August 2025
- June 2025
- August 2024
- July 2024
- June 2024
- May 2024
- February 2024
- January 2024
- December 2023
- November 2023
- October 2023
- September 2023
- August 2023
- July 2023
- March 2023
- February 2023
- January 2023
- December 2022
- November 2022
- October 2022
- September 2022
- August 2022
- June 2022
- May 2022
- April 2022
- March 2022
- February 2022
- January 2022
- December 2021
- November 2021
- October 2021
- September 2021
- August 2021
- July 2021
- June 2021
- May 2021
- April 2021
- March 2021
- February 2021
- January 2021
- December 2020
- November 2020
- October 2020
- September 2020
- August 2020
- July 2020
- June 2020
- May 2020
- April 2020
- March 2020
- February 2020
- January 2020
- December 2019
- November 2019
- October 2019
- September 2019
- August 2019
- July 2019
- June 2019
- May 2019
- April 2019
- March 2019
- February 2019
- January 2019
- December 2018
- November 2018
- October 2018
- September 2018
- August 2018
- July 2018
- June 2018
- May 2018
- April 2018
- March 2018
- February 2018

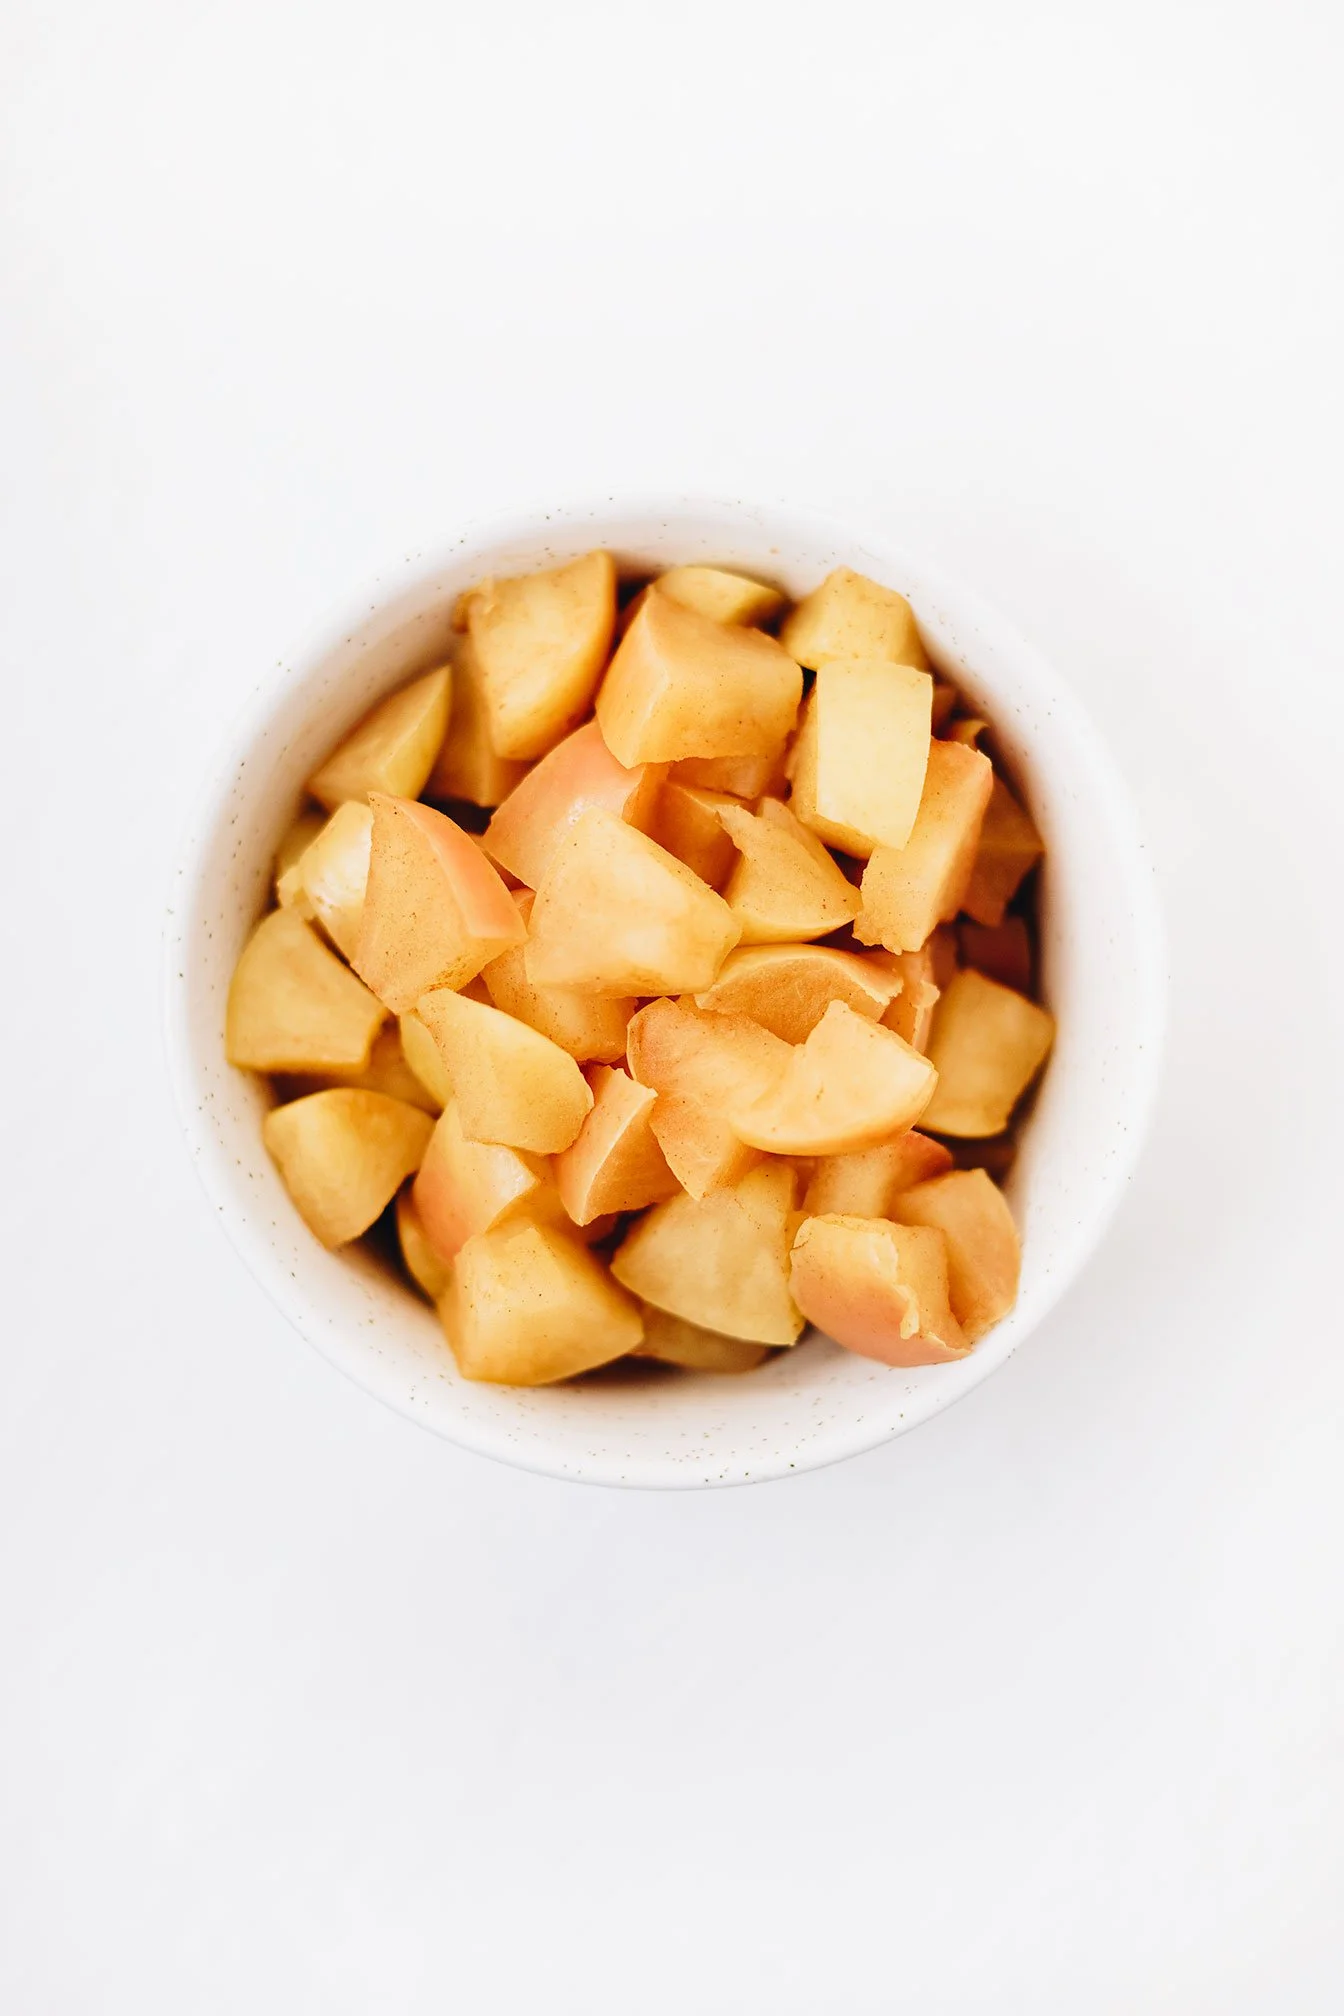
Gut Nourishing Stewed Apples
Need a gastrointestinal support that is affordable, tastes heavenly, and will make your house smell like a freshly baked apple pie?
Then look no further, because this stewed apple recipe checks all the boxes!
I can’t take all the credit - this simple recipe that I’m sure you have made before but not realizing it’s magical GI powers, came from Dr. Tom O’Bryan - leading expert on gluten and Autoimmune disease. Essentially, this recipe is applesauce, but cooked in such a way as to really bring out the pectin from the apple skins, which is a wonderful prebiotic, and very nourishing for the microbiome.
Need a gastrointestinal support that is affordable, tastes heavenly, and will make your house smell like a freshly baked apple pie?

Then look no further, because this stewed apple recipe checks all the boxes!

I can’t take all the credit - this simple recipe that I’m sure you have made before but not realizing it’s magical GI powers, came from Dr. Tom O’Bryan - leading expert on gluten and Autoimmune disease. Essently, this recipe is applesauce, but cooked in such a way as to really bring out the pectin from the apple skins, which is a wonderful prebiotic, and very nourishing for the microbiome.

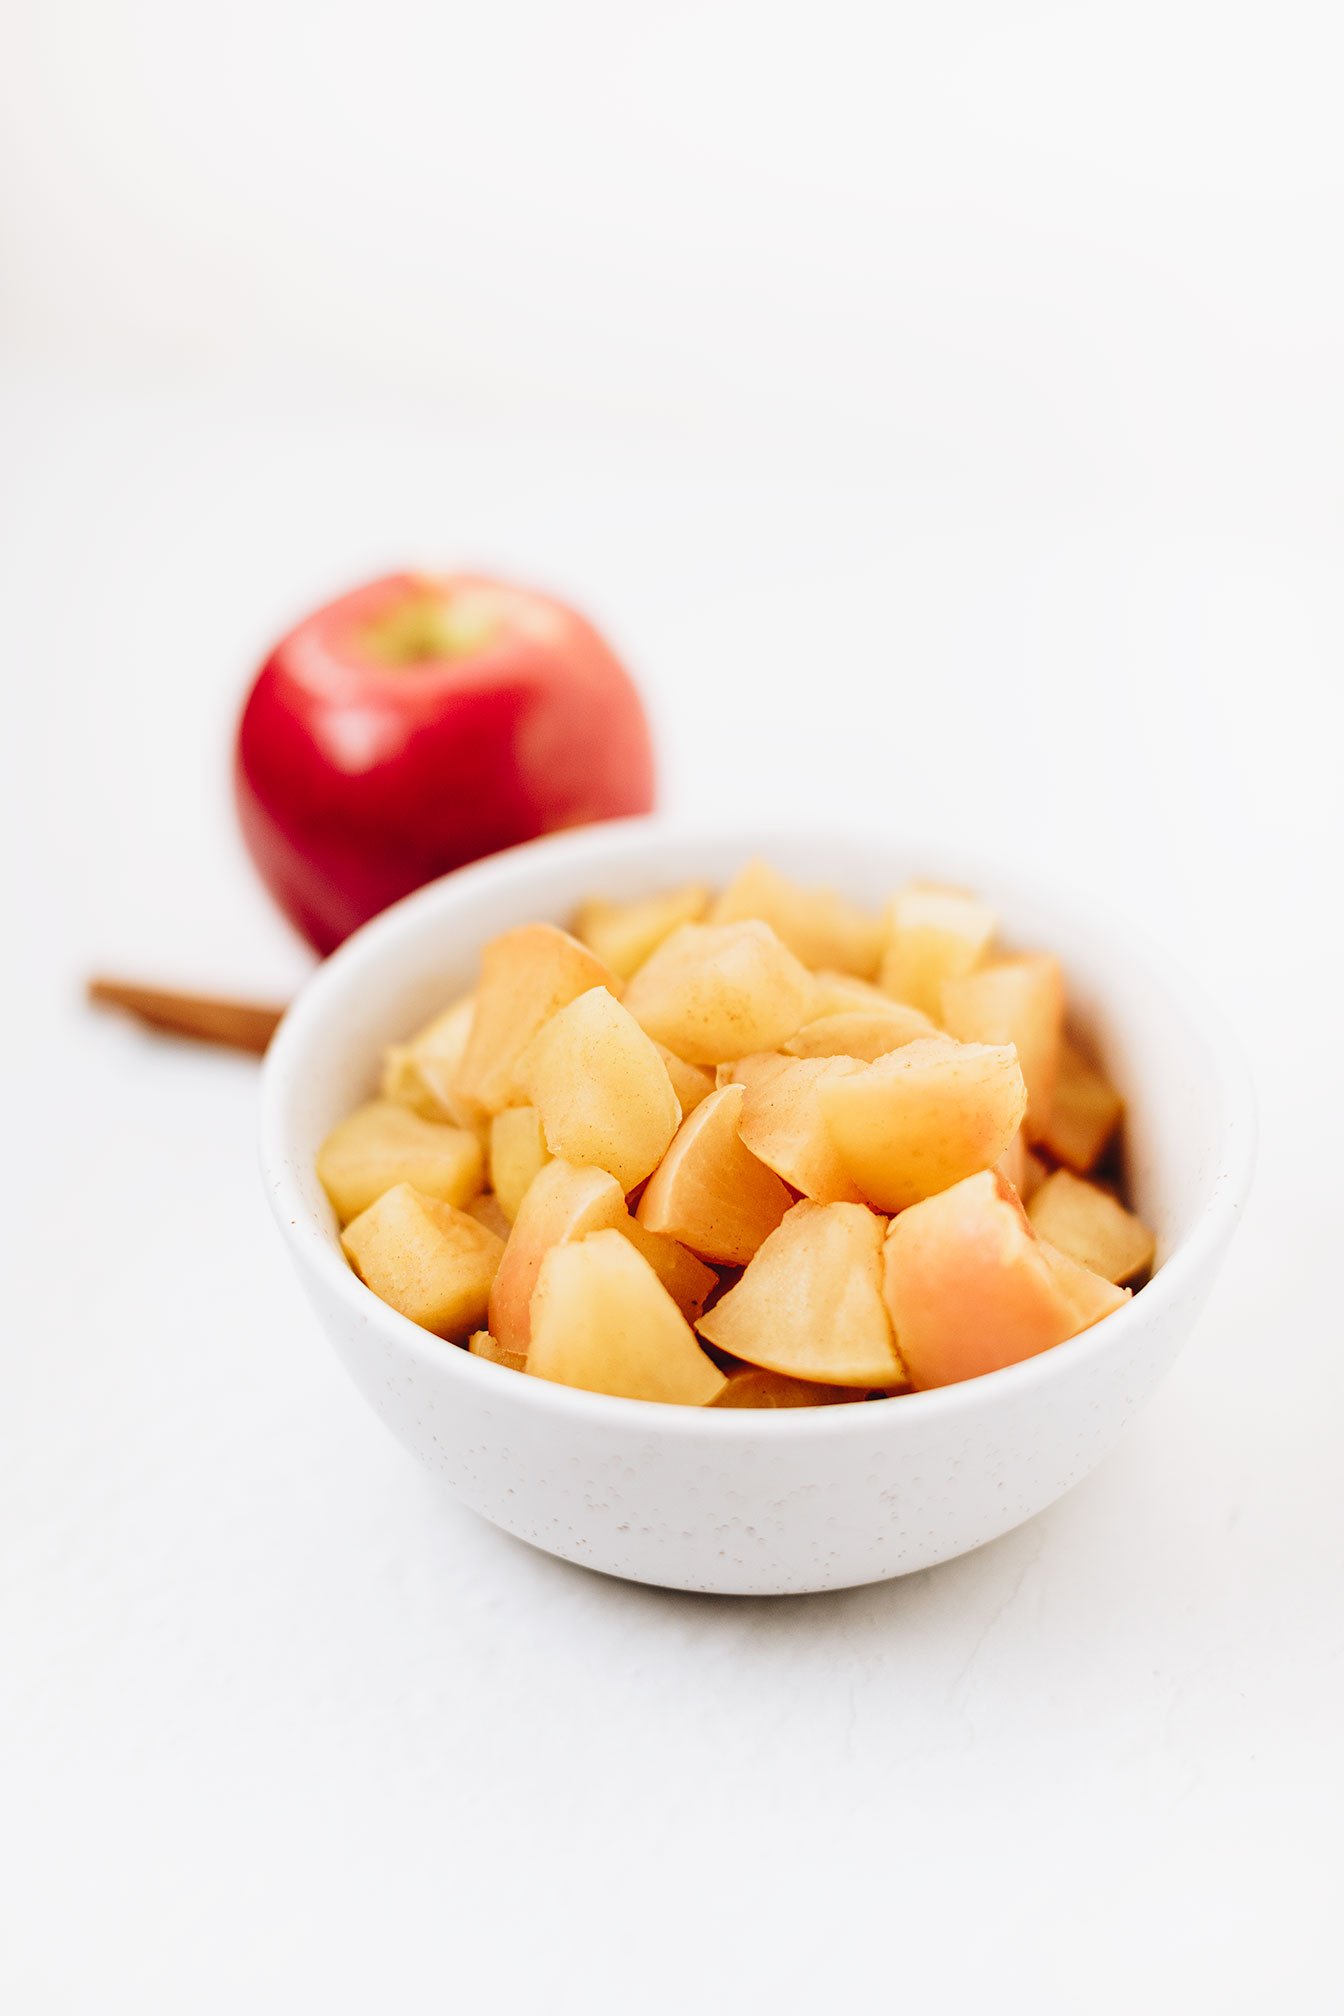
Apples contain pectin which has many health benefits. When cooked, the pectin inside the skin is easily accessible to the microbiome in the colon and helps to repopulate beneficial flora and helps heal leaky gut. When taken daily (at least 2 large spoonfuls daily) many clients of mine have noticed regular bowel movements and less bloating.
Pair stewed apples with plain greek or coconut yogurt, oatmeal, smoothie, or with a meal. My go-to dinner lately has been adding a dollop of stewed apples over grilled pork chops with a side of baked sweet potato and kerry gold butter. Delicious!
Last thing, apples are considered a high FODMAP food, so if you are sensitive, this may not be the best food first prebiotic approach for you!
If you try this recipe, let us know! Leave a comment, rate it, and don’t forget to tag a photo to #fromtherootsblog on Instagram. We love seeing what you come up with!
Prep Time: 10 Min | Cook Time: 10 min
Ingredients
4 organic apples, washed, seeded, chopped, but not peeled!
Filtered water
2 Tbsp ground cinnamon
2 Tbsp raisins (optional, sweet preference)
Directions
Add apples, cinnamon, and optional raisins to a saucepan and barely cover with filtered water. Bring to a boil ~ about 8-10 minutes.
As the mixture is boiling, watch the apple skins. When the skins begin to take on a sheen, the apples are done. Turn off the heat.
If there is water leftover, you can drain it or I personally use it to make adrenal cream cider!
Eat 2-4 spoonfuls daily to support your gut lining and microbiome - enjoy!

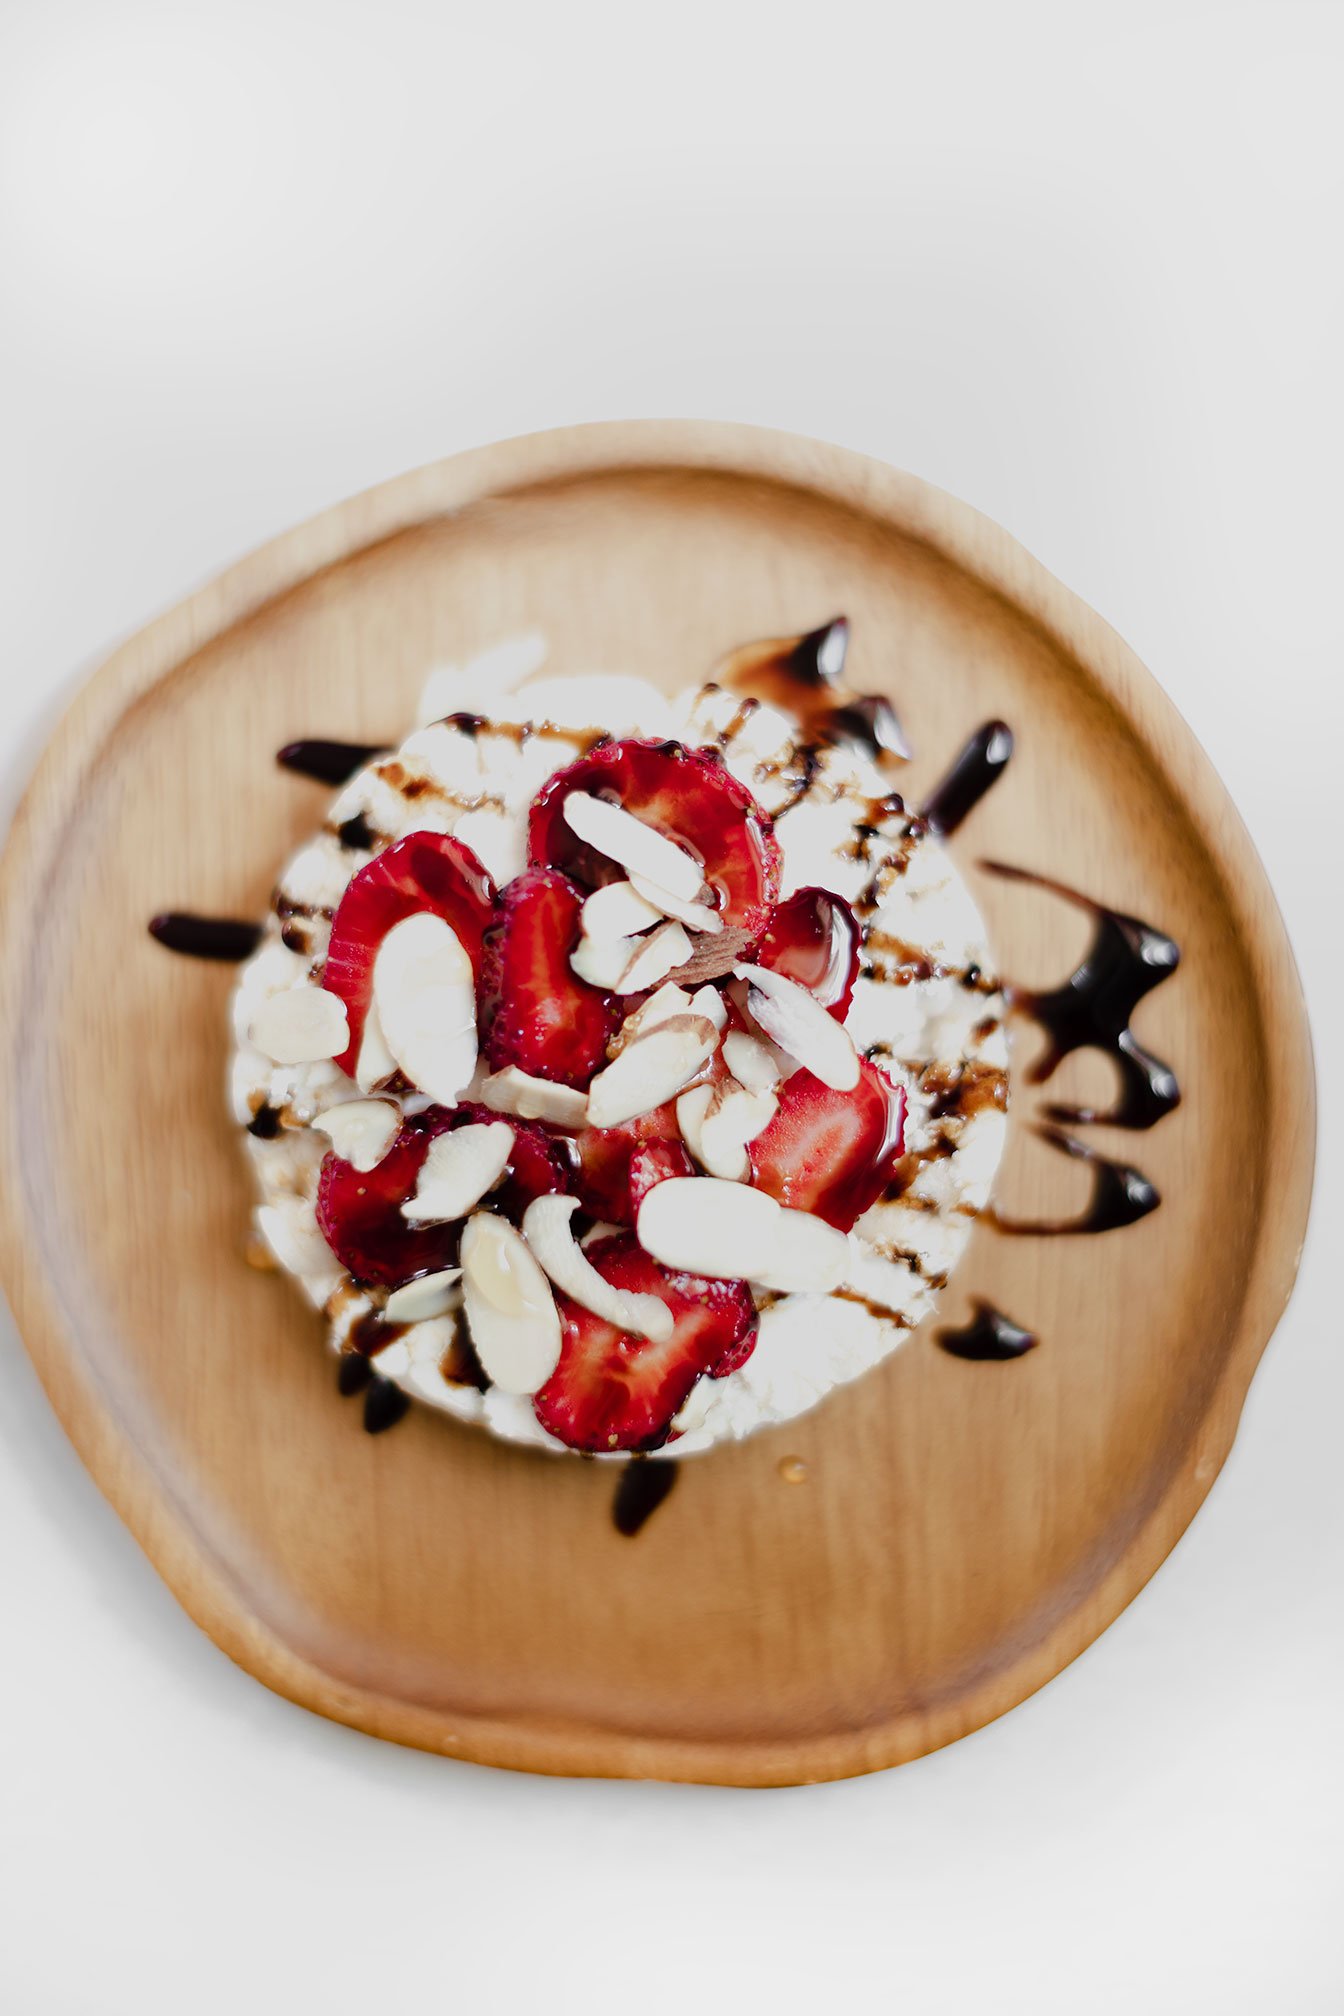
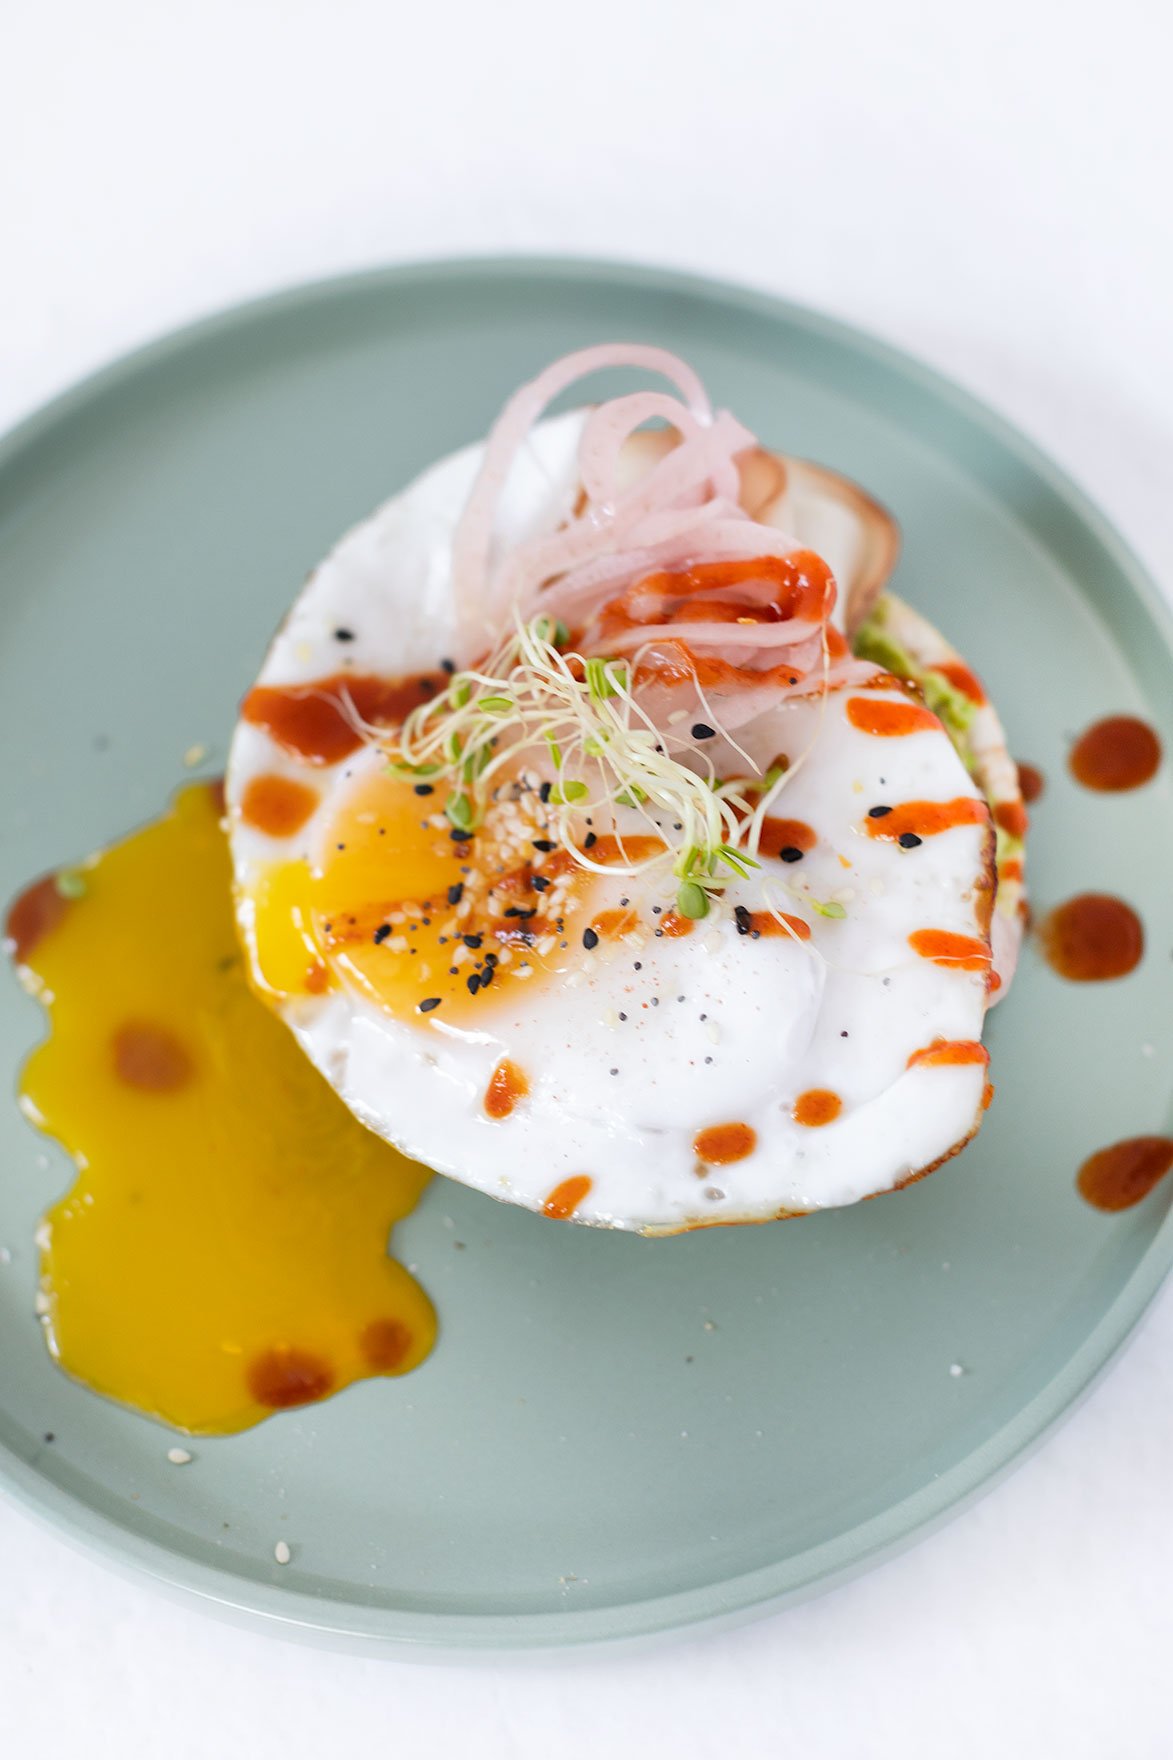
Balanced Rice Cake Snack Combos
As someone who follows more foodie accounts than a normal person should, I usually try to spot major food trends so that I can “beautify” or rather “healthify” for my clients. Hence, healthy crispy chicken salad, crunchwrap supreme, catfish nuggets, and Reese's peanut butter cup to name a few.
But a recipe trend I want to highlight today is an actual health trend that started in the low fat craze of the 1990’s - the rice cake!
If you have ever tasted a plain rice cake on its own - there is literally no flavor. Made with puffed rice pressed together into a cake with maybe a hint of salt. That’s it. And since this started in the 90’s, everyone wanted to swap out bread and crackers for this low calorie substitute.


So are these flavorless, crunchy snacks good for your health? Since plain rice cakes are essentially rice and air, they don’t really have an impressive nutrient profile. They are low in essential vitamins and minerals, basically fat-free and contain very little protein or fiber. Some benefit is that most rice cakes are typically gluten-free and made with whole grains.
But eaten on its own, eating multiple servings in one sitting or choosing a sweet-flavored variety that contains added sugar may raise your blood sugar. As said before, rice cakes are mostly carbs, so combining them with protein, healthy fat and fiber can balance their potential effect on your blood sugar.

Try pairing rice cakes with:
A nut butter, cottage cheese or yogurt with fruit slices
Caprese style (tomato slices, basil, and mozzarella)
White bean spread with veggie slices
Tuna or chicken salad
Avocado toast style (mashed avocado, fried egg, EBTB)
Bagel and lox style (cream cheese or goat cheese, smoked salmon, sliced veggies, fresh dill and lemon)
Turkey sandwich style (pickles, sliced turkey meat, avocado, sprouts)
More rice cake combo inspo on our TikTok!
If you want more balanced meals and snack inspo, check out the Nourished Roots Meal Prep Program!

Massaged Kale Salad
If you are wanting to level up your salad game, then you need to hop on the massaged kale train! This leafy green is absolutely packed with vitamins like A, C, and K, fiber forward, antioxidants and a powerful anti-inflammatory food. But if you are not familiar with eating kale, it can be a tough food to swallow - no pun intended!
Level up your salad game using massaged kale!

If you are wanting to level up your salad game, then you need to hop on the massaged kale train! This leafy green is absolutely packed with vitamins like A, C, and K, fiber forward, antioxidants and a powerful anti-inflammatory food. But if you are not familiar with eating kale, it can be a tough food to swallow - no pun intended!

Luckily for you, using the massaging technique, will have you eating and loving the vegetable in no time.
Kale, being a cruciferous veggie, has a rough texture by nature so to help physically break down the kale to make it easier to digest, we use the massaging method.

Massaging prior to eating is like pre-digesting the kale. All you have to do is give your kale some love by using your hands.
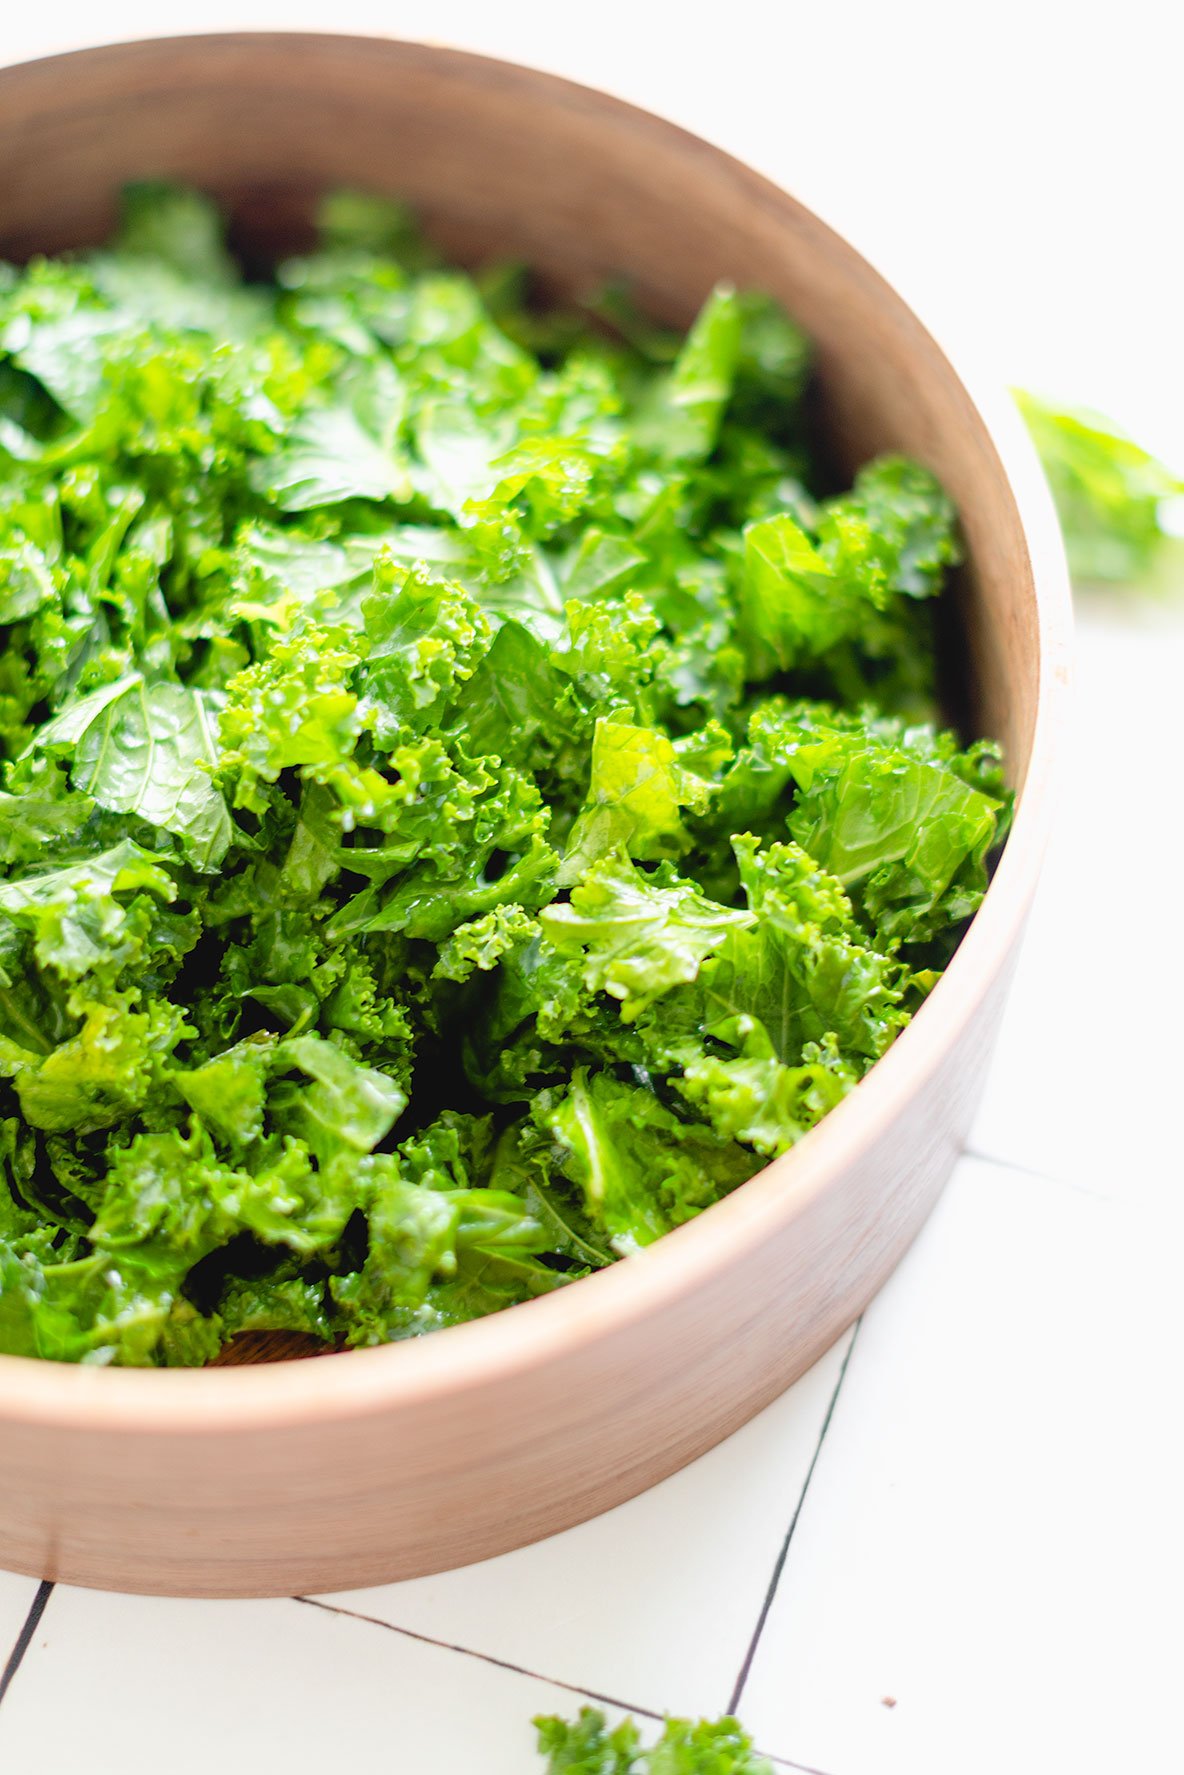
We do this by massaging oil + salt + lemon juice in the kale to help break down the tough, fibrous content in the kale. The kale will visually change before your eyes into a vibrant green and will feel softer in texture.
A bonus about using this method is that it will stay in the refrigerator for a good week even after massaging - unlike other more delicate leafy greens which tend to wilt and become soggy after chopping. Kale will keep its soft but chewy texture without becoming mushy.
That is why, in my new cookbook: The Nourished Cookbook, I show you many ways in how you can add massaged kale into your nourish bowls! It’s a great non-starchy carbohydrate source to batch cook and to pair with so many other base meals! Here are some other massaged kale salad recipes on the blog: Fall Harvest Grain Bowl, Summer Burger Salad, Winter Pear Salad with Citrus Dijon Vinaigrette, and Butternut Squash, Kale, and White Bean Lasagna Soup.

If you try this recipe, let us know! Leave a comment, rate it, and don’t forget to tag a photo to #fromtherootsblog on Instagram. We love seeing what you come up with!
Level up your salad game using massaged kale!
Servings: 4-6 | Prep time: 10 min | Cook time: N/A
Ingredients
4 cups or 3 handfuls of organic raw kale
1-2 tsp olive or avocado oil
Juice of ½ lemon
1 tsp sea salt
Directions
Wash kale thoroughly to remove dirt and de-stem kale leaves. Transfer to a large bowl. Add in the lemon juice and salt. Lightly pour oil onto your hands to coat.
Using a massaging action (similar to kneading bread dough), start to tear the leaves apart and massage. Continue massaging for about 2-5 minutes or until the kale turns a vibrant green and the leaves are soft.
Notes
Can be used as a side dish, a salad base, or as a topping of your choice for a complete meal in a bowl.

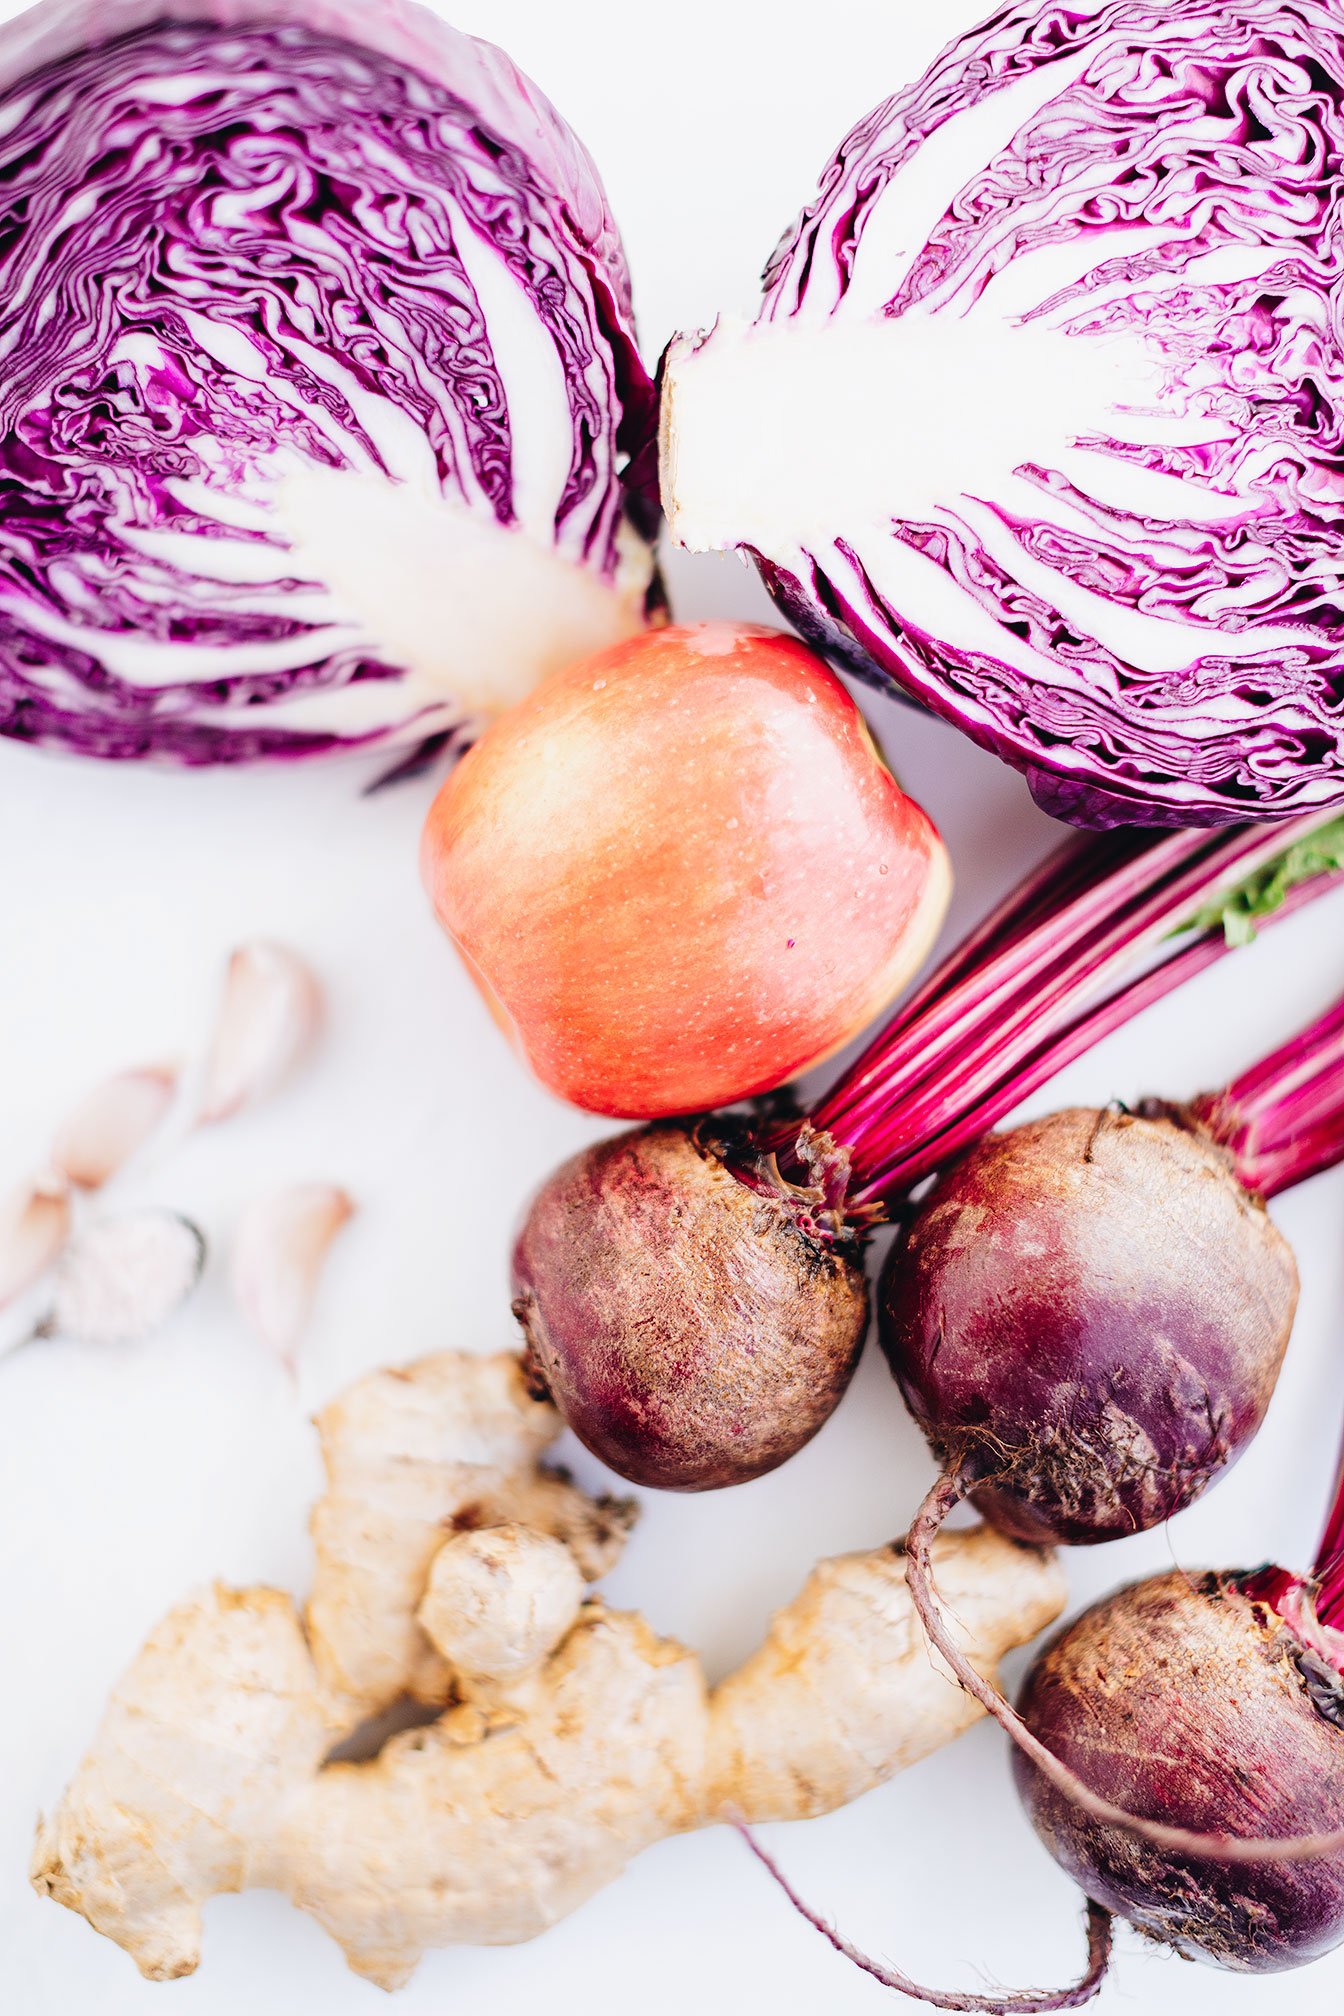
Beet and Cabbage Sauerkraut
Sauerkraut does not have to be a daunting task, people! It can actually be pretty fun! Requiring 10-20 minutes of prep time, then letting nature take its course.
There are many sauerkraut flavor variations but for this recipe, we are using red beets, red cabbage, ginger and apple - inspired by my favorite store bought sauerkraut - Wildbrine red beet and cabbage sauerkraut.
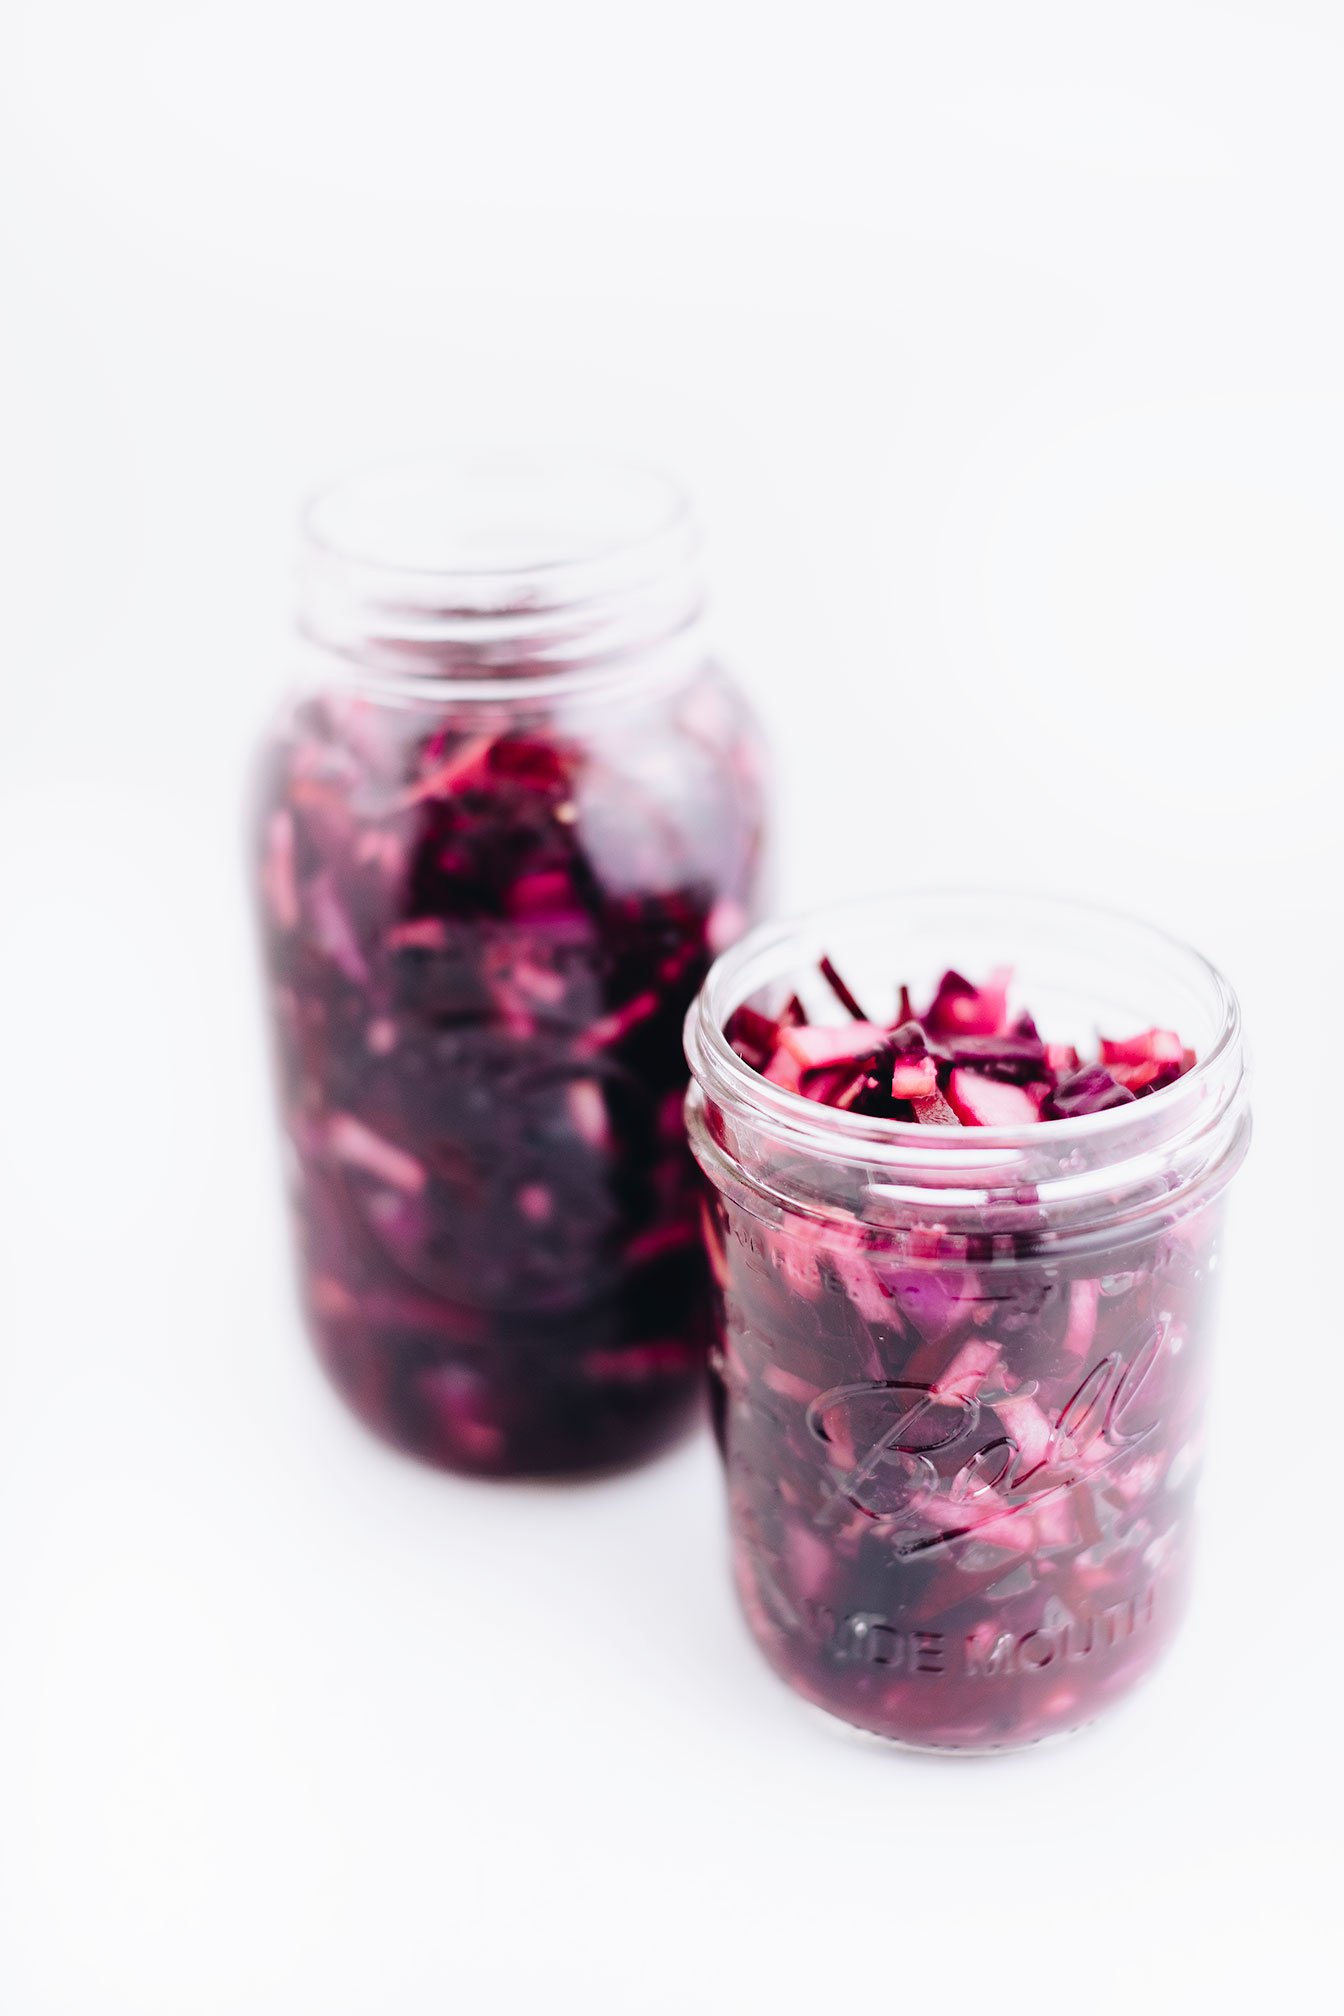
A simple yet flavorful small batch beet and cabbage sauerkraut recipe that is packed with probiotics and beneficial bacteria.

Sauerkraut does not have to be a daunting task, people! It can actually be pretty fun! Requiring 10-20 minutes of prep time, then letting nature take its course.
There are many sauerkraut flavor variations but for this recipe, we are using red beets, red cabbage, ginger and apple - inspired by my favorite store bought sauerkraut - Wildbrine red beet and cabbage sauerkraut.
The sweet and tangy flavors seem to pair nicely with most dishes (i.e. eggs, sandwiches, tacos, wraps and if you are a part of the Nourishment program - nourish bowls!) as well as provide amazing texture to a dish!

Typically, when we talk about foods that are rich in probiotics, we’re referring to foods that have been bacterially fermented. They help introduce beneficial bacteria into our digestive tracts, help keep harmful bacteria at bay, provide helpful digestive enzymes, are nutrient dense, and are low cost - in fact, the ingredients cost $6 to make and it produced 30+ servings!
Gut Friendly Tip
When buying Kombucha, water kefir, or sauerkraut, look for “raw” or “unpasteurized” on the packaging. Pasteurization applies high heat to a food in order to kill bacteria (pathogenic contaminants and probiotics). While this process extends shelf life, it also kills all the wonderful microbes that make these foods uniquely beneficial!

If you try this recipe, let us know! Leave a comment, rate it, and don’t forget to tag a photo to #fromtherootsblog on Instagram. We love seeing what you come up with!
A simple yet flavorful small batch beet and cabbage sauerkraut recipe that is packed with probiotics and beneficial bacteria.
Prep Time: 20 minutes Yield: 30+ servings
Ingredients
1 small red cabbage (finely shredded or chopped)
2 medium raw beets (finely shredded or chopped)
1 inch ginger root (grated)
3 cloves garlic (optional) (grated)
1 medium red apple (honeycrisp) or pear (finely chopped)
2 tsp celtic sea salt
Directions
Prepare ingredients by finely chopped / mandolin sliced cabbage and raw beets.
Sterilize any equipment that you will be using (i.e. mason jars) to allow for proper fermentation. You can do this by pouring boiling water over clean jars/lids and drying completely. Allow the temperature to come back to room temperature before adding ingredients.
To a large mixing bowl, add the finely shredded cabbage and top with salt. Wash hands thoroughly and massage cabbage for ten minutes. You will notice when to stop massaging the cabbage when it starts to soften, shrink in size, and release water.
Add shredded beet, ginger, garlic, and apple and massage once more with clean hands for an additional 5 minutes. Taste test and adjust flavor, grated ginger for more zing, salt for more saltiness, or garlic for more garlicky flavor.
Place mixture and juice in sterilized mason jars and pack it down with a muddler or with the end of a wooden spoon.
If there is not enough liquid to cover, mix one tsp sea salt with 1 cup filtered water and fill until the mixture is submerged - leaving at least an inch of space at the top of the jar.
Cover the jar loosely with the lid and transfer on a pan or bowl (for catching any liquid during the fermentation process)
Place in a dark place (out of direct sunlight) (ideally 65 degrees F). Fermentation may take longer if room temperature is on the colder side.
Check for activity (tiny bubbles should rise to the top) after 3-4 days. The longer it sits and ferments (up to 2-3 weeks), the tangier it will become, so sample occasionally with a clean utensil. Once it has reached the desired tanginess, cover securely and transfer to the fridge when ready to eat.
Sauerkraut should be kept in the fridge for at least 3-6 months.
Notes
Liquid will naturally seep out during the first few days of fermentation as carbon dioxide - bubbles will be produced. That is why it’s best to sit your jars in a pan or bowl!
You need the natural bacteria from a whole cabbage so please do not use pre-shredded cabbage.
Any cabbage that is exposed to air will likely get moldy. Feel free to remove the mold if it is just on the top, you likely can salvage the rest. Always trust your sense of smell though. Fermented cabbage mixture should smell pleasantly sour. Never eat anything that smells yeasty or frankly repulsive.
SHOP OUR FAVORITE TOOLS + INGREDIENTS FOR THIS RECIPE!


Fire Cider Bone Broth
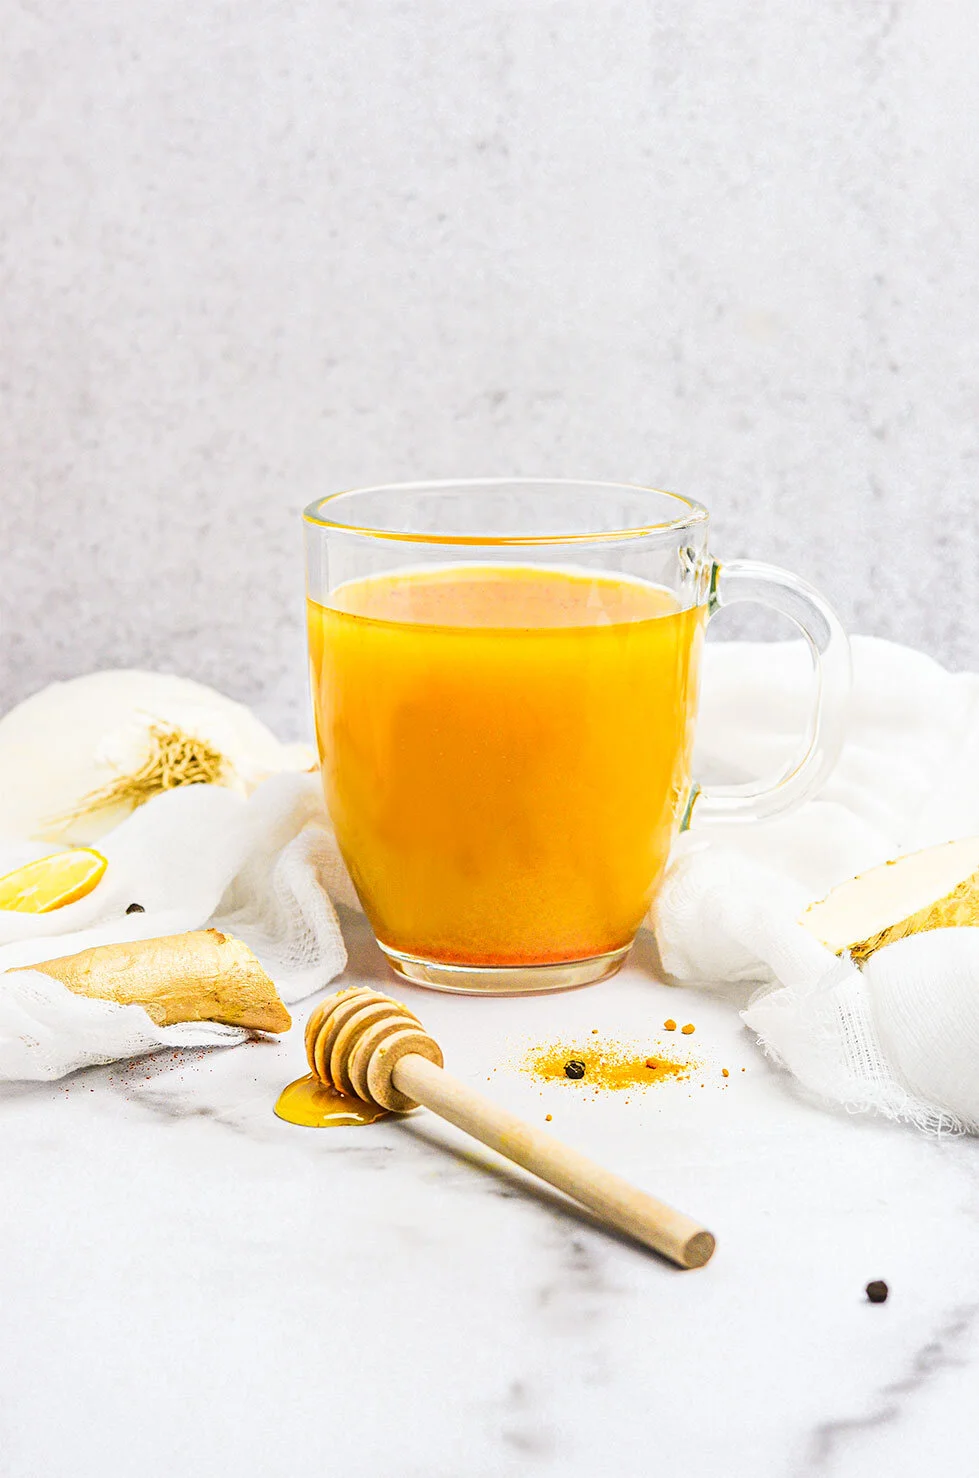
Fire cider bone broth is so easy to make, you probably have most of the ingredients in your pantry or fridge already! So during the cold winter months, you want to make sure you have this bone broth close by as a preventive measure against the cold and flu.
The basic ingredients are bone broth, apple cider vinegar, turmeric, horseradish, ginger, black peppercorns, honey, lemons, onion, garlic, cayenne pepper and jalapenos. Okay...I know what you are thinking, this combination sounds strange! Just trust me, it’s so tasty! It’s earthy, zingy, sour, heat with a touch of sweet notes that will wake your sinuses up in the best way possible!
Fire Cider Bone Broth - Combining gut health restoration with immunity goodness, this fire cider bone broth will become an established staple in your house during these cold winter months.
Fire cider bone broth is so easy to make, you probably have most of the ingredients in your pantry or fridge already! So during the cold winter months, you want to make sure you have this bone broth close by as a preventive measure against the cold and flu.
The basic ingredients are bone broth, apple cider vinegar, turmeric, horseradish, ginger, black peppercorns, honey, lemons, onion, garlic, cayenne pepper and jalapenos. Okay...I know what you are thinking, this combination sounds strange! Just trust me, it’s so tasty! It’s earthy, zingy, sour, heat with a touch of sweet notes that will wake your sinuses up in the best way possible!

But if that doesn’t convince you, maybe the health benefits per ingredient will!

Raw Apple Cider Vinegar - Raw apple cider vinegar includes “The Mother” which is the cloudy substance floating in some bottles of vinegar. The mother is believed to be rich in health-boosting natural protein, healthy bacteria (probiotics) and acetic acid. The vinegar itself is antimicrobial, improves insulin resistance and has antifungal properties.
Horseradish Root - This specific root provides that hot, pungent effect in your nose and sinuses that can sometimes be used to relieve congestion. It also releases a strong anti-inflammatory and antibiotic compound called ally isothiocyanate. Other uses include boosting the immune system, treating sinus infections, preventing UTIs and aid in digestion.
Honey - Not only does honey contain a host of health properties, like being antimicrobial, it provides the bone broth a touch of sweetness that offsets the pungent flavors. To help with allergies, you need to get local, raw honey. This will insure that the honey has the allergens native to the area you live in.
Lemons - Contain high levels of calcium, magnesium, phosphorus and vitamin C that is great for boosting the immune system. Lemons are also great as a cleanser, purifier, rejuvenator, and detoxifier, especially for the liver, as they help in fat metabolism.
Garlic - Known as the “king of herbs”! It has been used for medicinal purposes for the common cold and flu and seems to help purify the body and may have immune-enhancing properties. Garlic contains a mineral, sulfur, that promotes elimination of toxins from the blood, lymph, and body.

Bone Broth - Is one of the most beneficial foods to consume to restore gut health and therefore support immune system function and healthy inflammation response. Collagen/gelatin and the amino acids proline, glutamine, and arginine help seal these openings in the gut lining and support gut integrity.
Onions - The effects of onions is similar to, although more subtle than that of garlic. Like garlic, onions have a characteristic odor from the active sulfur bonds that release its purifying properties. For this drink in particular, the onion flavor really enhances the overall full-bodied flavor we are trying to achieve.
Peppers - The chilis and cayenne peppers contain capsaicin, with medicinal properties in cleansing the blood and stimulating the circulation. They also stimulate the gastric secretions and help digestion. The seeds surrounding the inner core of the peppers often concentrate the hot nature, so if you don’t like your food too spicy, you can take out the seeds.
Ginger - The classic digestive tonic that actually has multiple benefits for the digestive tract, including toning of the intestinal muscles, improving bile flow, helping in the digestion of fats, and lessening the risk of inflammation along the lining of the intestines. Fun fact: ginger is also a diaphoretic (causes sweating) that helps in circulation and in warming the body when we feel cold, so great during the colder winter months!
Turmeric - The much-loved anti-inflammatory spice! This plant is a member of the ginger family and shares some of its anti-inflammatory properties with that spice. Like ginger, turmeric lowers the level of messaging molecules that trigger inflammation. It also lowers levels of nitric oxide and is associated with a more favorable overall balance of immune system messaging molecules (called cytokines).
Black Pepper - Think of black pepper as turmeric’s wing man! Black pepper helps to increase the absorption and metabolization of curcumin (a curcuminoid polyphenol found in turmeric).

As you can see, these ingredients follow the same pattern in boosting the immunity while providing gut relief. You can also include other ingredients to your broth like cinnamon sticks, echinacea, rosemary, and other types of citrus fruits and peppers depending on your taste preferences.
To make the fire cider, you want to make sure that your fruit and roots are organic and properly washed. In order to get the most nutritional value from each ingredient, I would roughly chop the onions and pepper, grate the roots, zest and juice the lemon, and crush the garlic cloves. I have also included a way to make this in tonic form (no heat, long fermentation) in the Notes section.


Disclaimer: This post is not a substitute for medical advice. If you are suffering from cold or flu like symptoms or have a weakened immune system, please see your healthcare provider!
References: Haas, E. M., & Levin, B. (2006). Staying healthy with nutrition: The complete guide to diet and nutritional medicine (21st century edition ed.). Berkeley, CA: Celestial Arts.
https://www.stephgaudreau.com/how-to-make-fire-cider-tonic/
If you try this recipe, let us know! Leave a comment, rate it, and don’t forget to tag a photo to #fromtherootsblog on Instagram. We love seeing what you come up with!
Fire Cider Bone Broth - Combining gut health restoration with immunity goodness, this fire cider bone broth will become an established staple in your house during these cold winter months.
Ingredients
16 oz bone broth
1 lemon (juice & zest)
Knob of fresh ginger root (grated)
Knob of fresh horseradish root (grated)
Knob of fresh turmeric root (grated) or 1 tsp - 1Tbsp turmeric powder
1 tsp of whole black peppercorns
2 Tbsp raw apple cider vinegar
1 Tbsp raw local honey (if possible)
1 jalapeno (sliced)
3 cloves garlic (crushed)
½ small onion (chopped)
Couple dashes of cayenne pepper
Directions
Add all the ingredients to a medium saucepan on medium heat.
The broth should come to a boil, then reduce heat and simmer for 5-10 minutes. Taste and adjust flavor as needed. The broth should have the perfect amount of zing, acidity, and kick! Then turn off the heat.
Set a strainer over a medium bowl or large measuring cup to strain the liquid away from the solids. If the bone broth is too potent for you, dilute with hot water or more bone broth.
Store (strained) leftovers in the refrigerator up to 2-3 days. Reheat on the stovetop until just warm.
Notes
If there are certain ingredients that you don’t like or like more of, feel free to change the measurements to preference. *Just make sure to keep black pepper with turmeric as they work concurrently as an anti-inflammatory.
The final product will taste differently depending on what bone broth brand you use as some brands have added flavorings to their broth. To make sure you are in control of the flavoring, I would use this bone broth brand as the broth in itself is very mild tasting: Bonafide Provisions
You can also turn this recipe into a tonic! Simply replace bone broth with water and/or raw apple cider vinegar and add all ingredients (minus honey) to a large 32 oz Mason jar. Make sure you fill to the neck of the jar with vinegar. Place a small piece of wax paper underneath the lid, fit the lid on the jar tightly and place in a dark area (like a cabinet) for 30 days. Every day, make sure you invert the jar a couple times to make sure everything is mixed. After a month, strain the liquid away from the solids. Add honey and mix until dissolved. Store tonic in a bottle in the fridge.