Sort by Category
- September 2025
- August 2025
- June 2025
- August 2024
- July 2024
- June 2024
- May 2024
- February 2024
- January 2024
- December 2023
- November 2023
- October 2023
- September 2023
- August 2023
- July 2023
- March 2023
- February 2023
- January 2023
- December 2022
- November 2022
- October 2022
- September 2022
- August 2022
- June 2022
- May 2022
- April 2022
- March 2022
- February 2022
- January 2022
- December 2021
- November 2021
- October 2021
- September 2021
- August 2021
- July 2021
- June 2021
- May 2021
- April 2021
- March 2021
- February 2021
- January 2021
- December 2020
- November 2020
- October 2020
- September 2020
- August 2020
- July 2020
- June 2020
- May 2020
- April 2020
- March 2020
- February 2020
- January 2020
- December 2019
- November 2019
- October 2019
- September 2019
- August 2019
- July 2019
- June 2019
- May 2019
- April 2019
- March 2019
- February 2019
- January 2019
- December 2018
- November 2018
- October 2018
- September 2018
- August 2018
- July 2018
- June 2018
- May 2018
- April 2018
- March 2018
- February 2018

Fig, Vanilla & Orange Energy Balls
This fall inspired fig, vanilla and orange energy balls are a fresh flavor twist on the classic fig newton bar!
Classic fig newton inspired energy balls were developed for some friends that are hiking the Grand Canyon rim to rim.
Key points that had to be achieved for this recipe:
1| to provide energy
2| clean carbohydrate source
3| fig newton-like flavor that tastes good!
This fall inspired fig, vanilla and orange energy balls are a fresh flavor twist on the classic fig newton bar!

Classic fig newton inspired energy balls were developed for some friends that are hiking the Grand Canyon rim to rim.
Key points that had to be achieved for this recipe:
1| to provide energy
2| clean carbohydrate source
3| fig newton-like flavor that tastes good!


And that is how these fig, vanilla and orange energy balls came about! So if you are hiking the Grand Canyon rim to rim or just simply about to start a workout, need an afternoon snack pick me up or a healthy dessert alternative, then you are at the right place!

If you try this recipe, let us know! Leave a comment, rate it, and don’t forget to tag a photo to #fromtherootsblog on Instagram. We love seeing what you come up with!
This fall inspired fig, vanilla and orange energy balls are a fresh flavor twist on the classic fig newton bar!
18-24 balls | Prep Time: 10 Min | Cook time: N/A
Ingredients
1 cup dried figs
½ cup medjool dates
½ cup pecans
½ cup almonds
½ cup walnuts
1 tsp vanilla extract
¼ cup ground cinnamon
Zest of orange
Splash or two of orange juice
Directions
Place all ingredients in a food processor and pulse on high to combine. You may need to stop in between to scrape down the sides of the processor with a rubber spatula.
Blend and pulse for about 2-3 minutes, until the mixture starts to clump. Depending on how fresh your dates or figs are, you may need to add 1 Tbsp increments of water to help break down the mixture.
Using a cookie scooper or 1 Tbsp measuring spoon, scoop mixture out and roll into balls. Store in an airtight container in the fridge for up to two weeks. Can store in the freezer for up to 3 months.

Banana Nut Muffins
Muffins are a staple at my house! Not only are they great as a carb source for breakfast, but they are great as a grab and go snack! What I just now realized is that I have more muffin recipes on the blog than anything else!
Another realization is that I have not one but two banana style recipes. The infamous paleo banana nut bread naturally sweetened with just bananas and 5-ingredient banana bread muffins that is also in the Nourished Cookbook!
I may be mildly obsessed…
Banana Nut Muffins - Light, fluffy, gluten-free and dare I say moist and delicious!

Muffins are a staple at my house! Not only are they great as a carb source for breakfast, but they are great as a grab and go snack! What I just now realized is that I have more muffin recipes on the blog than anything else!
Another realization is that I have not one but two banana style recipes. The infamous paleo banana nut bread naturally sweetened with just bananas and 5-ingredient banana bread muffins that is also in the Nourished Cookbook!
I may be mildly obsessed…


But this recipe variation in particular is my pantry/fridge clean out - banana nut recipe. Why? Because the ingredients are so practical!

I typically have all of these ingredients in my fridge or pantry and do not realize it until some bananas are looking a little brown and I need to think fast on my feet!
Don’t have overripe bananas but need them fast to make this recipe!?
The fastest way to ripen bananas for baking is to just bake them! Simply preheat your oven to 400 degrees F, place your bananas on a baking sheet, and bake them for five minutes, until they’re browned. That’s it!

If you try this recipe, let us know! Leave a comment, rate it, and don’t forget to tag a photo to #fromtherootsblog on Instagram. We love seeing what you come up with!
Banana Nut Muffins - Light, fluffy, gluten-free and dare I say moist and delicious!
Servings: 12 muffins | Prep Time: 5 min | Cook Time: 20 min
Ingredients
1 ½ cups 1:1 gluten-free flour
3 medium overripe bananas, mashed
1 tsp baking powder
1 tsp baking soda
½ tsp salt
1 tsp cinnamon
1 tsp pumpkin spice seasoning
1 egg, room temperature
½ cup coconut oil or grass-fed butter, melted
¼ cup maple syrup
2 Tbsp coconut milk or milk of choice
¼ - ½ cup coconut sugar (depending on your sweet level)
1 tsp vanilla extract
½ cup walnuts, chopped
Directions
Preheat the oven to 375 degrees F and line a muffin tin with muffin cups or spray tin with oil spray.
Mash the bananas with a fork or meat masher in a mixing bowl. Add all the wet ingredients (egg, oil, syrup, milk, vanilla) and coconut sugar to the mixing bowl and whisk together until combined.
In a separate bowl, add the dry ingredients (flour, baking soda and powder, salt, spices) and whisk together until combined. Add your dry ingredients into the wet ingredients and whisk together until batter is thick yet pourable. Add the chopped walnuts and fold in until combined.
Evenly divide the batter between 12 muffin cups. Sprinkle a little extra chopped nuts on top.
Bake the muffins for 20-22 minutes or until a toothpick comes out clean and they’re lightly golden on top. Enjoy!
Notes
Don’t have overripe bananas? That’s okay! Simply, preheat your oven to 400 degrees F, place your bananas on a baking sheet, and bake them for 5 minutes, until they’re browned. That’s it!

Balanced Rice Cake Snack Combos
As someone who follows more foodie accounts than a normal person should, I usually try to spot major food trends so that I can “beautify” or rather “healthify” for my clients. Hence, healthy crispy chicken salad, crunchwrap supreme, catfish nuggets, and Reese's peanut butter cup to name a few.
But a recipe trend I want to highlight today is an actual health trend that started in the low fat craze of the 1990’s - the rice cake!
If you have ever tasted a plain rice cake on its own - there is literally no flavor. Made with puffed rice pressed together into a cake with maybe a hint of salt. That’s it. And since this started in the 90’s, everyone wanted to swap out bread and crackers for this low calorie substitute.


So are these flavorless, crunchy snacks good for your health? Since plain rice cakes are essentially rice and air, they don’t really have an impressive nutrient profile. They are low in essential vitamins and minerals, basically fat-free and contain very little protein or fiber. Some benefit is that most rice cakes are typically gluten-free and made with whole grains.
But eaten on its own, eating multiple servings in one sitting or choosing a sweet-flavored variety that contains added sugar may raise your blood sugar. As said before, rice cakes are mostly carbs, so combining them with protein, healthy fat and fiber can balance their potential effect on your blood sugar.

Try pairing rice cakes with:
A nut butter, cottage cheese or yogurt with fruit slices
Caprese style (tomato slices, basil, and mozzarella)
White bean spread with veggie slices
Tuna or chicken salad
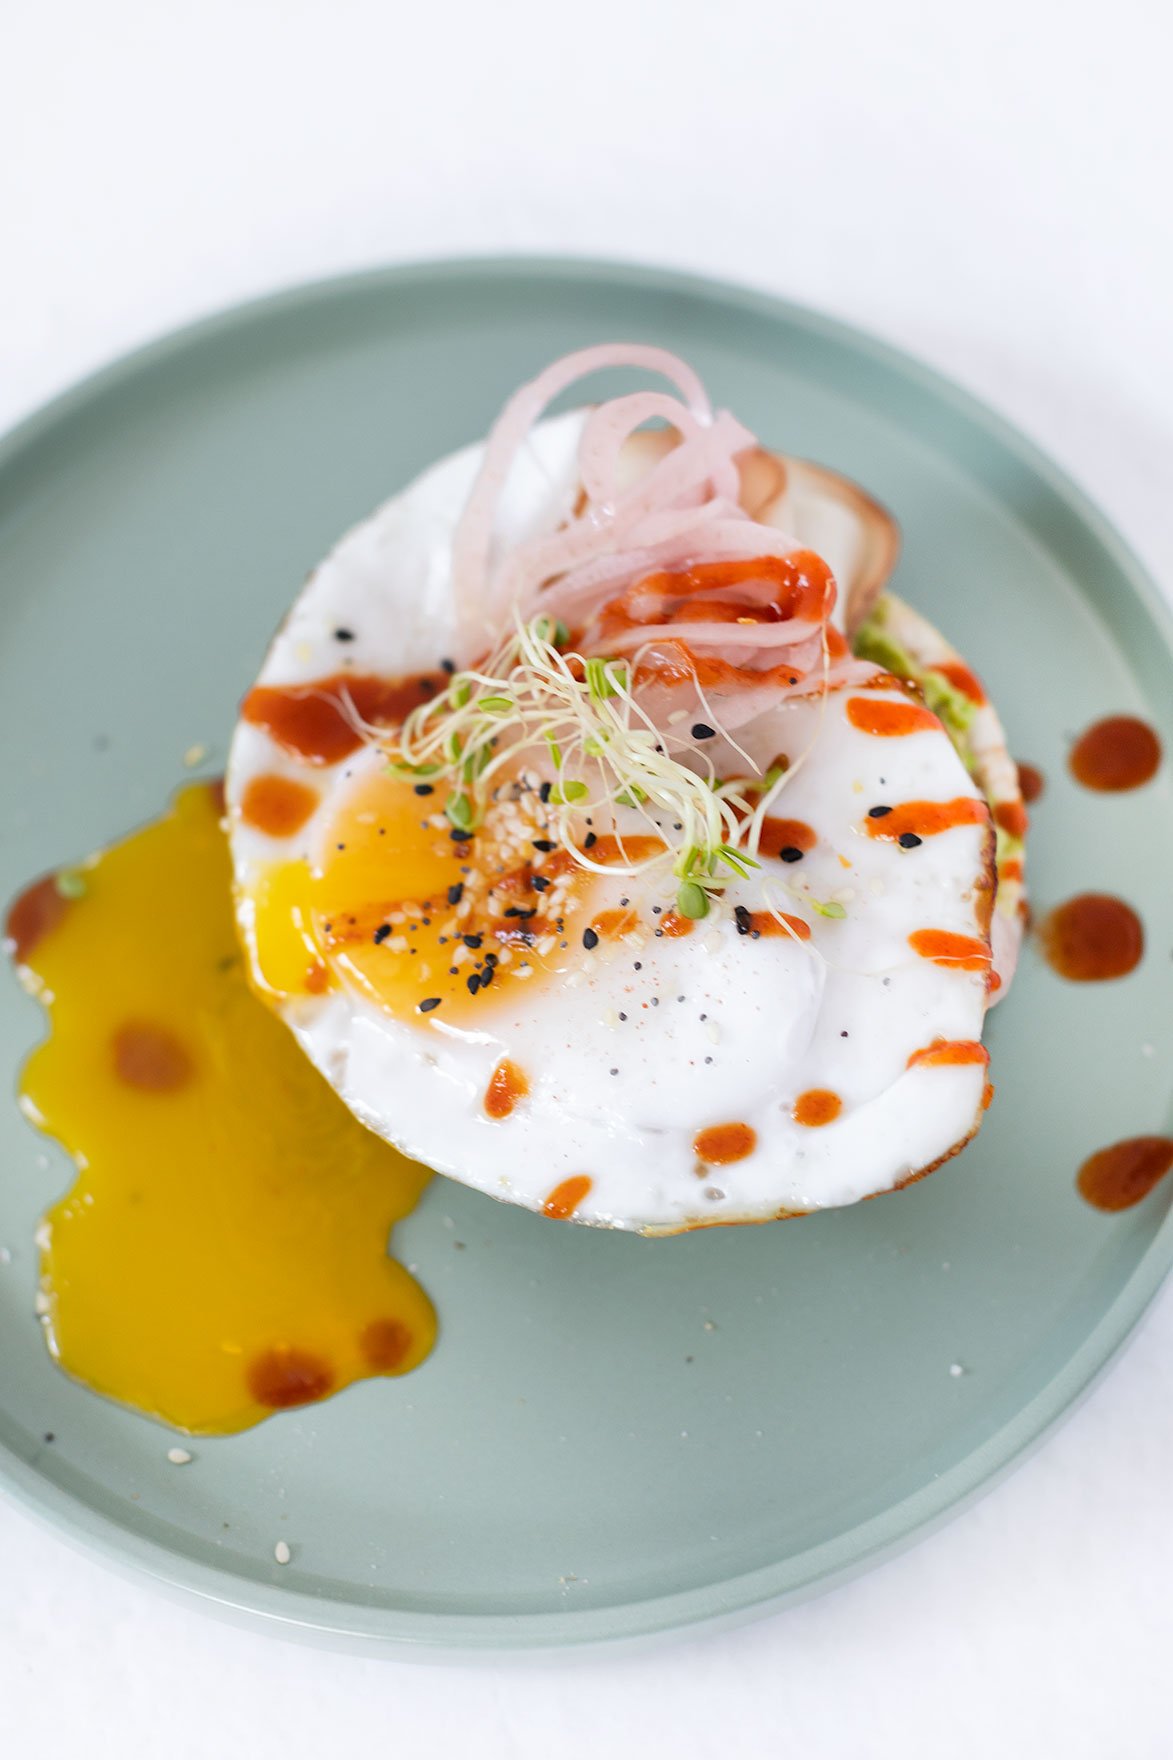
Avocado toast style (mashed avocado, fried egg, EBTB)
Bagel and lox style (cream cheese or goat cheese, smoked salmon, sliced veggies, fresh dill and lemon)
Turkey sandwich style (pickles, sliced turkey meat, avocado, sprouts)
More rice cake combo inspo on our TikTok!
If you want more balanced meals and snack inspo, check out the Nourished Roots Meal Prep Program!
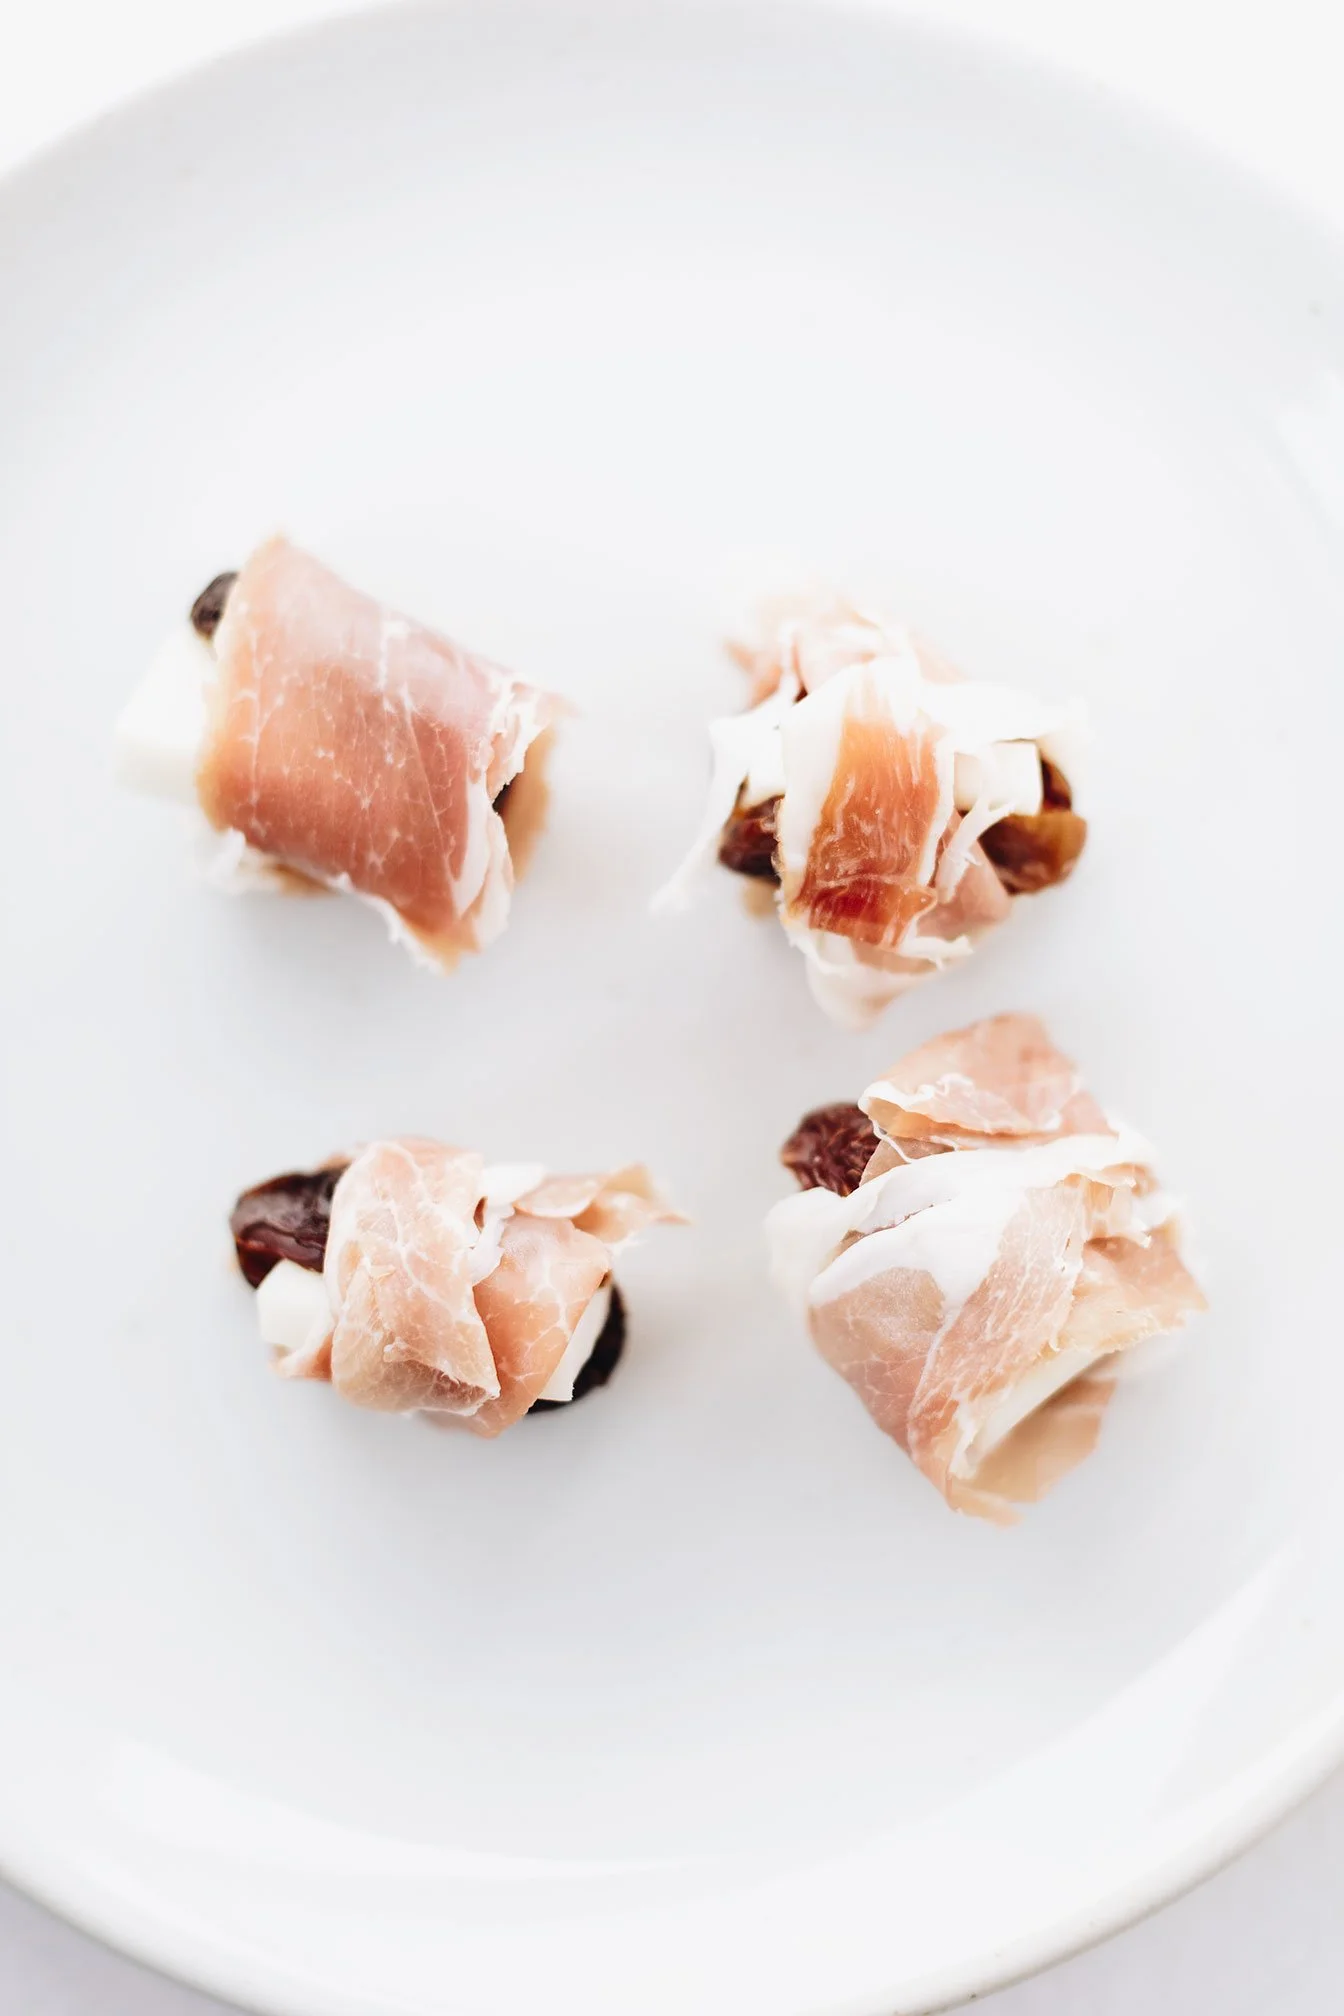
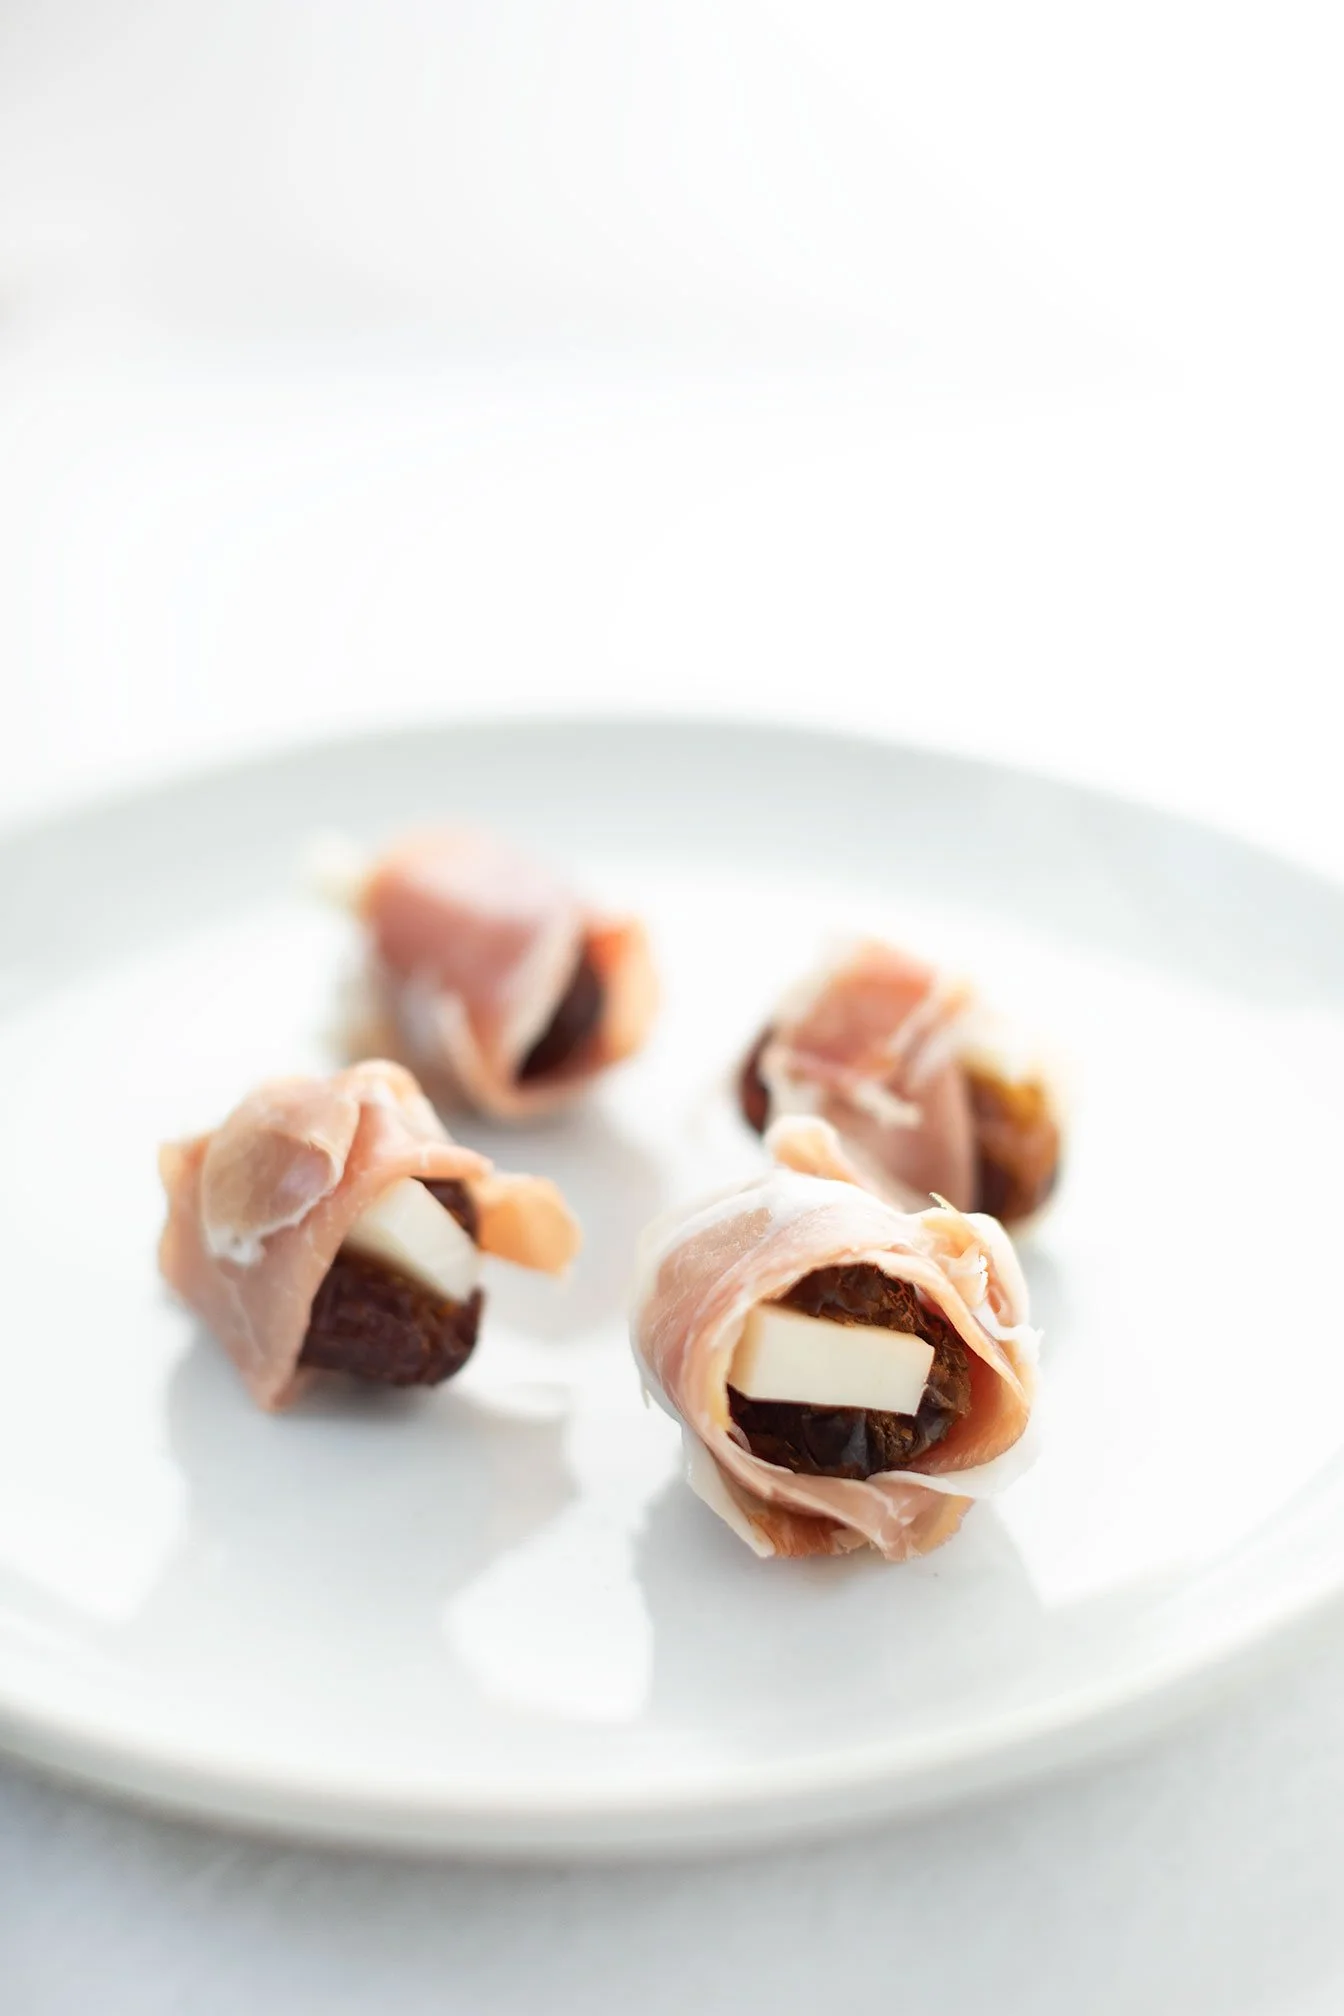
Medjool Date Snacks
Snacks don’t have to be complex and include every ingredient in your pantry. If anything, snacks need to be simple. They need to be a quick grab-and-go and something to whip up fast as you need something ready before or after your workout, to help stabilize blood sugar, or to tie you over before a late dinner reservation.
So that is why I’m showing you my favorite carb source - medjool dates and the many medjool date snack ideas you can do to make sure your date is macro balanced, less than 5 ingredients, and is a quick grab and go snack!
Medjool Date Snacks - 10+ easy and healthy ways to create the perfect mates for dates!

Snacks don’t have to be complex and include every ingredient in your pantry. If anything, snacks need to be simple. They need to be a quick grab-and-go and something to whip up fast as you need something ready before or after your workout, to help stabilize blood sugar, or to tie you over before a late dinner reservation.


So that is why I’m showing you my favorite carb source - medjool dates and the many medjool date snack ideas you can do to make sure your date is macro balanced, less than 5 ingredients, and is a quick grab and go snack!

The OG lately, medjool date + goat cheddar cheese + prosciutto. The perfect blend of sweet, smokey and salty! I also like it because it’s very reminiscent of having a charcuterie board in one bite! (*bonus if you elevate it with honey or balsamic glaze drizzle and crushed nuts like pistachio.)

Other great medjool date snack combinations are:
salted chocolate peanut butter date
Ex: stuff the date with peanut butter and top with an almond and some crunchy sea salt and dip the bottom in dark chocolate
Cheese + nut combo date
Ex: Stuff the date with cheese like a slice of brie and a nut like pecan.
Italian inspired date
Ex: Stuff the date with goat cheese and some sun-dried tomato pieces, and top with basil chiffonade.
Wrapped in bacon date
Ex: Stuff the date with cheese of choice like goat cheese, wrapped in bacon and cook in the oven for 350 degrees - 10 min on both sides or until bacon is crispy! Sprinkle with pistachio and honey if desired.


Apple Pie Granola
Apple pie granola is naturally sweetened, gluten-free and full of fall flavor! Enjoy with milk, yogurt, kefir, smoothie or just by the handful as a snack!
Summer is over and fall is here so what better way to kick off the fall season than with an apple spice inspired recipe!?
I truly love this recipe as I have made it a few times last year and never came around to posting it - mainly because I couldn’t stop eating it! Haha I was also distracted by how it made my kitchen smell like a freshly baked apple pie!
Apple pie granola is naturally sweetened, gluten-free and full of fall flavor! Enjoy with milk, yogurt, kefir, smoothie or just by the handful as a snack!

Summer is over and fall is here so what better way to kick off the fall season than with an apple spice inspired recipe!?
I truly love this recipe as I have made it a few times last year and never came around to posting it - mainly because I couldn’t stop eating it! Haha I was also distracted by how it made my kitchen smell like a freshly baked apple pie!


This apple pie granola is made with items you probably have in your pantry - oats, nuts and seeds, spices from last fall, an applesauce jar that you forgot was there! haha.
Making homemade granola is super easy to do - and once you get down the mix, spread, bake method - you can create a myriad of flavorful granola combinations!


Here are a few tips that makes the perfect granola each and every time:
Spread your mixture super thin! The thinner you can get your granola to spread, the more crispy and crunchy you can get it.
Set it and forget it! This is the most crucial part of granola making. After the granola comes out of the oven, allow it to cool completely before touching it. This will also end in crispy granola.

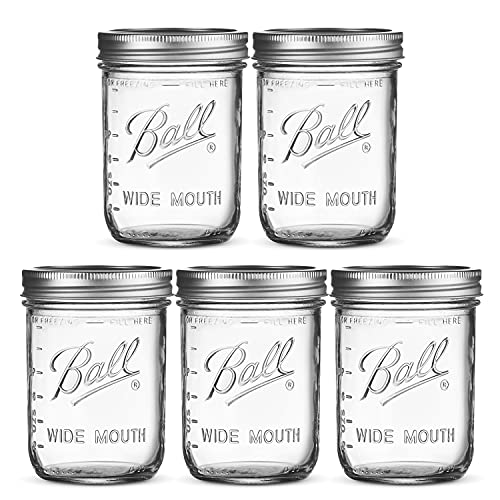
Another big thing is storing your homemade granola. Store your granola in an airtight container on the counter at room temperature. Homemade granola will last for about 1-2 weeks!
If you are looking for more apple inspired recipes, check out my cinnamon apple streusel muffins, apple cider churro donuts, adrenal cream cider, beet and cabbage sauerkraut, fall harvest grain bowl and classic healthy chicken salad.

If you try this recipe, let us know! Leave a comment, rate it, and don’t forget to tag a photo to #fromtherootsblog on Instagram. We love seeing what you come up with!
Apple pie granola is naturally sweetened, gluten-free and full of fall flavor! Enjoy with milk, yogurt, kefir, smoothie or just by the handful as a snack!
Serving: 12 | Prep: 5 min | Cook: 30 min
Ingredients
3 cups old fashioned oats
1 cup pecans
½ cup flaxseeds
½ cup unsweetened applesauce
½ cup sunflower or pumpkin seeds
⅓ cup coconut oil or ghee (melted)
¼ cup pure maple syrup
2 tsp ground cinnamon
1 tsp ground cardamom
1 tsp vanilla extract
½ tsp apple pie seasoning blend (optional)
½ tsp sea salt
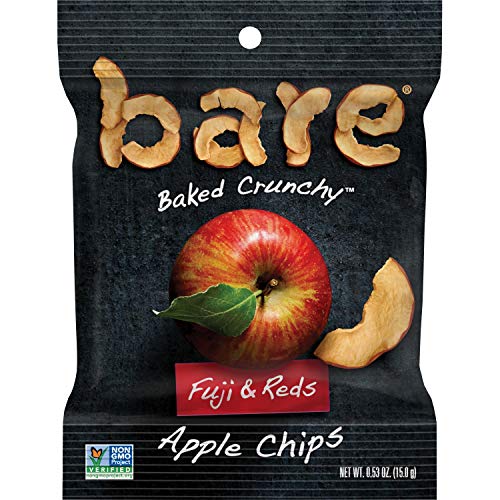
1 cup dried apple slices
1 cup currants or raisins (optional)
Directions
Preheat the oven to 325 degrees and line a baking sheet with parchment paper. Set aside.
In a small bowl, prepare the wet ingredients (applesauce, oil, vanilla extract, maple syrup) and whisk until combined.
In a larger bowl, prepare the dry ingredients (oats, pecans, flaxseeds, sunflower seeds, seasonings, and salt) and until combined.
Pour the wet into the dry mixture and mix thoroughly. Ensure all the oats are coated.
Next, spread the granola mixture as thin as possible on a baking sheet. The thinner you spread, the crunchier your granola will be. Optional, but sprinkle coconut sugar on top!
Bake for 23-28 minutes, removing halfway to flip. You want to make sure the oats are fully brown without over browning the pecans. On your last flip, remove from the oven and let cool completely before touching it! Once cooled, break up the granola into clusters and add the cup of dried apple slices and optional toppings. Enjoy on its own, with milk, kefir, yogurt, or on a smoothie!
SHOP OUR FAVORITE TOOLS + INGREDIENTS FOR THIS RECIPE!