Sort by Category
- February 2024
- January 2024
- December 2023
- November 2023
- October 2023
- September 2023
- August 2023
- July 2023
- March 2023
- February 2023
- January 2023
- December 2022
- November 2022
- October 2022
- September 2022
- August 2022
- June 2022
- May 2022
- April 2022
- March 2022
- February 2022
- January 2022
- December 2021
- November 2021
- October 2021
- September 2021
- August 2021
- July 2021
- June 2021
- May 2021
- April 2021
- March 2021
- February 2021
- January 2021
- December 2020
- November 2020
- October 2020
- September 2020
- August 2020
- July 2020
- June 2020
- May 2020
- April 2020
- March 2020
- February 2020
- January 2020
- December 2019
- November 2019
- October 2019
- September 2019
- August 2019
- July 2019
- June 2019
- May 2019
- April 2019
- March 2019
- February 2019
- January 2019
- December 2018
- November 2018
- October 2018
- September 2018
- August 2018
- July 2018
- June 2018
- May 2018
- April 2018
- March 2018
- February 2018

Halloween Munch Dark Chocolate Bark
Halloween bark recipe is as simple as they come! Using only 3-ingredients to make the bark, and topped with your favorite go-to halloween candy products or venturing out into the healthier but still spookier side!
Halloween munch dark chocolate bark is a fun and creative way of using healthier Halloween candy products!

For October’s virtual cooking class, I wanted to create a fun, festive and kid friendly dessert using healthier candy products. It’s so easy to switch out sugar and overly processed-filled Halloween candy products with healthier brands like Yum Earth, That’s It, Hu Kitchen and so much more (product recommendations for this recipe at the bottom!)


Halloween bark recipe is as simple as they come! Using only 3-ingredients to make the bark, and topped with your favorite go-to halloween candy products or venturing out into the healthier but still spookier side!

FAQs and tips on making dark chocolate bark:
After the chocolate has cooled, it is hard to spread or for toppings to stick so work quickly while your chocolate is still warm!
Storage? If the chocolate bark is set out at room temperature for too long, it will start to melt so best to store in the fridge for about a week or the freezer for 2 months. Don’t expect it to last that long in your house, though!
A spatula or back of a spoon are the best tools to spread the chocolate across a parchment paper lined baking sheet.
You can obviously use a double broiler to melt your chocolate but the fastest and easiest method is simply using a microwave! Microwave in 30 second increments while stirring until melted.


Other great Halloween recipes: spookylicious green smoothie
If you try this recipe, let us know! Leave a comment, rate it, and don’t forget to tag a photo to #fromtherootsblog on Instagram. We love seeing what you come up with!
Halloween munch dark chocolate bark is a fun and creative way of using healthier Halloween candy products!
SERVINGS: 6-8 | PREP TIME: 5 MIN | COOK TIME: N/A
Ingredients
2 cups dark chocolate chips (about 12 oz)
1/3 cup white chocolate chips
1 Tbsp+ 1 tsp coconut oil
1/4 cup candy corn
1/4 cup gummy worms
1/4 cup popcorn
Halloween sprinkles
Directions
Line a medium/large baking sheet with parchment paper or aluminum foil leaving overhang on at least two sides.
Add the chocolate chips and 1 Tbsp coconut oil to a microwave-safe bowl and microwave for 30 sec. Stir with a spoon and continue to warm in 30 sec increments until melted.
Spread the melted chocolate across the prepared baking sheet and use a rubber or offset spatula to smooth into an even layer.
Melt the white chocolate and 1 tsp oil in a separate bowl for 30 sec increments until smooth.
Drizzle the white chocolate in a “spiderweb or mummy style” across the baking sheet of melted dark chocolate.
Place candies, popcorn, and sprinkles on top of the bark while melted then place the baking sheet in the fridge or freezer for 1 hr to harden. Once hard, use a knife to cut into pieces of bark and enjoy!
Notes
Keep bark in an airtight container in the fridge or freezer until ready to eat!
SHOP OUR FAVORITE INGREDIENTS FOR THIS RECIPE!


S'mores Cookies
Fun fact about me that not many people know is that I am a pyro! Maybe that is why I am a volunteer firefighter but I just absolutely love fires - campfires, bonfires, having a fake fire scene playing in the background, the sound of fire food crackling … I’m obsessed!
S’mores cookie with a surprise marshmallow filling you cannot resist. Gluten-free, dairy-free friendly, refined sugar-free and no campfire needed!

Fun fact about me that not many people know is that I am a pyro! Maybe that is why I am a volunteer firefighter but I just absolutely love fires - campfires, bonfires, having a fake fire scene playing in the background, the sound of fire food crackling … I’m obsessed!

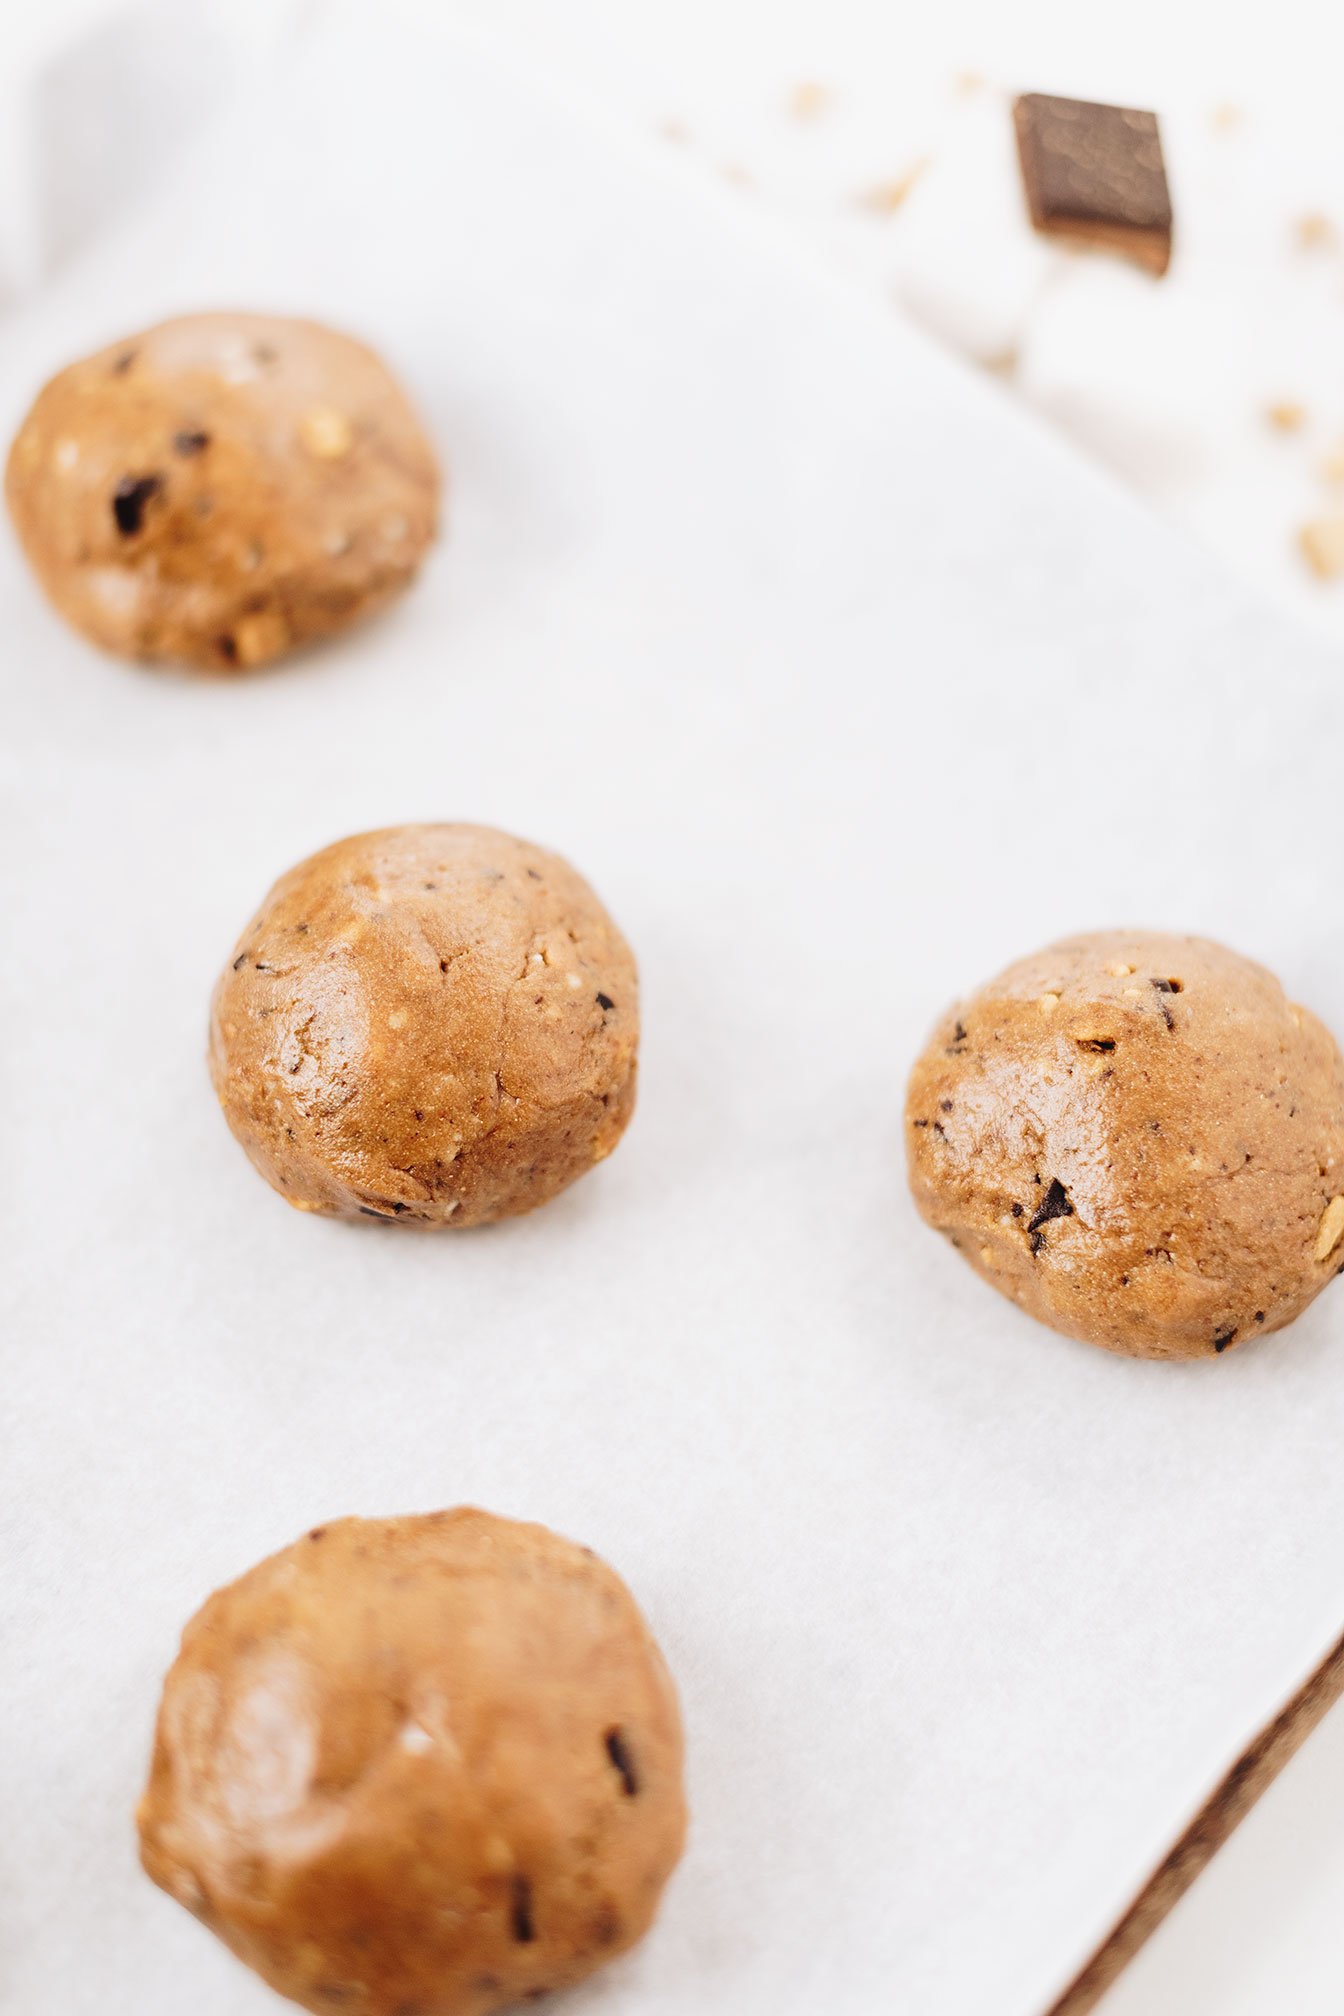
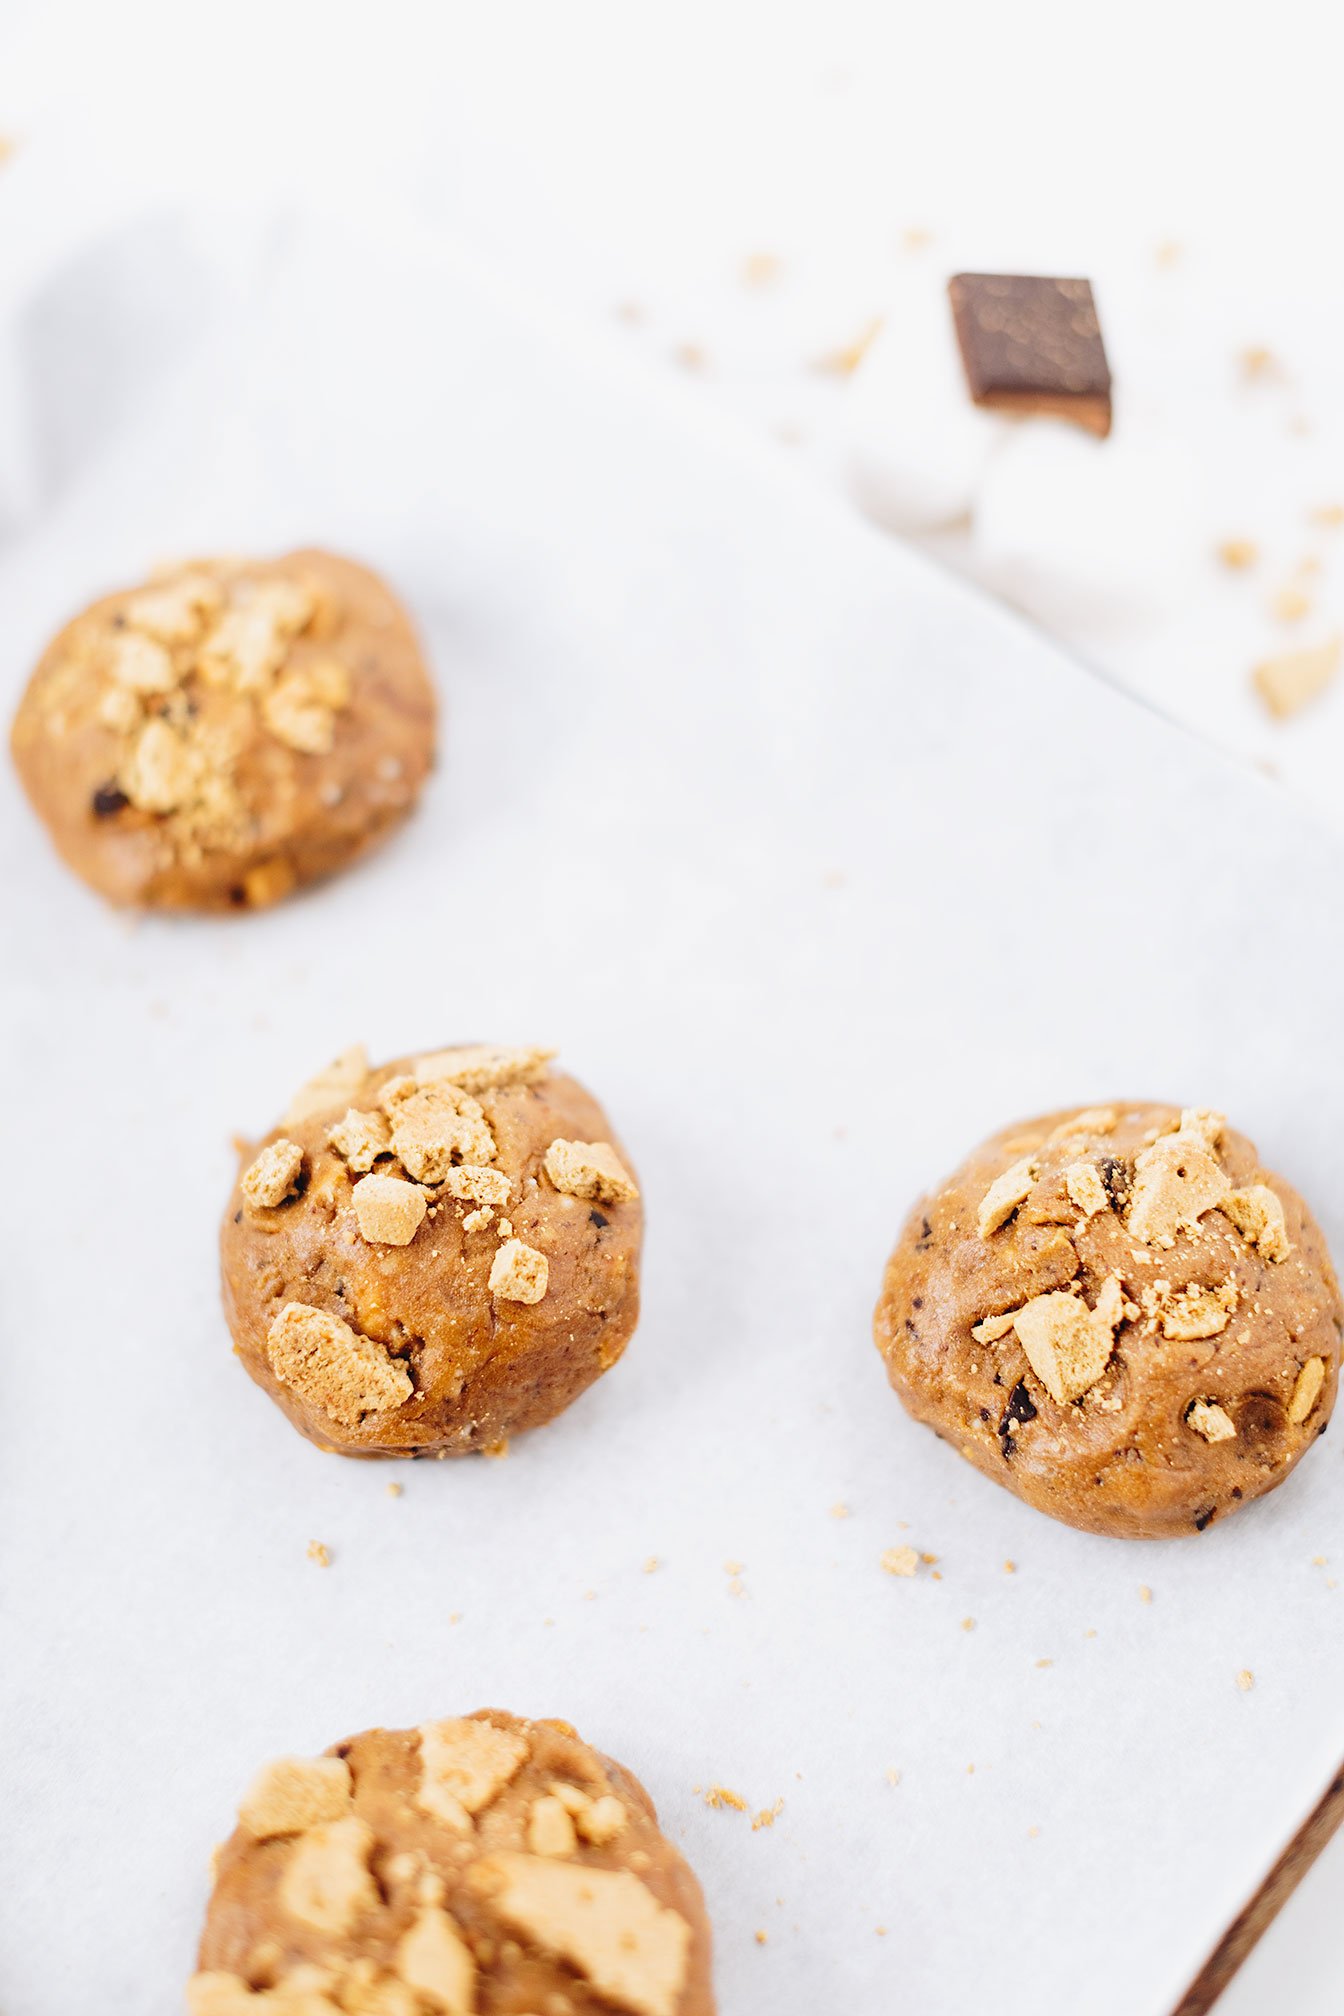
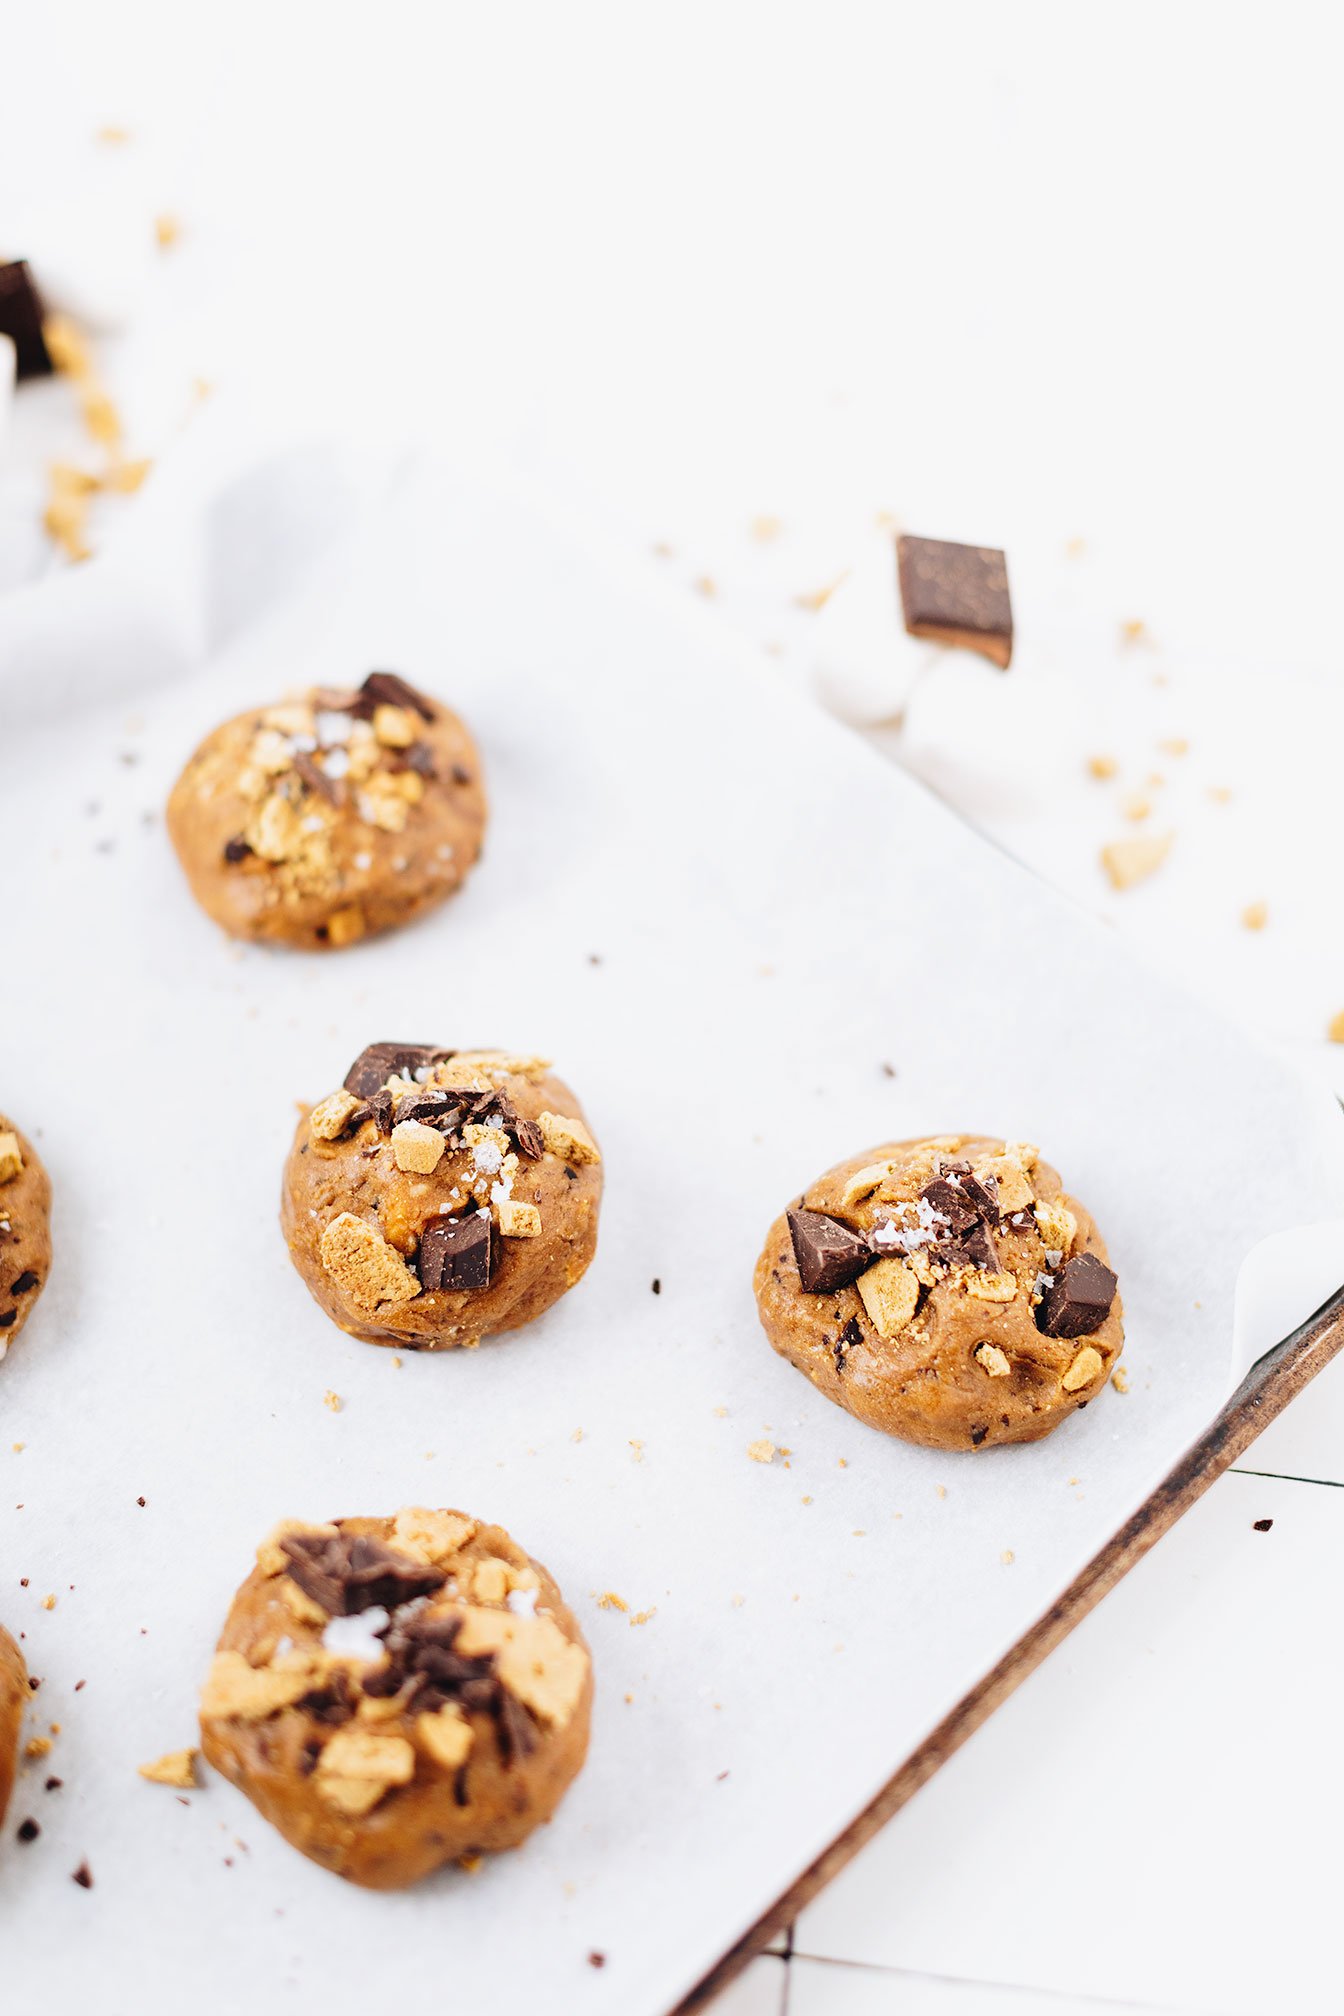

And now that I have niece and nephews close by, I take full advantage of spoiling them with campfire treats - s’mores being #1!
So when we had Thanksgiving this past week, I wanted to surprise them with a dessert that I knew they were going to love. Because why try to give them traditional desserts like pumpkin pie when we know they aren’t going to like it or try it? Why not just make them something fun and that they will actually enjoy!


And that is why I created this s’mores cookie recipe! They couldn’t believe that a cookie was also a s’more! And to top off the mindblown effect, when I ripped the cookie apart - they couldn’t believe that there was a gooey, melted marshmallow inside and that I didn’t have a fire to produce that sort of effect!
All this to say, that if you are wanting major Aunt brownie points - you should make these cookies! And selfishly for yourself - that is why they are gluten-free, dairy-free, and naturally sweetened. They will not know the difference!


And if you are unfamiliar with gluten-free or plant based s’more products to look for - I have added the products I used at the bottom of the recipe for reference. I will say that the Hu Kitchen stuffed dark chocolate bars just really elevate this recipe - especially if you are team peanut butter cup in your s’more stack!

If you try this recipe, let us know! Leave a comment, rate it, and don’t forget to tag a photo to #fromtherootsblog on Instagram. We love seeing what you come up with!
S’mores cookie with a surprise marshmallow filling you cannot resist. Gluten-free, dairy-free friendly, refined sugar-free and no campfire needed!
Serving: 2 Tbsp scoop = 8 large cookies, 1 Tbsp scoop = 16 regular cookies | Prep Time: 5 min | Cook Time: 10 min
Ingredients
1 ½ cup gluten-free 1 to 1 flour
¾ cup coconut sugar
½ cup dark chocolate chips or bar, chopped
½ cup mini marshmallows or 8 large marshmallows
½ cup graham crackers, crushed/chopped
1 egg, room temperature
3 Tbsp milk of choice, I used coconut milk
3 Tbsp coconut oil, melted
1 tsp pure vanilla extract
½ tsp baking soda
½ tsp baking powder
½ tsp pink himalayan sea salt
Directions
Preheat the oven to 350 degrees F and line a baking sheet with parchment paper.
In a large bowl, combine flour, baking soda and powder, and salt. In a medium bowl, combine egg, coconut sugar, milk, oil, and vanilla.
Stir the dry ingredients into the wet. Gently stir in the chocolate chips, graham crackers and marshmallows if you are doing mini.
Using a cookie scoop or 1 Tbsp, scoop out 2 Tbsp worth and flatten dough out to place a large marshmallow in and fold the rest of the dough over the marshmallow until fully covered. If you added mini marshmallows, scoop out 1 Tbsp, and place dough onto a greased or parchment lined baking sheet. Add a few extra chocolate chips, graham crackers and kosher salt flakes on top to make the cookies look pretty.
Bake for 10 minutes until golden brown.
Let them cool for at least 15 minutes so that the cookies can firm up. Transfer to a wire wreck to cool completely and enjoy!
SHOP OUR FAVORITE INGREDIENTS FOR THIS RECIPE!


White Chocolate Double Strawberry Blondies
I wanted to squeeze in one late summer recipe before moving on to fall recipes so I thought these white chocolate double strawberry blondies would be the perfect finisher!
When I was in Las Vegas last month for a personal training conference, I so happily indulged in a strawberry shortcake milkshake in between sessions! It was truly amazing! Layers of ice cream, strawberry drizzle, and garnished with an entire slice of strawberry cake and a classic strawberry shortcake ice cream bar - the inner child in me was truly content!
These White Chocolate Double Strawberry Blondies are a fun way to elevate the classic blondie while being gluten-free, naturally sweetened, and dairy-free friendly.

I wanted to squeeze in one late summer recipe before moving on to fall recipes so I thought these white chocolate double strawberry blondies would be the perfect finisher!
When I was in Las Vegas last month for a personal training conference, I so happily indulged in a strawberry shortcake milkshake in between sessions! It was truly amazing! Layers of ice cream, strawberry drizzle, and garnished with an entire slice of strawberry cake and a classic strawberry shortcake ice cream bar - the inner child in me was truly content!

So, in like fashion, I had to create a healthier version that didn’t cause a major sugar crash in the middle of the day! Lol Almost felt like a hangover!
And I know what you might be thinking…how is a strawberry shortcake milkshake anything like a blondie? And you are totally right - there is no comparison, haha.

I don’t think it’s practical to recreate a layered milkshake - no matter how “healthy” I can make it, it would still be pretty dense! So to slim it down - this blondie contains two types of strawberries: fresh and freeze dried with white chocolate that cuts into the tartness of the strawberries all while salivating for more as I love pairing lemon with strawberries to provide a bright note at the end.
Bonus - Breaking freeze dried strawberries down to powder form creates the natural pink color in the blondie batter!

If you try this recipe, let us know! Leave a comment, rate it, and don’t forget to tag a photo to #fromtherootsblog on Instagram. We love seeing what you come up with!
These White Chocolate Double Strawberry Blondies are a fun way to elevate the classic blondie while being gluten-free, naturally sweetened, and dairy-free friendly.
prep time: 10 min | Cook Time: 25 min | Servings: 8
Ingredients
1 cup oat flour
½ cup GF baking flour
⅓ cup pure maple syrup
¼ cup drippy natural peanut butter
¼ cup plant based or regular milk
1 egg
2 tsp vanilla extract
½ tsp baking soda
¼ tsp baking powder
¼ tsp salt
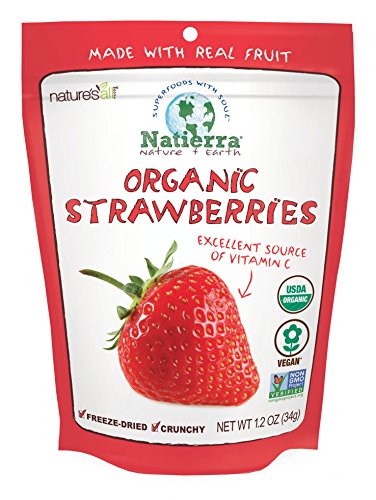
2-4 Tbsp freeze dried strawberries (creates the pink color in batter)
½ cup white chocolate chips
½ cup sliced fresh strawberries
Juice of ½ lemon + zest
Optional garnish
Additional freeze dried strawberries
Directions
Preheat the oven to 350 degrees and line an 8x8 inch baking pan with parchment paper. *Tip - leave some of the paper hanging over the edges for easy removal.
In a food processor, pulse 2-4+ Tbsp freeze dried strawberries until you get a powder like consistency.
In a bowl, whisk the dry ingredients (flours, baking soda and powder, salt, freeze dried strawberry powder).
In a separate bowl, whisk the wet ingredients (maple syrup, peanut butter, milk, egg, vanilla extract, juice of ½ lemon and zest).
Stir the wet mixture into the dry mixture until well combined.
Fold in the white chocolate chips and strawberries until everything is combined - do not overmix! I stop as soon as I no longer see flour chunks in the batter. The batter should be a thick consistency.
Pour the batter into the prepared pan, smoothing out the top in an even layer.
Bake for 20-25 minutes, or until the edges are golden brown and the center is set and lightly golden. Resist the urge to overbake! *Hence, what makes a blondie a gooey blondie!
Remove from the oven and allow to cool in the pan before slicing into squares.
Notes
The more freeze dried strawberry powder you use, the more your batter will be pink! Just make sure that the batter doesn’t become too dry so may have to add 1 Tbsp of milk for desired batter consistency.
SHOP OUR FAVORITE TOOLS + INGREDIENTS FOR THIS RECIPE!


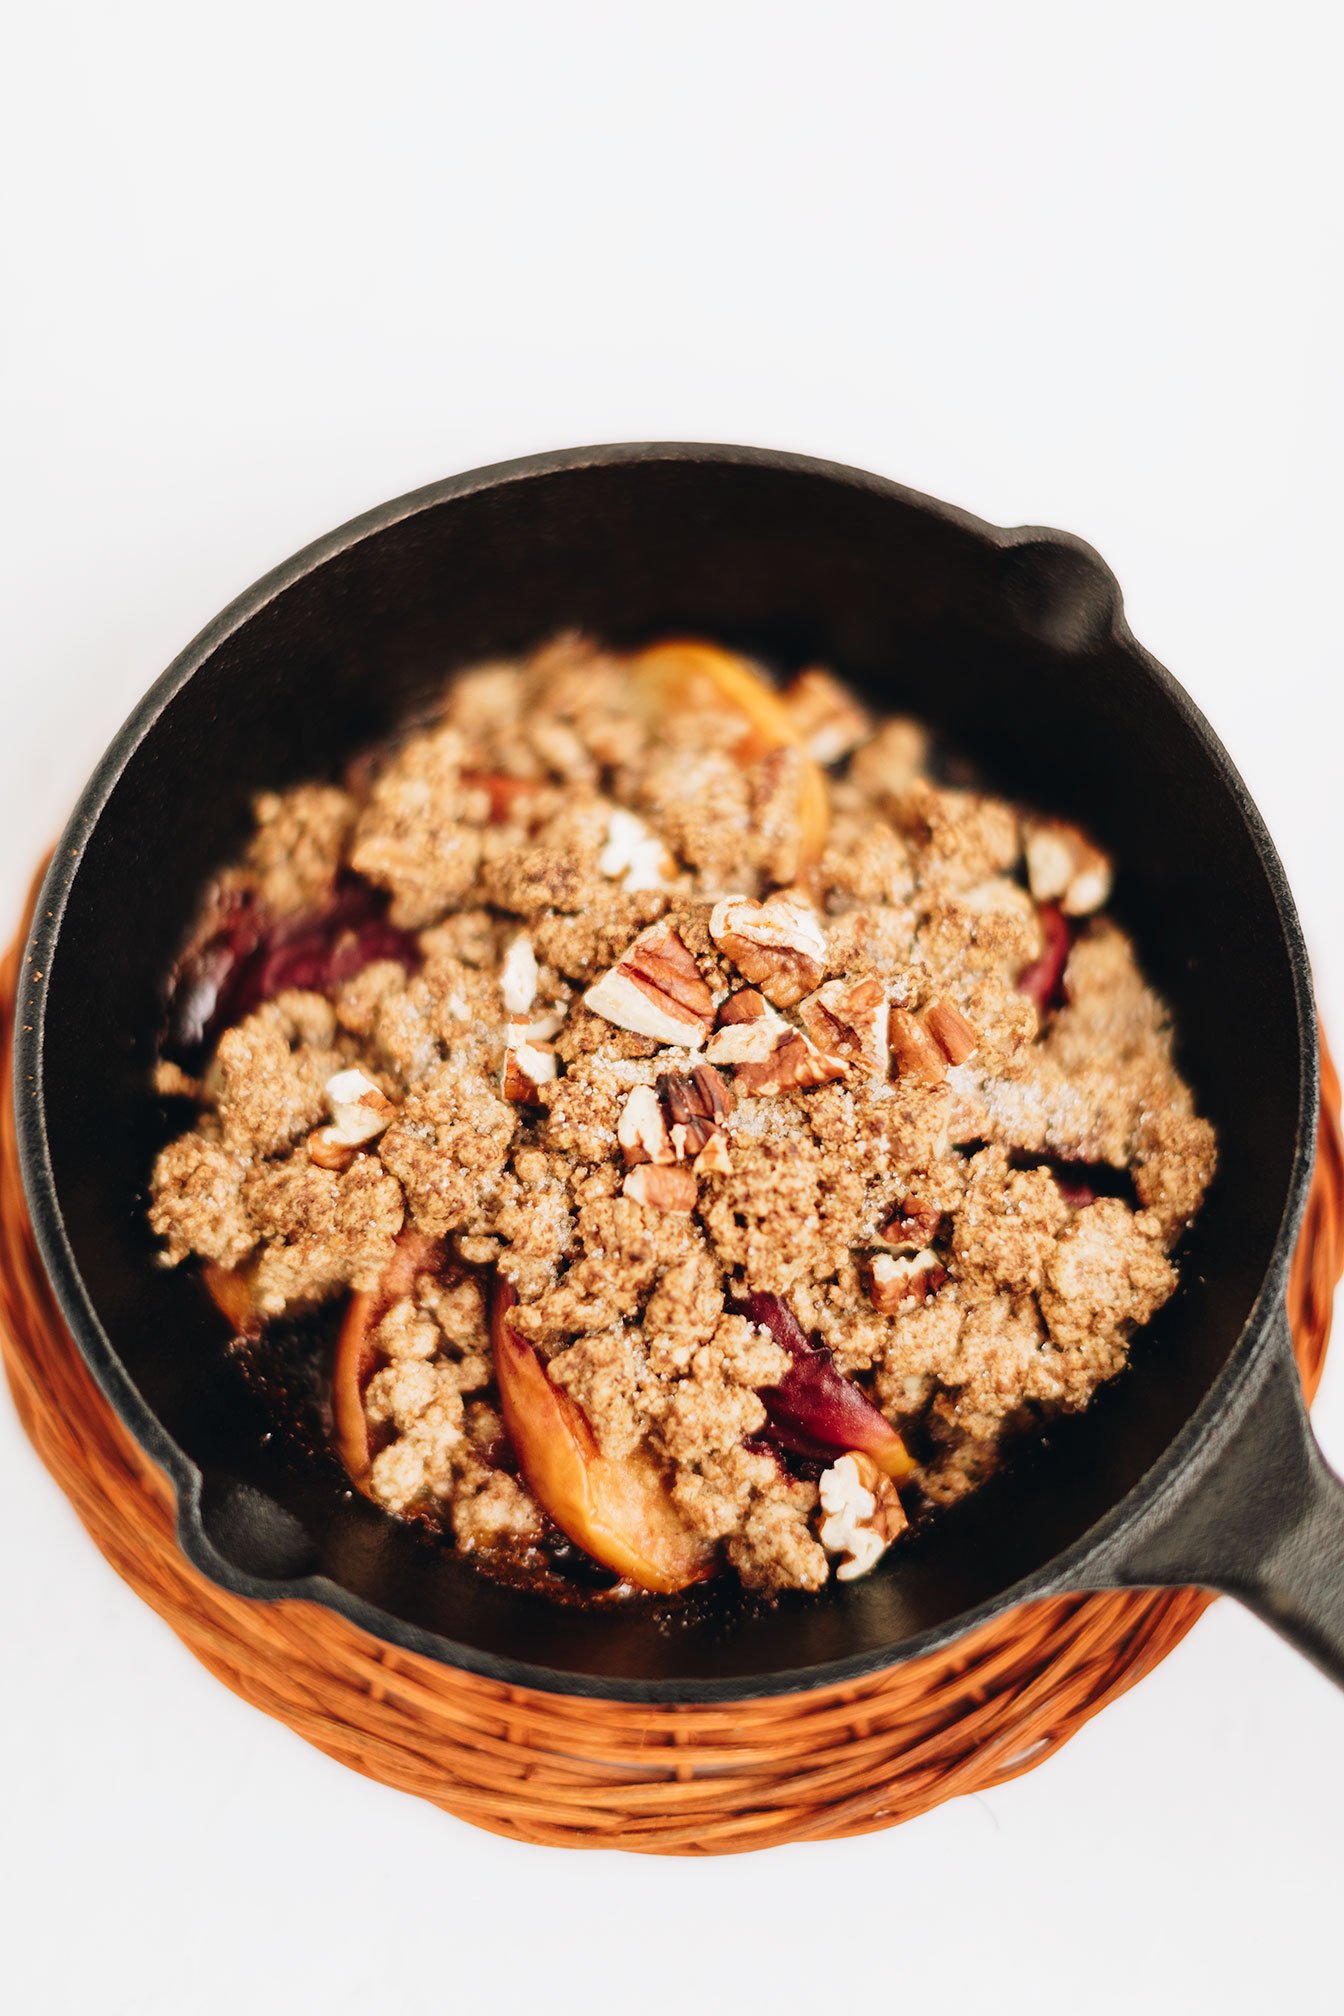
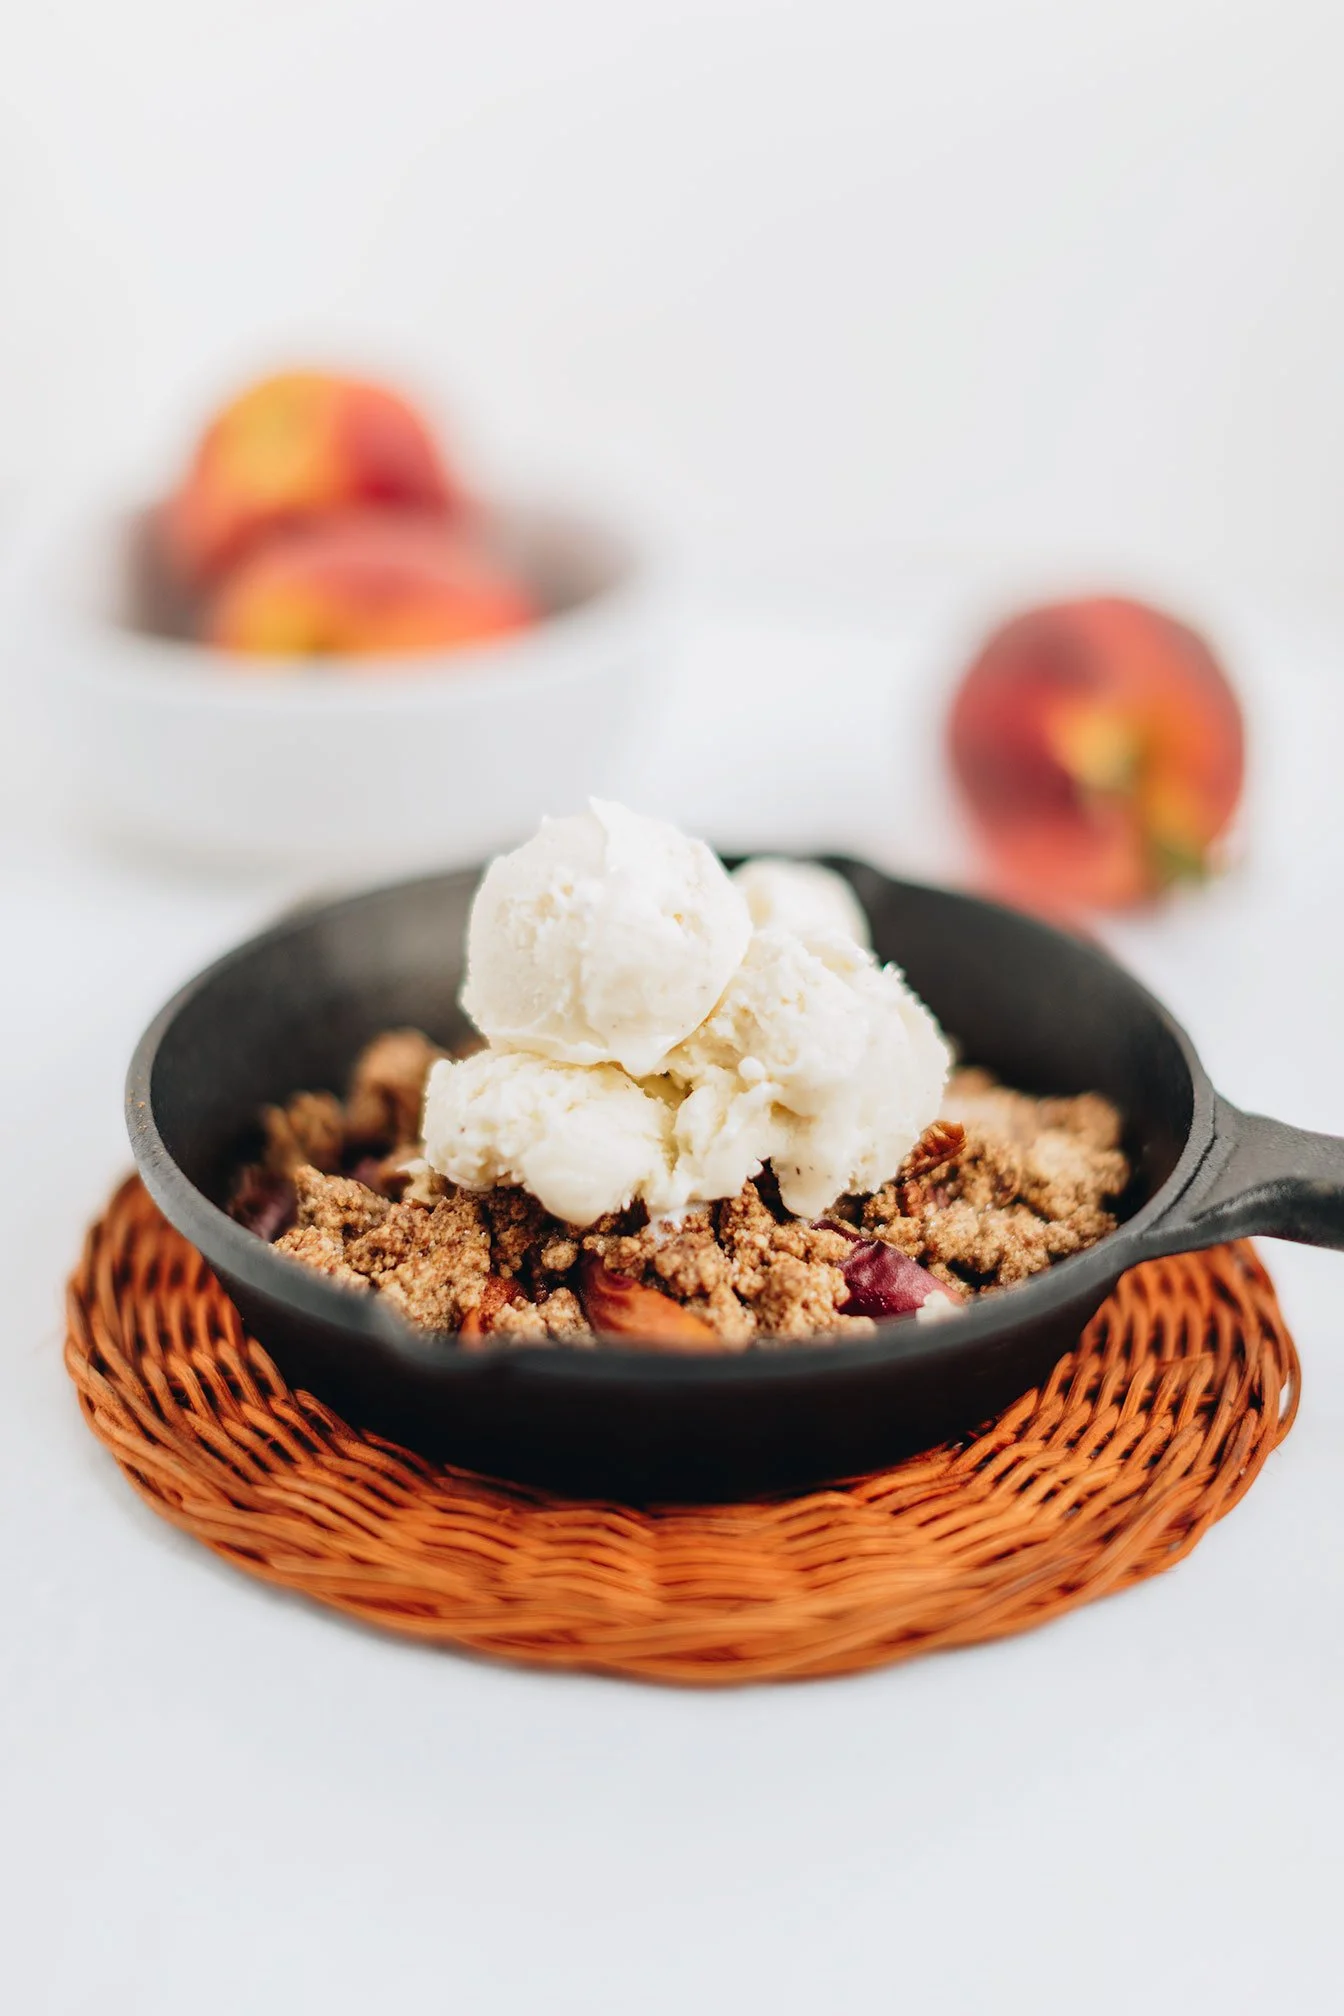
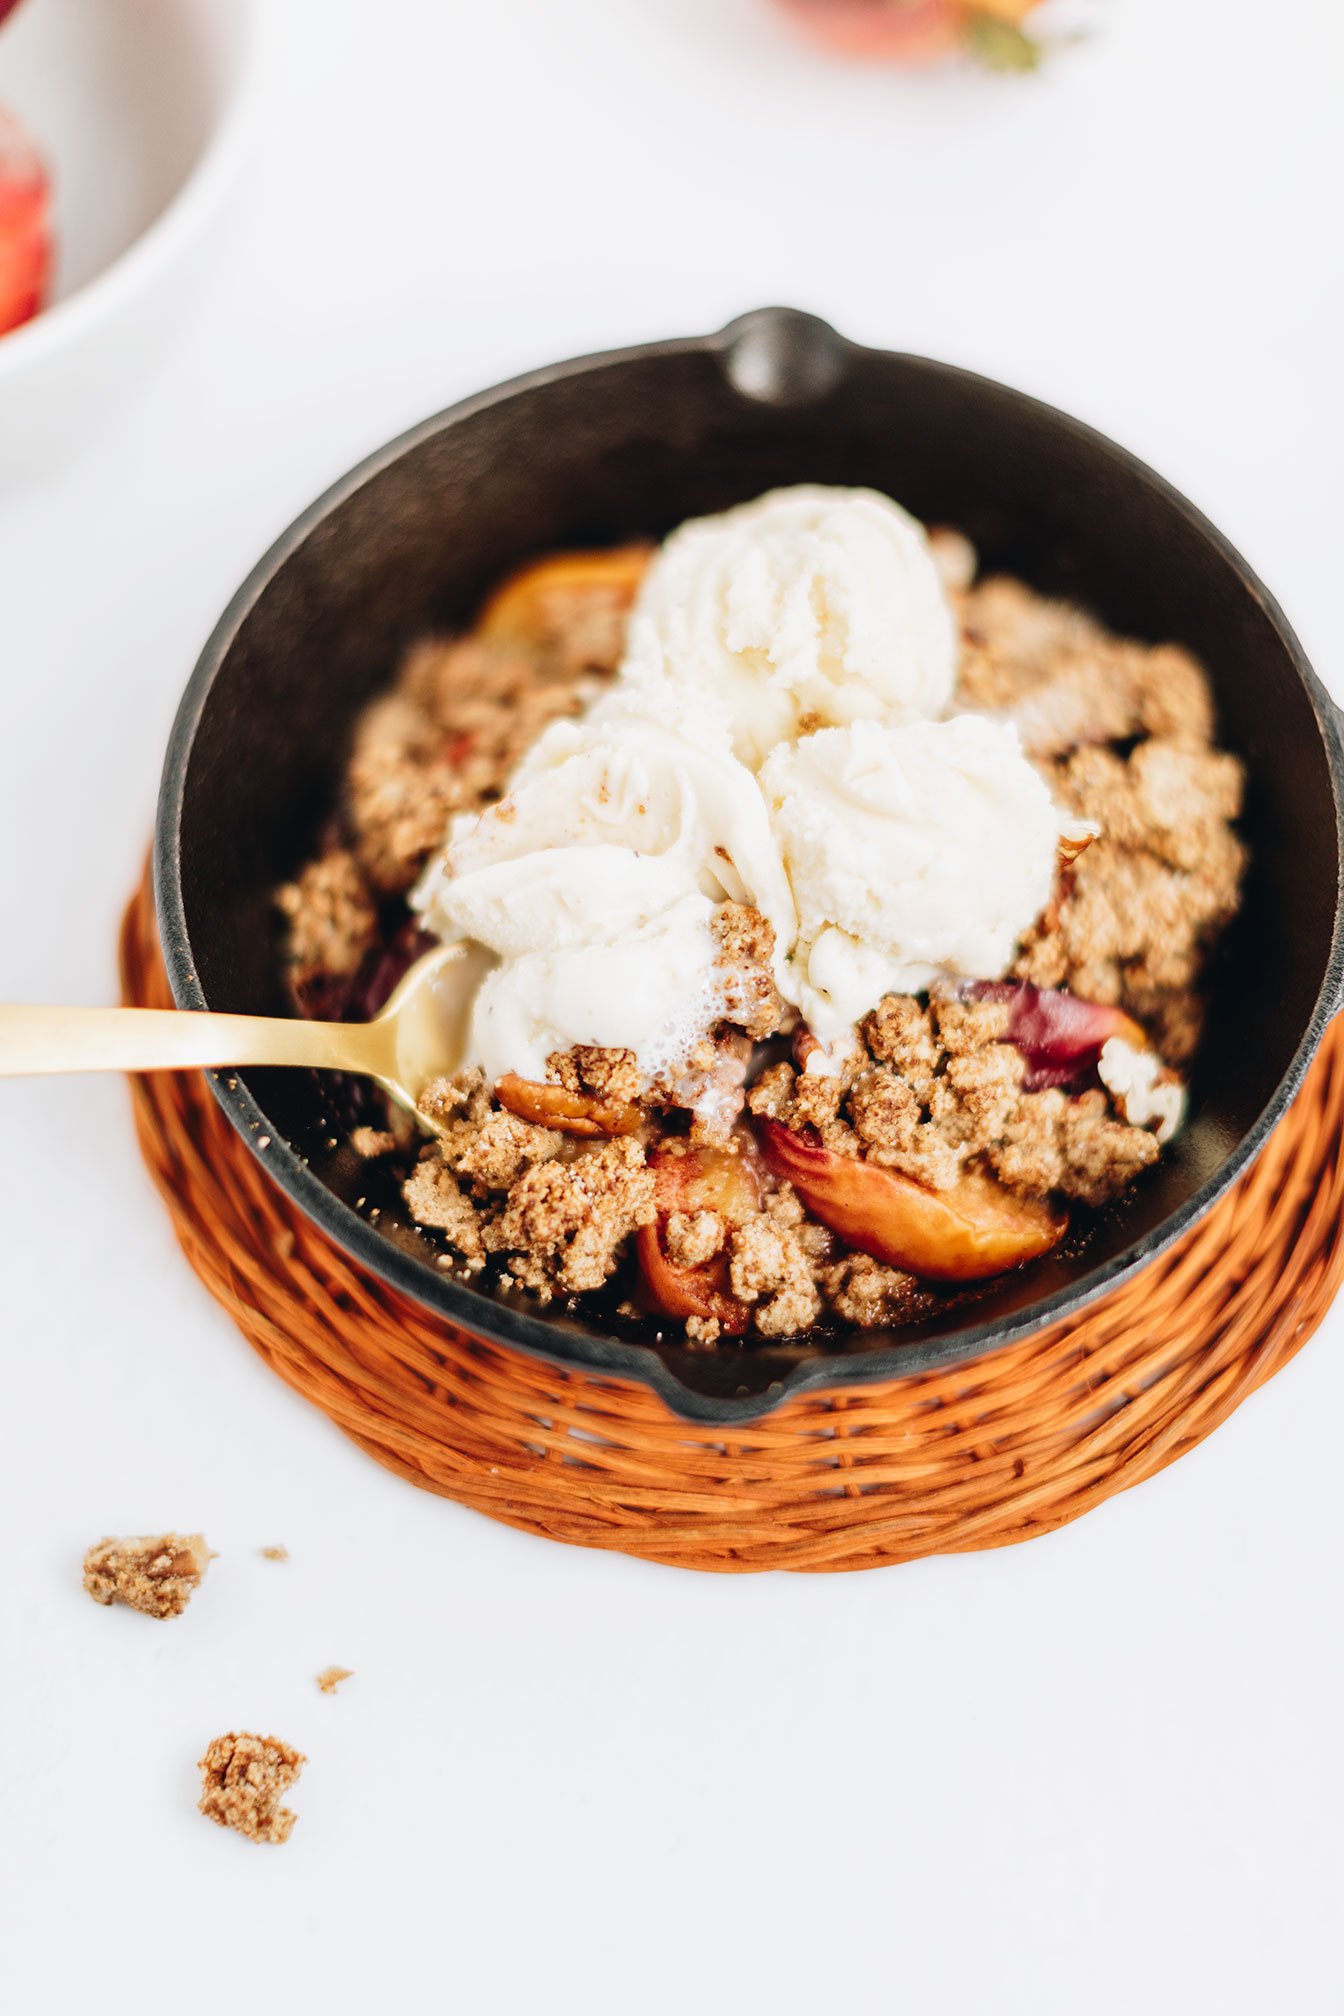
Peach Crisp Skillet For One
Peach Crisp Skillet For One - Healthy peach crisp that is easy, gluten-free and no leftovers!
Summertime = peach season, here in Georgia and I am HERE. FOR. IT!
My favorite thing to do is turn on the grill to make my favorite go-to summer salad Grilled Peach and Steak Salad and with the leftover peaches, make this single serve peach crisp skillet!
With that being said, this recipe is flexible as you can cook the peach crisp on the grill or in the oven, up to you!
Individually portioned desserts have been my new favorite - especially during the summer time when I don’t want an entire tray of brownies staring me down, begging to be eaten!
Peach Crisp Skillet For One - Healthy peach crisp that is easy, gluten-free and no leftovers!

Summertime = peach season, here in Georgia and I am HERE. FOR. IT!
My favorite thing to do is turn on the grill to make my favorite go-to summer salad Grilled Peach and Steak Salad and with the leftover peaches, make this single serve peach crisp skillet!


With that being said, this recipe is flexible as you can cook the peach crisp on the grill or in the oven, up to you!


Individually portioned desserts have been my new favorite - especially during the summer time when I don’t want an entire tray of brownies staring me down, begging to be eaten!
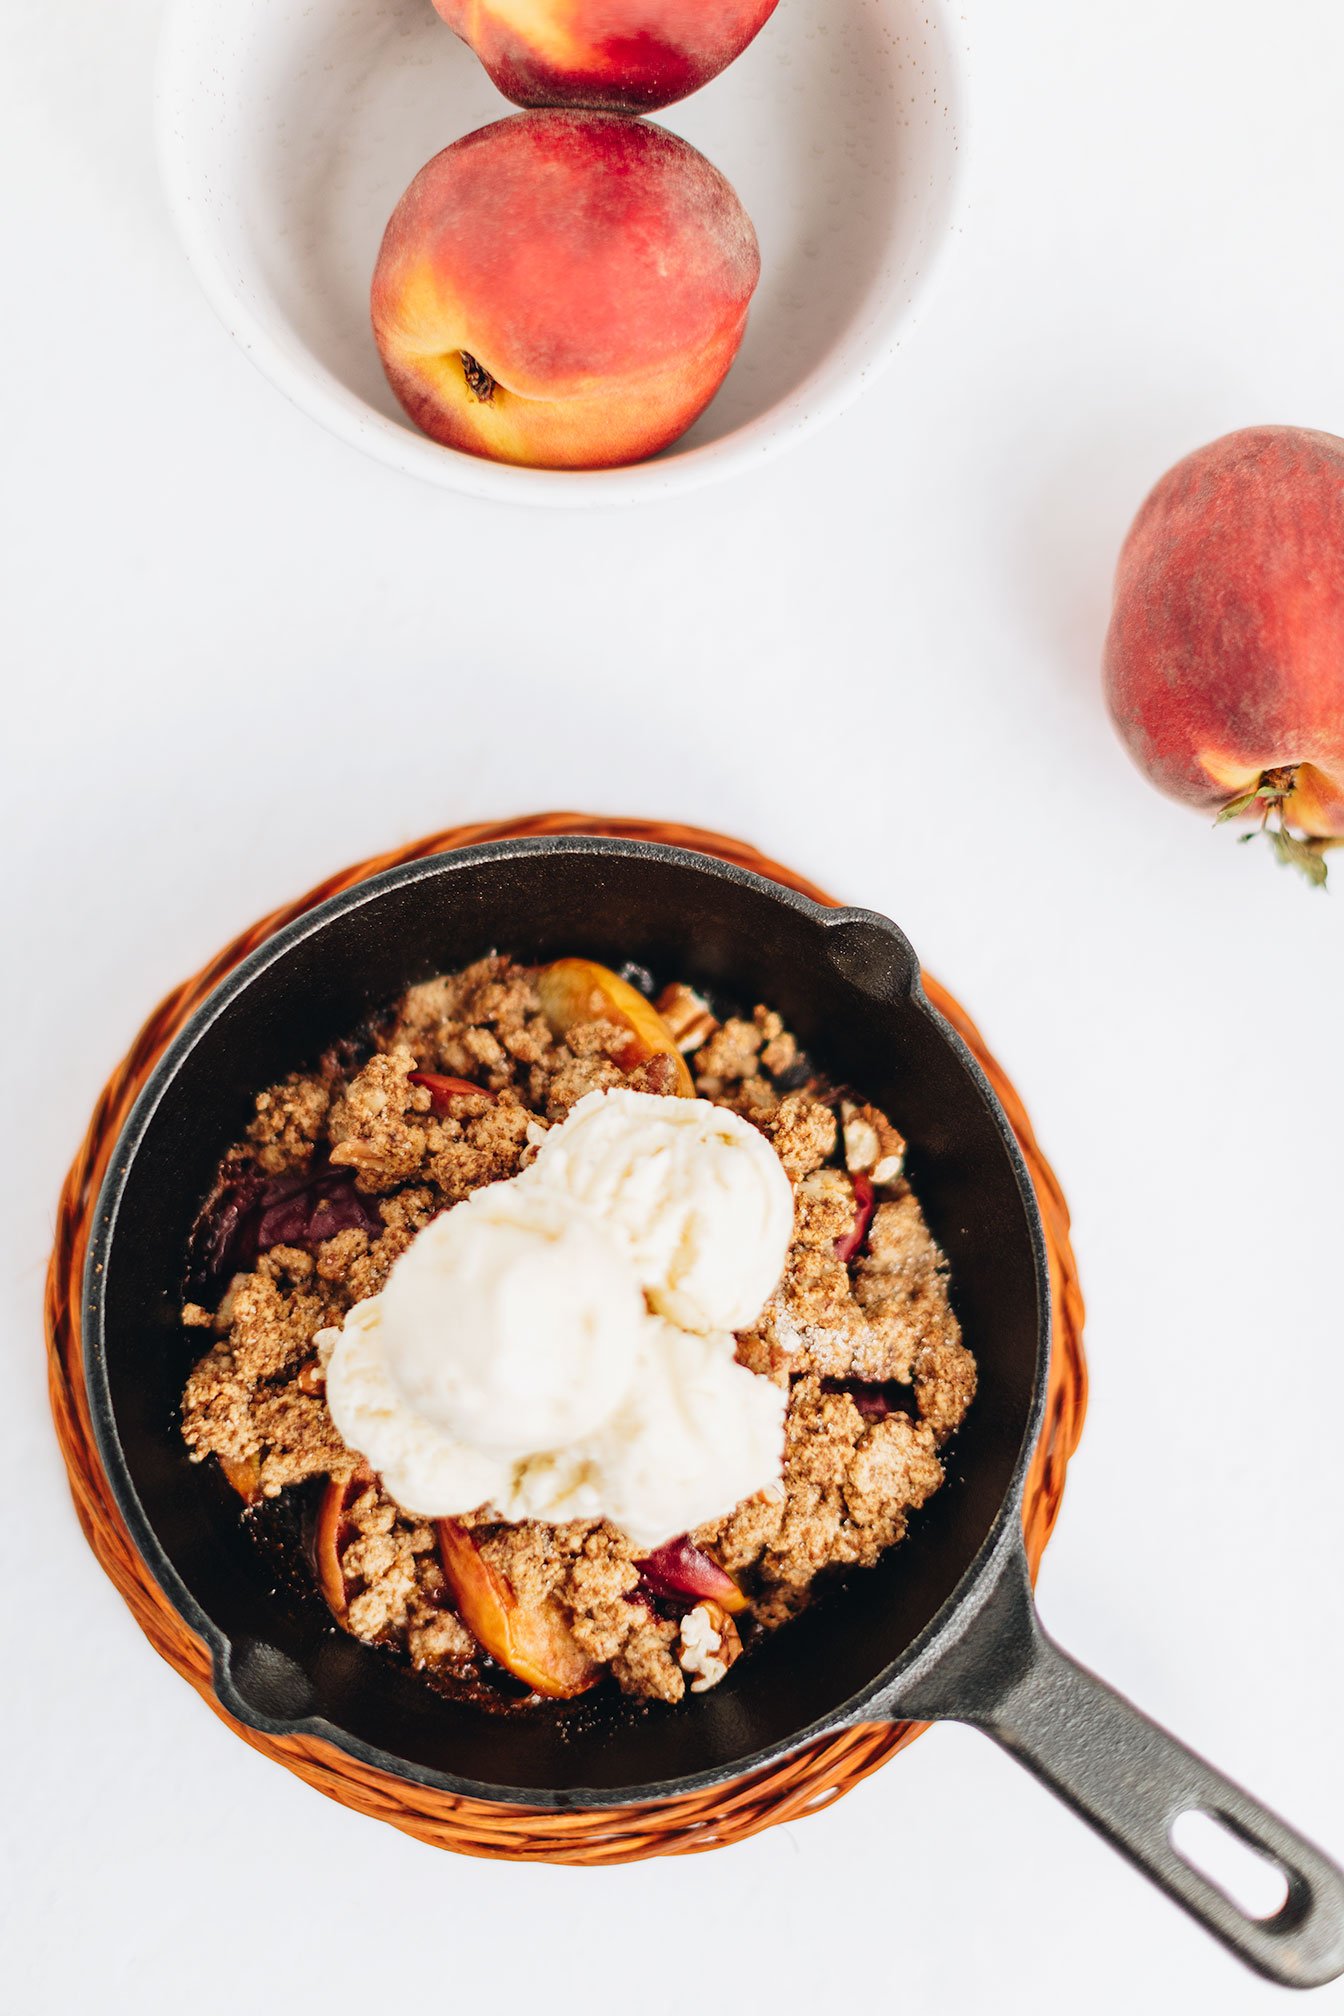
If you would like to share this recipe with friends and family, then simply double, triple, etc the recipe ingredients and use a bigger skillet or dish!

If you try this recipe, let us know! Leave a comment, rate it, and don’t forget to tag a photo to #fromtherootsblog on Instagram. We love seeing what you come up with!
Peach Crisp Skillet For One - Healthy peach crisp that is easy, gluten-free and no leftovers!
Serving: 1 | Prep Time: 10 min | Cook Time: 20 min
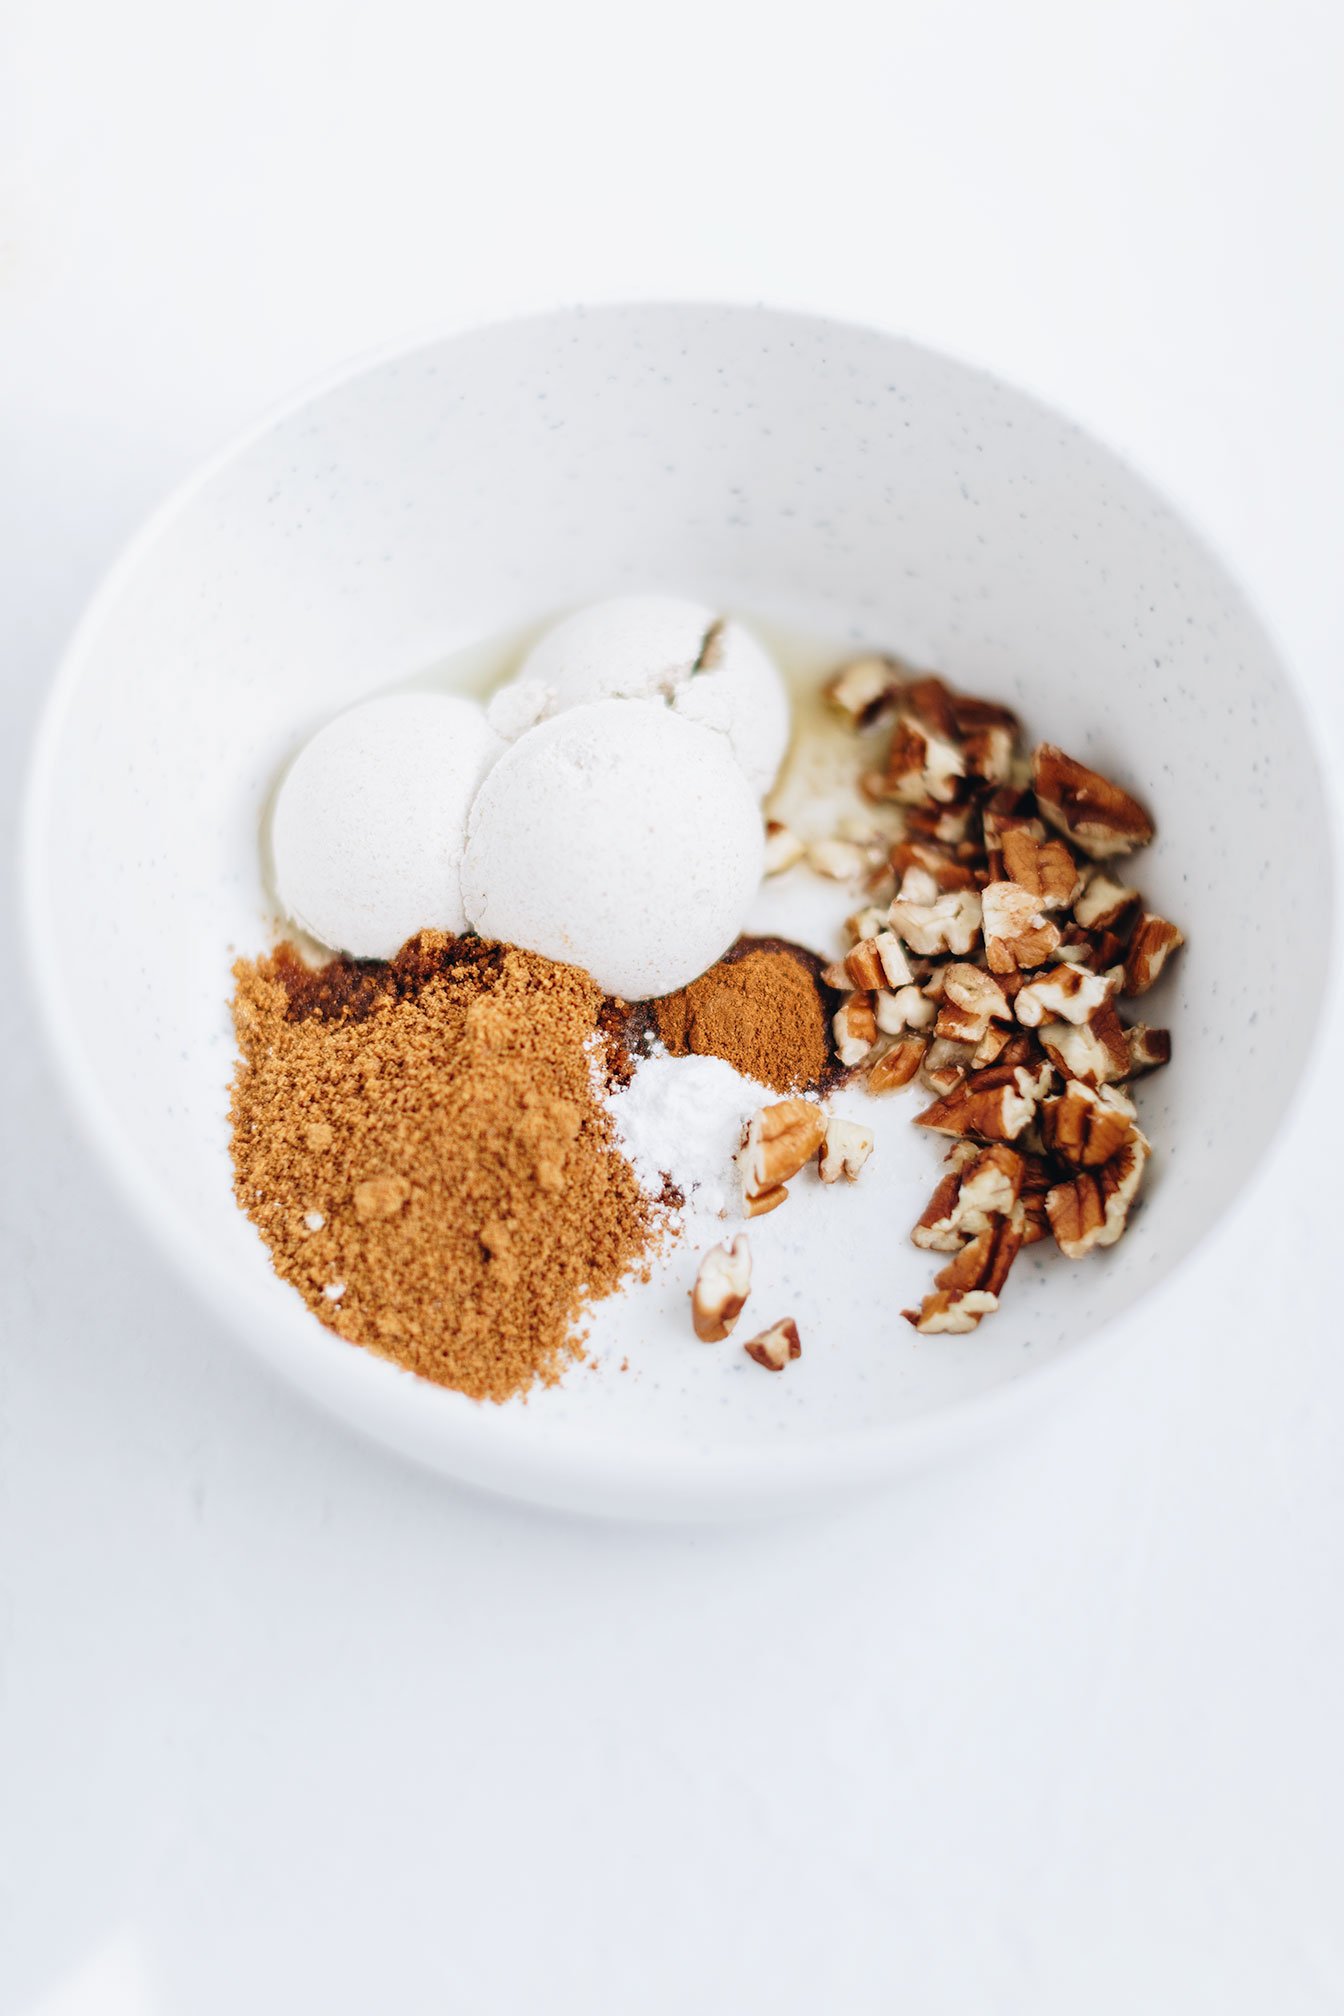
Ingredients
1 fresh peach, sliced and peeled (optional)
3 Tbsp gluten free oat flour
1 Tbsp butter or coconut oil
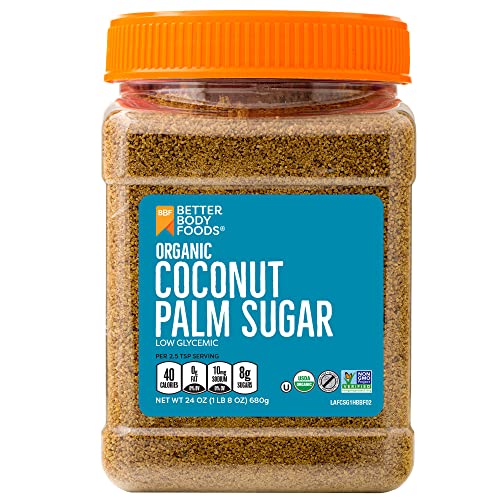
1 Tbsp coconut sugar
¼ tsp baking powder
¼ tsp vanilla
¼ tsp cinnamon
1 Tbsp chopped pecans (optional)
Directions
Preheat oven to 350 degrees
Spray cast iron skillet or small ramekin with cooking spray oil and lay peaches in a spiral. Dust peaches with cinnamon and coconut sugar and set skillet or ramekin aside.
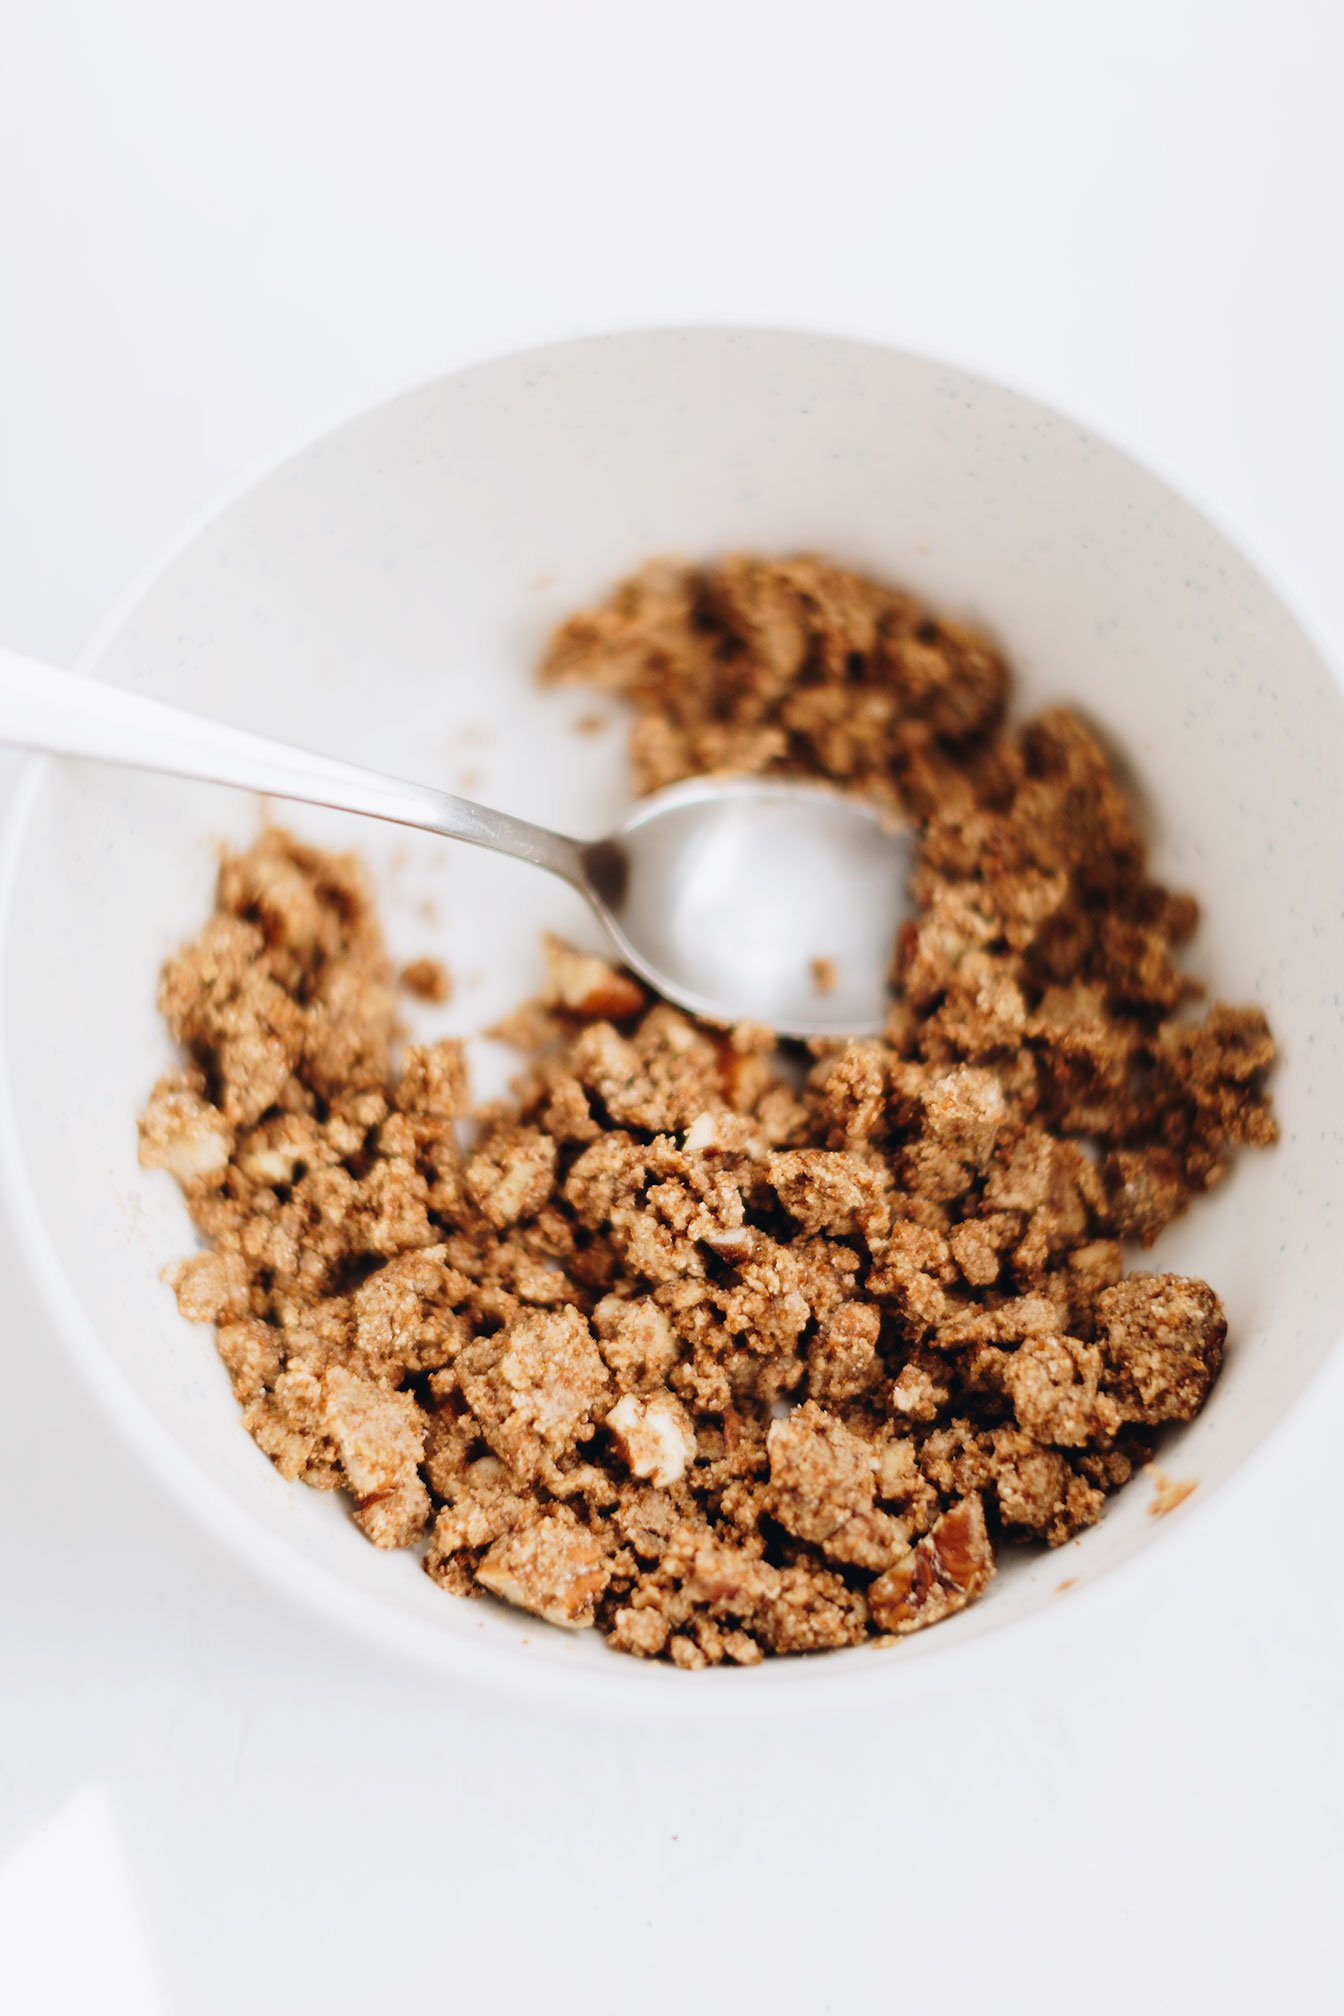
In a small mixing bowl, combine the rest of the ingredients until fully incorporated and the mixture is crumbly.
Cover peaches with the crumble topping and bake for 18-24 minutes or until topping is golden brown and juices are bubbling.
Top with a scoop of ice cream and garnish with chopped pecans (optional) and enjoy!
SHOP OUR FAVORITE TOOLS + INGREDIENTS FOR THIS RECIPE!


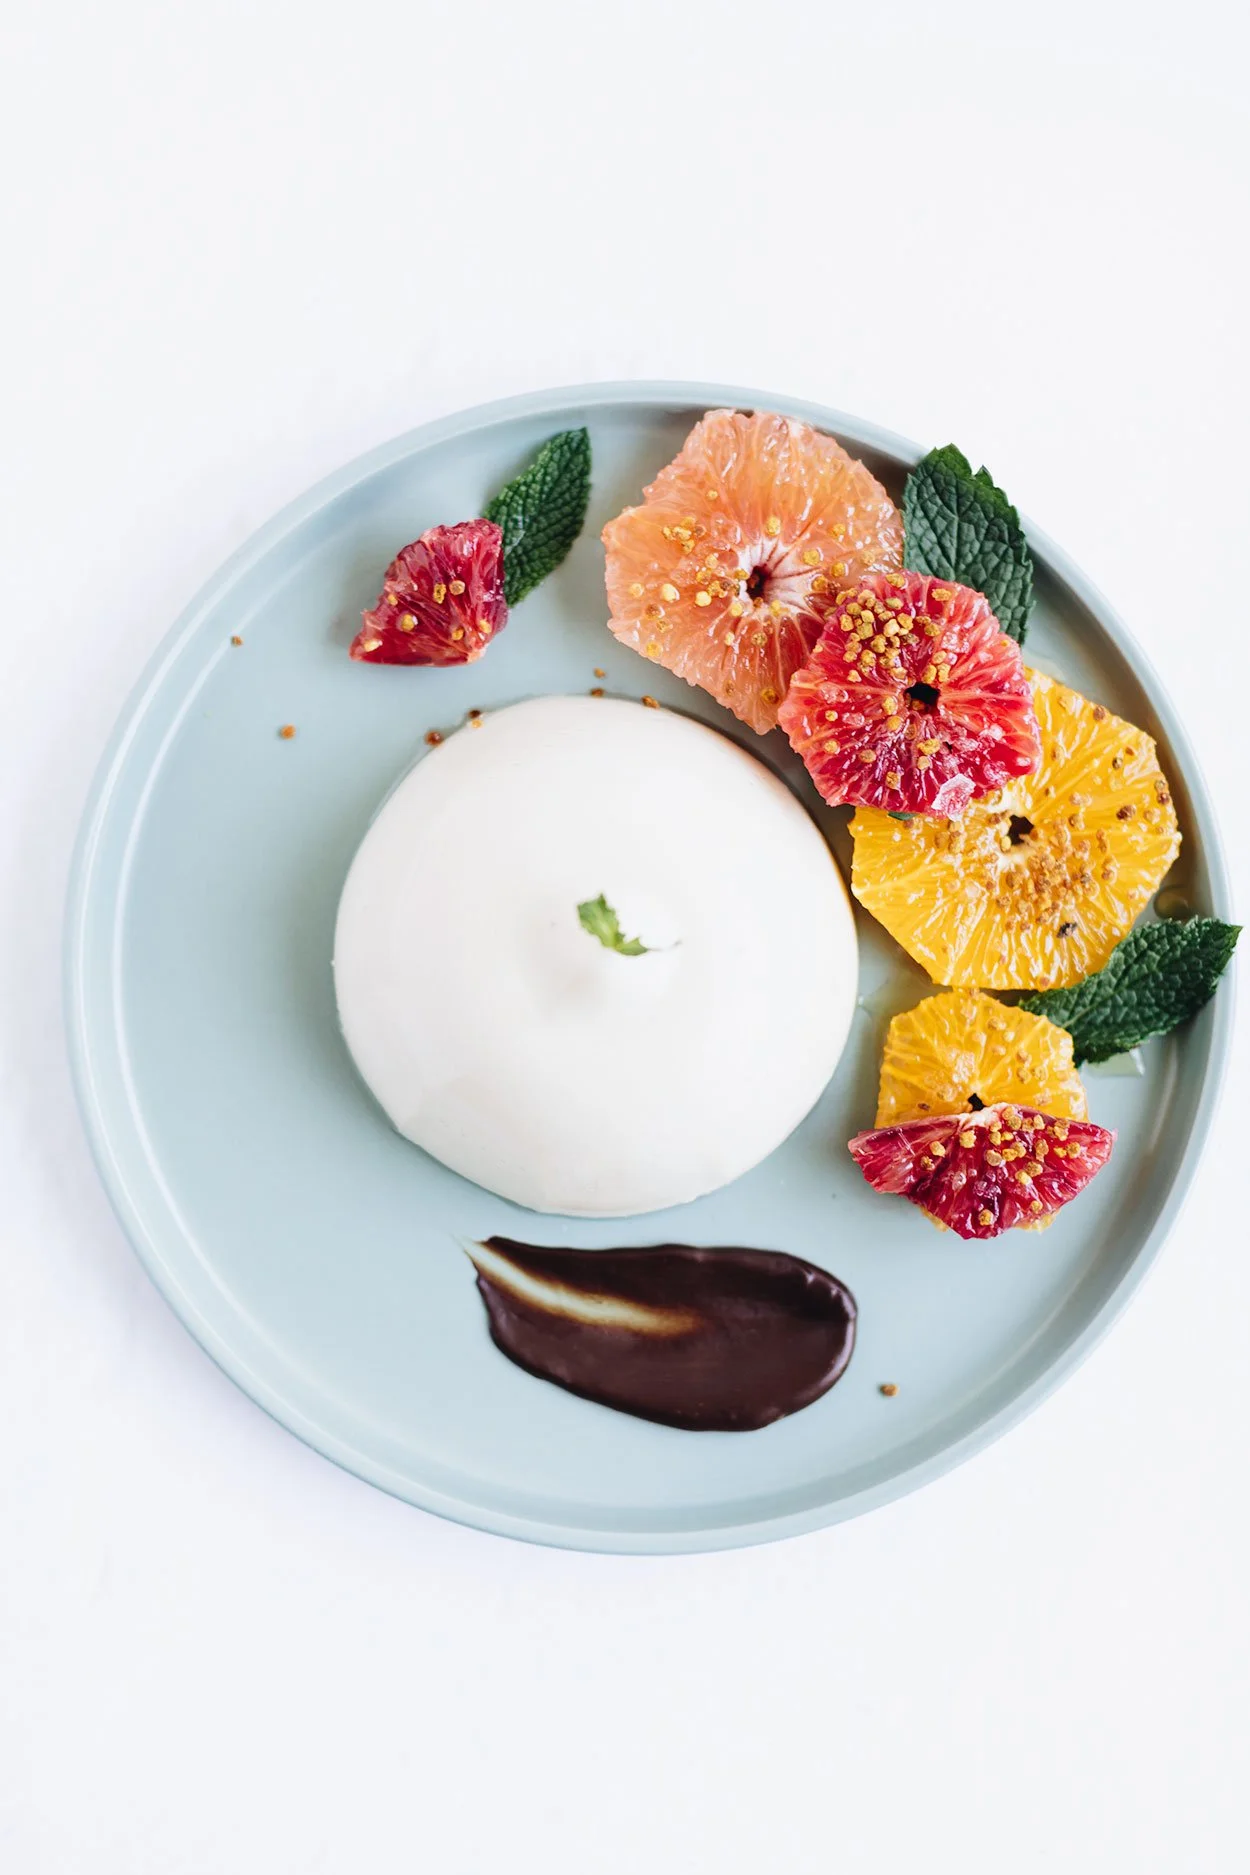
Coconut Milk Panna Cotta
When I was in Italy, panna cotta was one of my favorite desserts! And fortunately enough, my body was able to tolerate the luxurious mixture of whole milk and heavy cream. But when ordering panna cotta from an Italian restaurant in the states, it definitely hits me (and my gut!) differently. Lol
So that is why I have created a healthy spin on the traditional panna cotta, using full fat canned coconut milk. Not only is this dessert dairy free, but it’s also free of refined sugar using pure maple syrup as the sweetener.
Coconut Milk Panna Cotta - A healthy spin on a classic Italian dessert that’s dairy-free, refined sugar-free and gluten-free. Accompanied by your choosing of honey citrus compote, strawberry sauce and dark chocolate sauce!
When I was in Italy, panna cotta was one of my favorite desserts! And fortunately enough, my body was able to tolerate the luxurious mixture of whole milk and heavy cream. But when ordering panna cotta from an Italian restaurant in the states, it definitely hits me (and my gut!) differently. Lol
So that is why I have created a healthy spin on the traditional panna cotta, using full fat canned coconut milk. Not only is this dessert dairy free, but it’s also free of refined sugar using pure maple syrup as the sweetener.

Travel nostalgia birthed this recipe but also the idea of using bovine gelatin. Recently, I have switched over to using Perfect Supplements as my main supplement source - taking desiccated liver capsules as my “multi-vitamin” and switching over to their hydrolyzed collagen powder. And now, I have been wanting to experiment using their bovine gelatin.
To give you the lowdown on this form of gelatin:
Made with 100% beef gelatin (collagen protein)
Sourced exclusively from brazilian pasture raised (grass fed) cows
The only gelatin to receive perfectly pure certification
And is great for recipes that call for gelatin or a gelling or thickening agent. (i.e. soups, fruit gelatin, gummy treats, custards, marshmallows and more!)
If you want to try it for yourself, here is CANDACE10 for 10% off your first order!
Now, back to Panna Cotta!


A couple tips when making this dish:
Make sure to not boil the coconut milk or the gelatin will lose its setting power
The consistency of panna cotta should have a soft jiggly texture.
Panna cotta can be made ahead of time (up to 2 days) and stored in the fridge.
You can easily double the recipe when making for a crowd or dinner party!
Instead of vanilla extract, you could use ½ vanilla bean.
If you try this recipe, let us know! Leave a comment, rate it, and don’t forget to tag a photo to #fromtherootsblog on Instagram. We love seeing what you come up with!
Coconut Milk Panna Cotta - A healthy spin on a classic Italian dessert that’s dairy-free, refined sugar-free and gluten-free. Accompanied by your choosing of honey citrus compote, strawberry sauce and dark chocolate sauce!
4 servings | Cook time 10 min | Prep Time 20 min
Ingredients
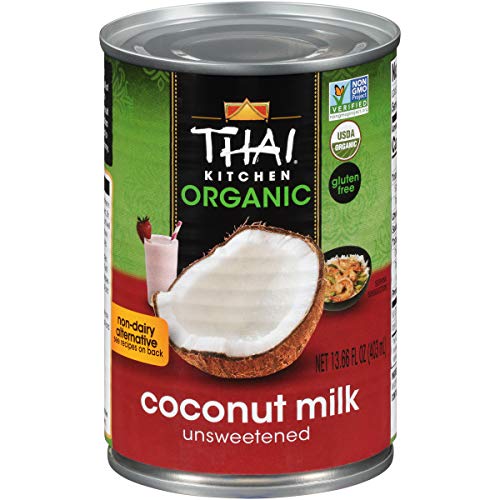
1 can full fat unsweetened coconut milk
⅓ cup pure maple syrup
1 scoop or ¼ oz gelatin
1 tsp vanilla extract
Strawberry sauce
2 cups fresh or frozen strawberries, hulled and sliced
3 Tbsp water
1 Tbsp organic sugar or pure maple syrup
Juice of half lemon
Honey citrus compote
1-3 citrus fruits (grapefruit, orange, blood orange)
Honey
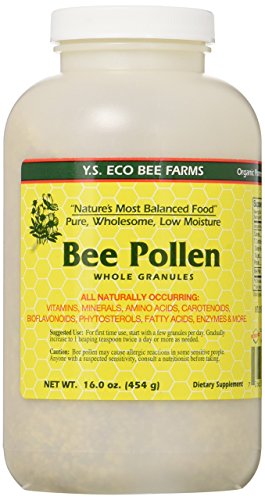
Bee pollen
Fresh mint leaves
Directions
Grease 4 small dishes (ie ramekins, bowls, pudding dishes) to pour the panna cotta into.
In a small saucepan, whisk together half of the coconut milk and gelatin until combined. Set aside for about 5-10 min at room temperature to let the gelatin bloom.
Place the saucepan over medium heat and add vanilla. Whisk thoroughly until gelatin dissolves. Continue to heat until steam rises (but do not bring to a boil). Turn off the heat.
Remove from heat and whisk in maple syrup and remaining coconut milk. Pour the mixture equally into each dish, let sit at room temperature before placing them in the fridge for 2-3 hours.
While the panna cotta is setting, prepare sauce mixture or citrus salad, or both!
For the strawberry sauce: add sliced strawberries, lemon juice, honey and water to a medium pot. Cook for 7-12 minutes and remove from heat. Blend using an immersion blender, food processor or blender. Strain the sauce into a sieve (to remove strawberry seeds) and transfer sauce to a bowl or jar until ready to use.
For the citrus salad: slice the citrus fruits, and remove any pith. Cut in smaller pieces if desired. Add a drizzle of honey, bee pollen and mint!
To serve, you can either serve them directly in the dish or unmold them onto a plate. Top with strawberry sauce, citrus salad, or chocolate sauce and enjoy!
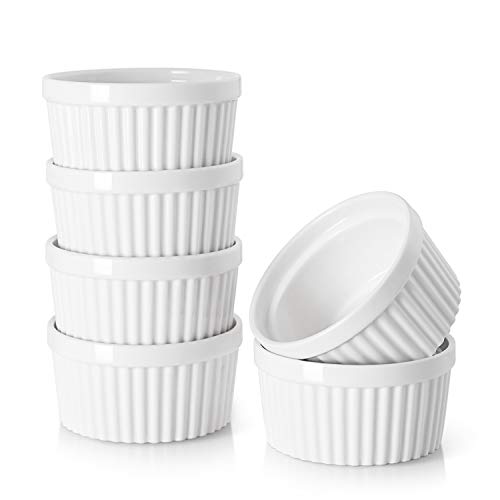
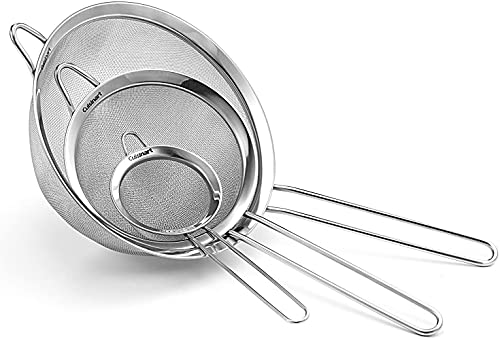
SHOP OUR FAVORITE TOOLS + INGREDIENTS FOR THIS RECIPE!